
DIY Crochet Lace Detailed Bralette for All Sizes

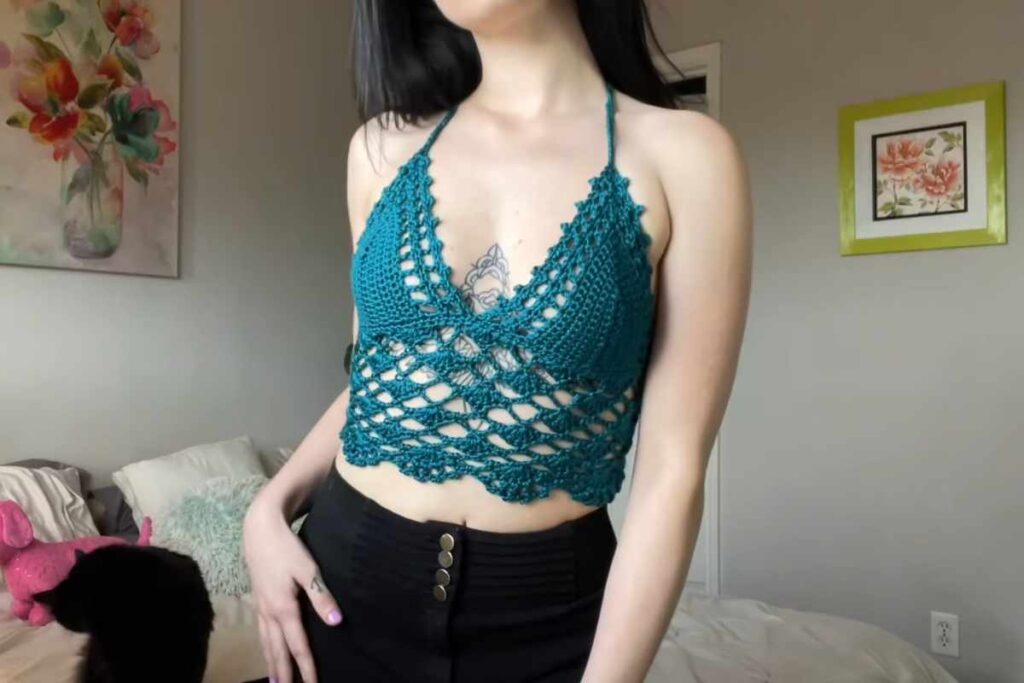
If you’ve been wanting to make a cute, wearable crochet top that feels both delicate and confident, this lace detailed bralette is a great project to try. The best part: it’s designed to be adjustable for all sizes, so you can crochet it to fit your body, not the other way around.
In the video tutorial below, you’ll see the construction step-by-step, plus how the lace details come together for that lightweight, elevated look.
How to Get the Right Fit on a Lace Crochet Bralette

A crochet bralette is all about balancing fit, comfort, and support—and lace designs make it even more important to check sizing as you go. Since everyone’s shape is different, it helps to pause at key moments (like after shaping the cups and before finishing the band) to make sure everything sits where you want it.
Refill Your Creative Cup
Feeling stuck or out of ideas? Let us bring the spark back to your hook. Our weekly emails deliver patterns, tips, and inspiration to keep your creativity blooming.
😍 Bring Your Crochet Mojo Back – Sign Up Now! Click on the image 👆🏼
This style is especially fun because the lace texture adds a “made-it-yourself” wow factor without needing complicated techniques. In this tutorial, the stitch combo keeps things approachable, and you’ll also see a pretty finishing edge that makes the whole bralette look polished.
Tip: When you’re crocheting wearables, aim for a fabric that feels comfortable against the skin and isn’t overly stiff—small adjustments (like strap length or band tightness) can make a big difference in how it feels when worn.
Stitches and Supplies Used in This Bralette Tutorial

Image and Patterns Courtesy of Made by BJax
To follow along smoothly, it helps to have your basics ready before you hit play. In the video, you’ll see common foundation stitches plus a decorative detail stitch for the edging.
Stitches shown in the tutorial include: chains, single crochet, double crochet, slip stitch, and picot stitch.
Materials shown include: worsted/weight 4 yarn, a 5.0 mm crochet hook, scissors, a tapestry needle, and stitch markers.
Lace Detailed Crochet Bralette Video Tutorial for All Sizes

Source: Made by BJax
Once you finish, don’t be afraid to make it your own—try a different color, tweak the strap placement, or adjust the length for more coverage if that’s your vibe. And if you’re making this as your first crochet bralette, take it slow and enjoy the process—this is the kind of project that teaches you a lot while giving you something you’ll actually want to wear.
Happy crocheting!
— Maggie
More crochet projects for you