
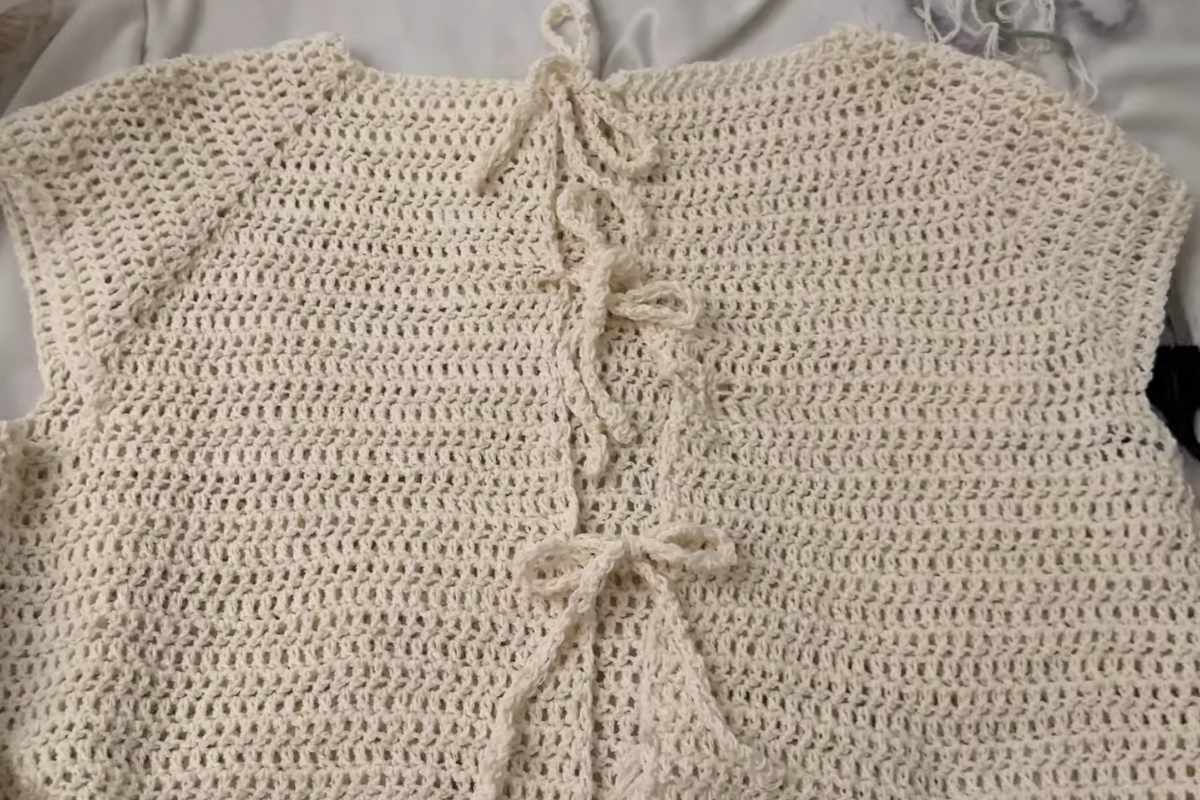
Beginner-Friendly Crochet Raglan Top

Are you looking to create a stylish and comfortable top with minimal seams? Look no further! In today's tutorial, we'll guide you through the process of making a crochet raglan top.
This beginner-friendly project is perfect for those new to crochet or anyone looking to add a seamless garment to their wardrobe. We'll also share a helpful video tutorial by kiara's hooks to make the process even easier.
What is a Crochet Raglan Top?

A crochet raglan top is a type of top where the sleeves are seamlessly incorporated into the body of the garment.
This technique creates a diagonal line from the neckline down to the armhole, resulting in a construction that minimizes seams and provides a comfortable fit around the shoulders.
- Top-Down Construction: Raglan tops are typically crocheted from the top down, starting at the neckline and working your way down to the body and sleeves.
- Seamless Shoulders: Because the sleeves are incorporated into the body as you crochet, there are no shoulder seams to sew together.
- Comfort and Fit: The raglan sleeve creates a comfortable fit around the shoulders, allowing for greater freedom of movement.
What You'll Need
Before we get started, let's gather the materials you'll need for this project:
- Yarn: Choose a yarn that is comfortable against the skin, such as cotton or a cotton blend. The amount of yarn needed will depend on the size of the top.
- Crochet Hook: Use a hook size that matches your yarn weight. Check the yarn label for recommendations.
- Stitch Markers: These will help you keep track of your stitches and increases.
- Scissors: For cutting your yarn.
- Tapestry Needle: For weaving in ends.
Step-by-Step Tutorial

Step 1: Starting at the Neckline
Begin by making a foundation chain that fits comfortably around your neck. Join the chain to form a ring, being careful not to twist it. This will be the neckline of your raglan top.
Step 2: Working the Yoke
The yoke is the part of the top that includes the neckline and extends to the armpits. Use the top-down construction method to work the yoke:
- Increase Rounds: Crochet rounds with regular increases at four points to create the raglan lines. Use stitch markers to mark these points.
- Continue: Continue working in rounds, increasing at the marked points until the yoke reaches the desired length (just below the armpits).
Step 3: Separating for the Body and Sleeves
Once the yoke is complete, you'll separate the stitches for the body and sleeves:
- Body: Continue crocheting in rounds or rows, working only on the body stitches. This creates the torso of the top.
- Sleeves: Place the sleeve stitches on hold using stitch holders or waste yarn.
Step 4: Crocheting the Body
Work the body of the top in rounds or rows until it reaches your desired length. You can add shaping or leave it straight, depending on your preference.
Step 5: Crocheting the Sleeves
Return to the sleeve stitches and work each sleeve in rounds or rows until they reach the desired length. You can make the sleeves short, three-quarter length, or long.
Step 6: Finishing Touches
- Weave in Ends: Use your tapestry needle to weave in any loose ends for a neat finish.
- Blocking (Optional): Block your top to shape it properly and give it a polished look.
For a visual guide, be sure to watch the video tutorial by kiara's hooks. This helpful video will walk you through each step of the process, making it even easier to follow along and complete your project.
Tips for Success
- Choose the Right Yarn: Select a yarn that is comfortable and suits the season you'll be wearing the top in.
- Use Stitch Markers: These are invaluable for keeping track of your increases and ensuring even shaping.
- Try it On: Periodically try on your top as you crochet to ensure the fit is just right.
Creating a crochet raglan top is a fun and rewarding project that results in a comfortable, stylish garment. With its seamless construction and beginner-friendly approach, this top is perfect for adding a handmade touch to your wardrobe.
Follow the steps outlined above and refer to the video tutorial by kiara's hooks for additional guidance.
Images and patterns courtesy of kiara's hooks
Enjoy The Video Tutorial

Source: kiara's hooks
Did you find this post useful or inspiring? Save THIS PIN to your Crochet Board on Pinterest! 😊

Last update on 2025-03-30 / Affiliate links / Images from Amazon Product Advertising API
From Hooks to Storage – Find the Best Crochet Accessories for Your Projects!


More crochet projects for you