
Beginner’s Crochet Plaid Bag: Easy, Modern, and Sturdy

Looking for a stylish project that’s equal parts practical and eye-catching? A crochet plaid (checkerboard) bag is a perfect weekend make.
This guide walks you through the materials, color planning, and the step-by-step construction so you can create a sturdy, modern accessory you’ll actually use.
We’ll work a simple checkerboard with clean color changes, a neat edge, and a comfortable strap—beginner-friendly but polished enough to impress.
What you’ll need
- Yarn: Two contrasting cotton shades, about 170 yds / 155 m per color (roughly one small ball of each). Cotton gives great stitch definition and durability for everyday use.
- Hook: 4 mm (US G/6). This size pairs well with cotton for a dense, bag-worthy fabric.
- Notions: Tapestry needle for weaving ends, a few stitch markers to mark edges or strap placements, scissors. (Markers are a handy visual cue to keep edges straight.)

Refill Your Creative Cup
Feeling stuck or out of ideas? Let us bring the spark back to your hook. Our weekly emails deliver patterns, tips, and inspiration to keep your creativity blooming.
😍 Bring Your Crochet Mojo Back – Sign Up Now! Click on the image 👆🏼
Plan your plaid
A classic, balanced plaid uses high-contrast colors (think cream + forest, black + white, lilac + mustard). The pattern is simply alternating solid squares.
You can keep each square small for a tighter, “pixel-like” look, or enlarge them for bold blocks. Two easy ways to structure the bag:
- Two panels + seam: Crochet front and back as rectangles, then seam around three sides and add a strap.
- Worked in the round: Start with a base and continue the checkerboard up the tube. (Great once you’re comfortable keeping joins tidy.)
For your first plaid bag, two panels are the most forgiving: edges stay straight, squares line up easily, and attaching the strap is simple.
Gauge and square size
Make a quick gauge swatch with your 4 mm hook and cotton: 12–14 stitches × 14–16 rows of tight single crochet (US) should measure about 4 in/10 cm. From there, decide how many stitches/rows equal one square (for example, 6 stitches × 6 rows per square).
Choose a grid like 8 squares across × 10 squares tall for a compact shoulder bag; adjust up for a tote.
Tip: Smaller squares = crisper plaid. Larger squares read bold but can stretch more; tighten your tension if you scale up.
Step by step
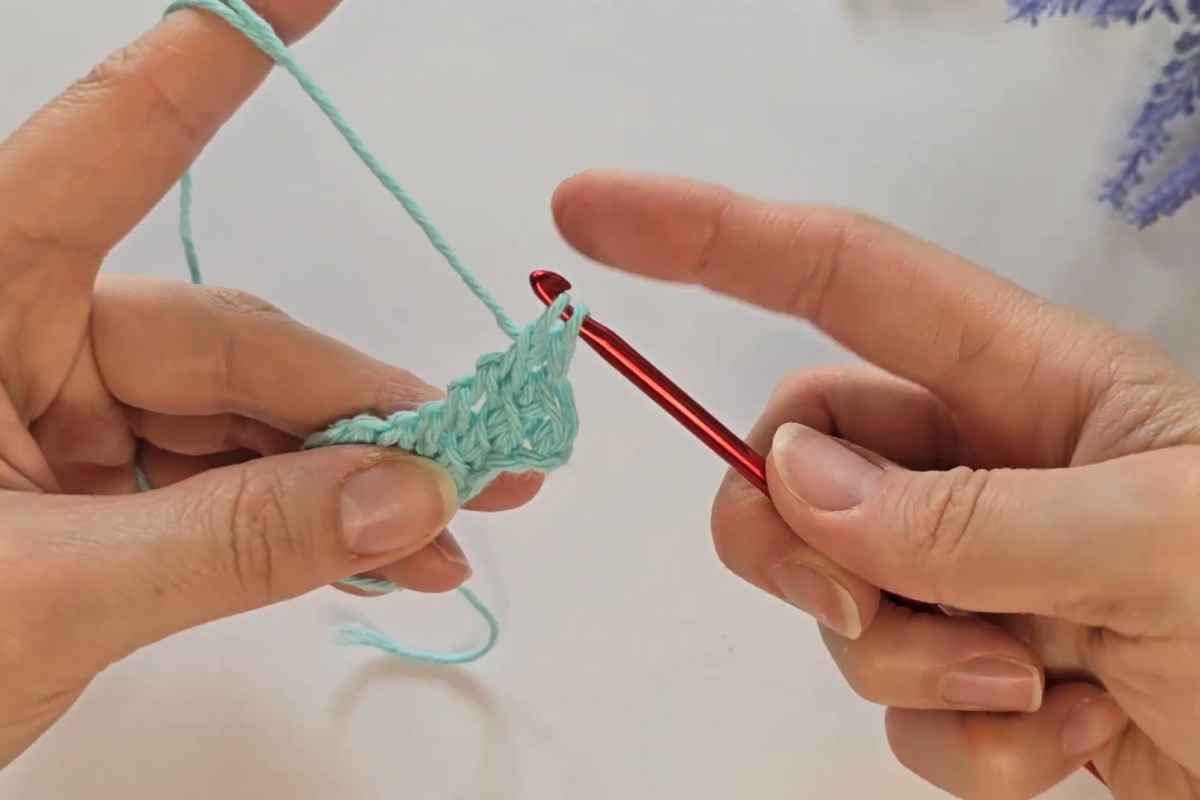
Foundation and setup row
With Color A, chain the width of your panel to match your planned squares (e.g., 8 squares × 6 stitches = 48 chains, plus 1 turning chain if you’re using single crochet). Work Row 1 in single crochet (US) into the back bumps of the chain for a tidy edge.
- Keep your stitches firm but not strangled—a dense fabric helps the bag keep its shape.
- Place a marker in the first stitch to track edges.
Establish the checkerboard
For Row 2, begin your first color block sequence (e.g., 6 sc in A, 6 sc in B, repeat). The cleanest way to switch is to change color on the last yarn-over of the previous stitch: insert the hook, yarn over and pull up a loop with the old color, then yarn over with the new color to complete the stitch. This avoids a visible step at the transition.
Work the next row with the colors offset—where you had A in the row below, place B, and vice versa—after every square-height interval (e.g., after 6 rows). That alternating placement is what creates the classic plaid.
Carrying the unused color
To keep the wrong side neat and prevent many cut ends, carry the unused yarn along the row and crochet over it or lay it behind your stitches, picking it up again when needed.
Maintain even tension so the carried strand doesn’t peek through. This is standard tapestry crochet practice for crisp motifs.
Troubleshooting: Seeing hints of the contrast color? Tighten your stitch height slightly and snug the carried strand gently as you cover it.
Build the body
Repeat your square-width (stitches) and square-height (rows) pattern until your panel reaches the desired height (for a shoulder bag, around 10–12 in/25–30 cm is versatile).
Keep edges straight by counting the first and last 2–3 stitches in each row. Move your edge markers up as you go.
Make an identical second panel, matching your starting color so the checkerboard aligns on the sides.
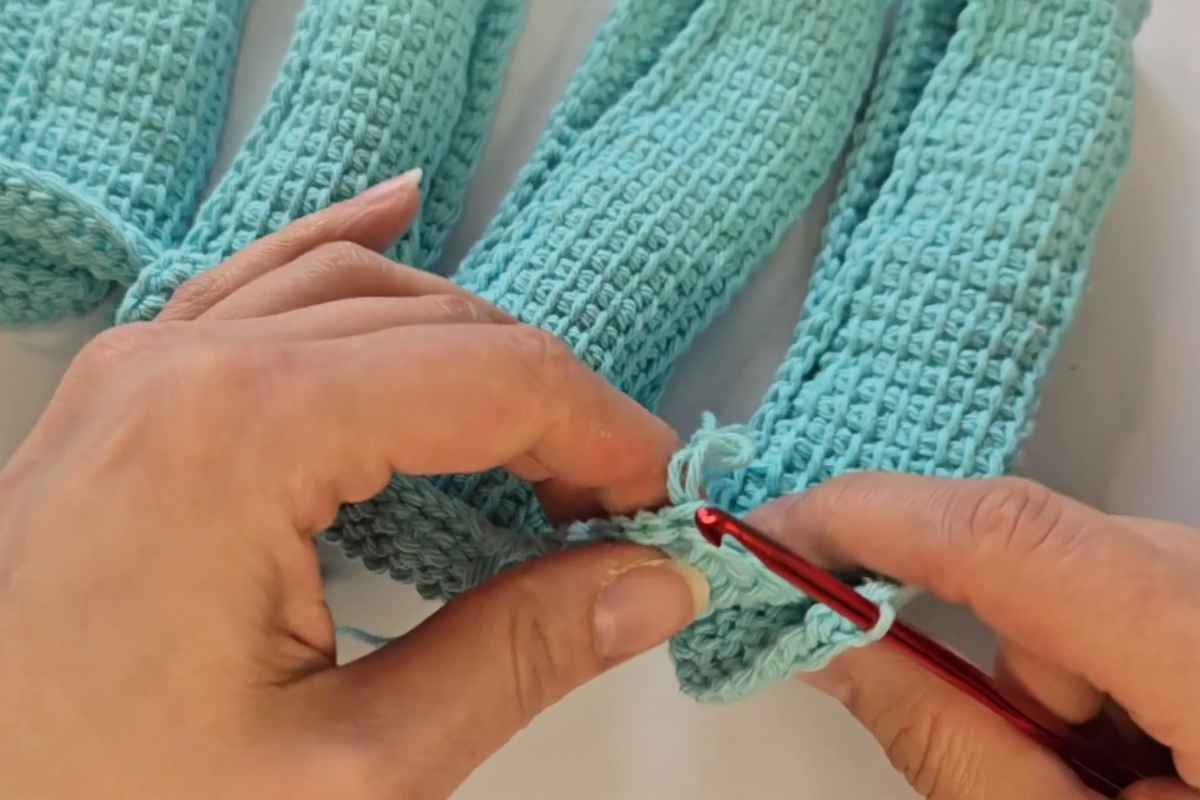
Seam the bag
Place panels right sides together. Seam the sides and bottom with a sturdy whipstitch or slip-stitch seam through both loops. Turn right side out. If you prefer a softer silhouette, seam through back loops only to create a subtle piping effect along the edges.
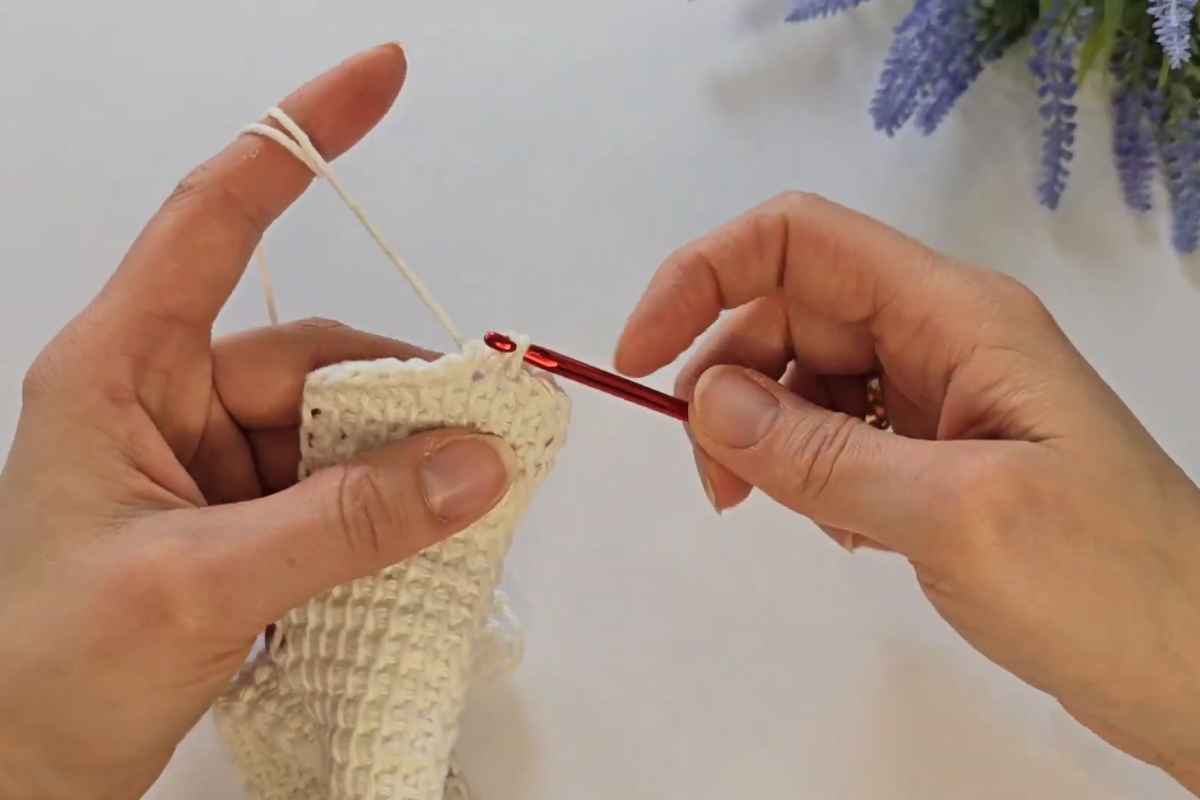
Reinforcement tip: Work one round of single crochet around the top opening to lock the last row and give the rim a clean, finished line.
Strap options
Pick one of these simple, durable straps:
- Flat strap (non-stretchy): Attach yarn at one top edge, chain to desired drop (or work 6–8 sc across for a wide strap), then single crochet back and forth until the strap is as long as you like. For extra strength, work two layers and slip-stitch them together.
- Folded rib strap (comfy on the shoulder): Work rows of half double crochet through the back loop only (BLO) for a flexible rib. Fold the strap lengthwise and seam for a cushier feel.
- I-cord-style strap (sleek): Crochet a narrow strip (3–4 sc) with tight tension; it rounds naturally. You can also braid three chains together for a quick finish.
Attach the strap ends to the inside of the bag with box-and-cross stitching (a square with an X) for a durable join. Use markers to ensure the strap isn’t twisted and is centered.

Finishing touches
- Weave in ends methodically as you go (especially after color joins) to avoid bulk at the end.
- Block lightly with steam (hover, don’t press) to relax any waviness and square up the plaid.
- Optional lining: For a luxe interior and zero snagging, hand-stitch a fabric rectangle (cut slightly smaller than the bag) inside the body before attaching the strap completely.
- Closure: Add a magnetic snap or a simple button loop at the top center.
- Edge polish: Work a final round of crab stitch (reverse single crochet) around the top for a rope-like finish.
Clean color changes: quick refresher
When your pattern calls for a switch, begin the change in the stitch before the new color: complete that stitch’s final yarn-over with the incoming color so the next stitch starts cleanly in the new shade.
This widely used method keeps the right side crisp and the transition almost invisible. For plaid worked flat, changing colors mid-row and carrying the idle strand is the simplest path to tidy squares.

Make it yours
- Scale: Increase square size (e.g., 8×8 stitches/rows per square) for a bold tote; reduce for a delicate mini.
- Palette: High contrast reads graphic; low contrast yields a subtle, woven-fabric vibe.
- Hardware: Try D-rings and clips for a removable strap, or add a zipper tape at the rim for a commuter-ready finish.
- Sustainability: Cotton is sturdy, but you can swap in recycled cotton or a plant-based blend for a softer hand.
Care and durability
Because this bag uses dense stitches and cotton, it stands up well to daily wear. Spot clean with mild detergent; reshape and air dry. If you’ve added a lining, wash the bag gently by hand to protect both fabric and crochet.
With contrasting colors, confident color changes, and a firm fabric, your crochet plaid bag will look chic and last for seasons.
Start with two panels for an easy win, and once you’ve mastered the rhythm of the checkerboard, try a seamless, in-the-round version or play with different square sizes.
Either way, this is a satisfying project that turns a few balls of yarn into a functional, fashion-forward accessory you’ll be proud to carry.
Images and patterns courtesy of Annadcrochet
Enjoy The Video Tutorial

Source: Annadcrochet
Did you find this post useful or inspiring? Save THIS PIN to your Crochet Board on Pinterest!

More crochet projects for you