
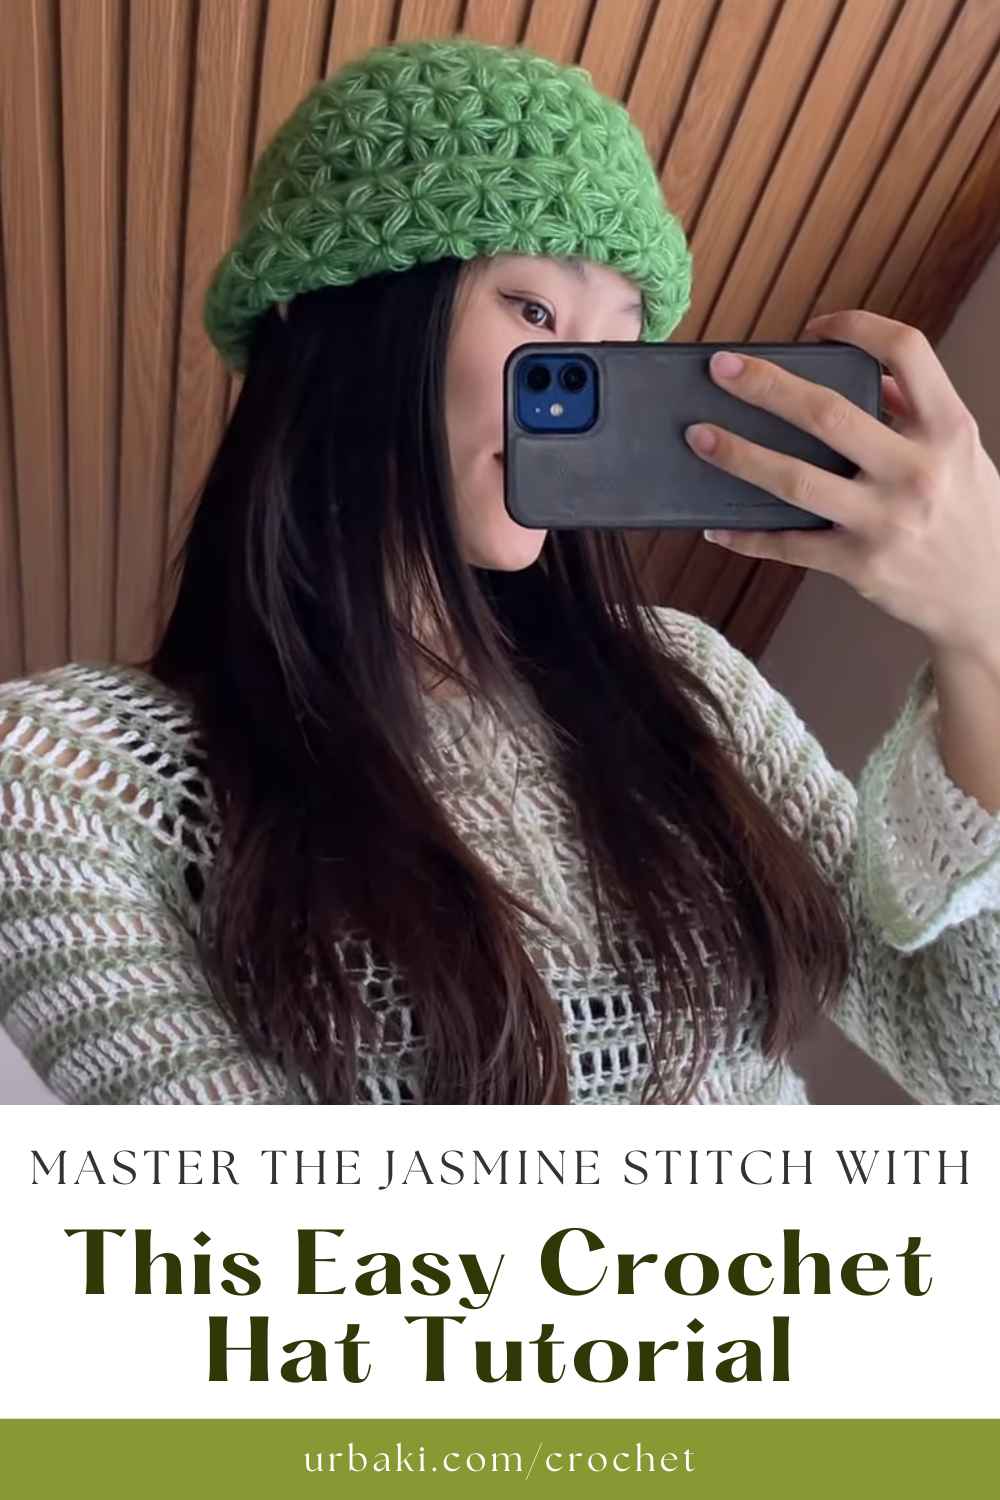
Beginner's Guide to Creating a Beautiful Jasmine Crochet Hat

Crocheting is a rewarding and relaxing craft, and creating accessories like the Jasmine Hat is a great way to start your crochet journey. In this tutorial, we’ll walk you through the process of making this beautiful and versatile hat, perfect for beginners.
With step-by-step instructions, you’ll be able to create a stylish accessory that adds a personal touch to any outfit. Whether you’re a first-time crocheter or looking for a new project, this Jasmine Hat is a fun and satisfying challenge.
Materials Needed for the Jasmine Hat
Before starting any crochet project, it’s essential to gather the right materials. For this hat, you’ll need the following:
- Yarn: Choose a soft yarn with a medium weight (worsted weight yarn works best). You'll need approximately 200 yards for a standard-sized hat.
- Crochet Hook: A 5.0 mm (H-8) crochet hook is recommended for this project.
- Tapestry Needle: This will be used to weave in the ends after finishing your hat.
- Scissors: For cutting the yarn at the end.
- Stitch Markers: These are helpful to keep track of your rounds.
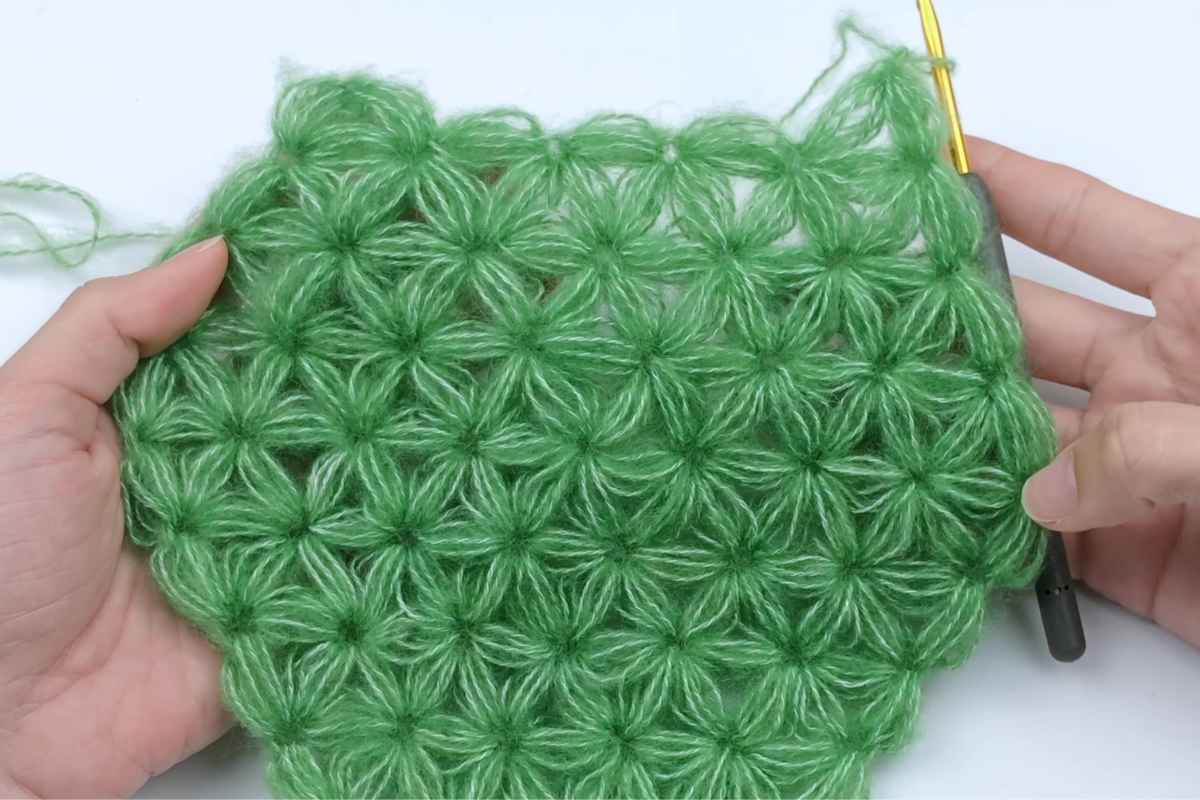
Understanding the Jasmine Stitch
The Jasmine Stitch is the signature feature of this hat. It creates a beautiful textured pattern that looks intricate yet is relatively easy to master. This stitch is worked in rounds, and each round begins with a slip knot and is completed with a joining stitch.
Here’s how to do the Jasmine Stitch:
- Start with a foundation chain. The number of chains depends on the circumference of the hat.
- Work your first round using single crochet stitches. You'll begin forming the base of the hat.
- Form the Jasmine Stitch: This stitch involves looping yarn over the hook several times, drawing loops through the work, and pulling them all together at the end. It creates a thick, textured look that’s perfect for a cozy, stylish hat.
Step-by-Step Instructions
Step 1: Create the Hat’s Foundation
To begin the Jasmine Hat, create a foundation chain that fits comfortably around your head or the head of the person who will wear it. For an adult-size hat, a foundation chain of about 70-80 stitches should be sufficient, but it’s always best to measure as you go.
Once your foundation chain is complete, join the ends with a slip stitch to form a circle. Be careful not to twist the chain before joining, as this could affect the shape of the hat.
Step 2: Work the First Round
Now, you’ll work in rounds using single crochet stitches. Start with a chain 1 and then place one single crochet stitch in each stitch around the circle. This forms the base of your hat and creates a sturdy foundation for the Jasmine Stitch.
After completing the first round, join with a slip stitch into the first stitch of the round to close it.
Step 3: Begin the Jasmine Stitch Rounds
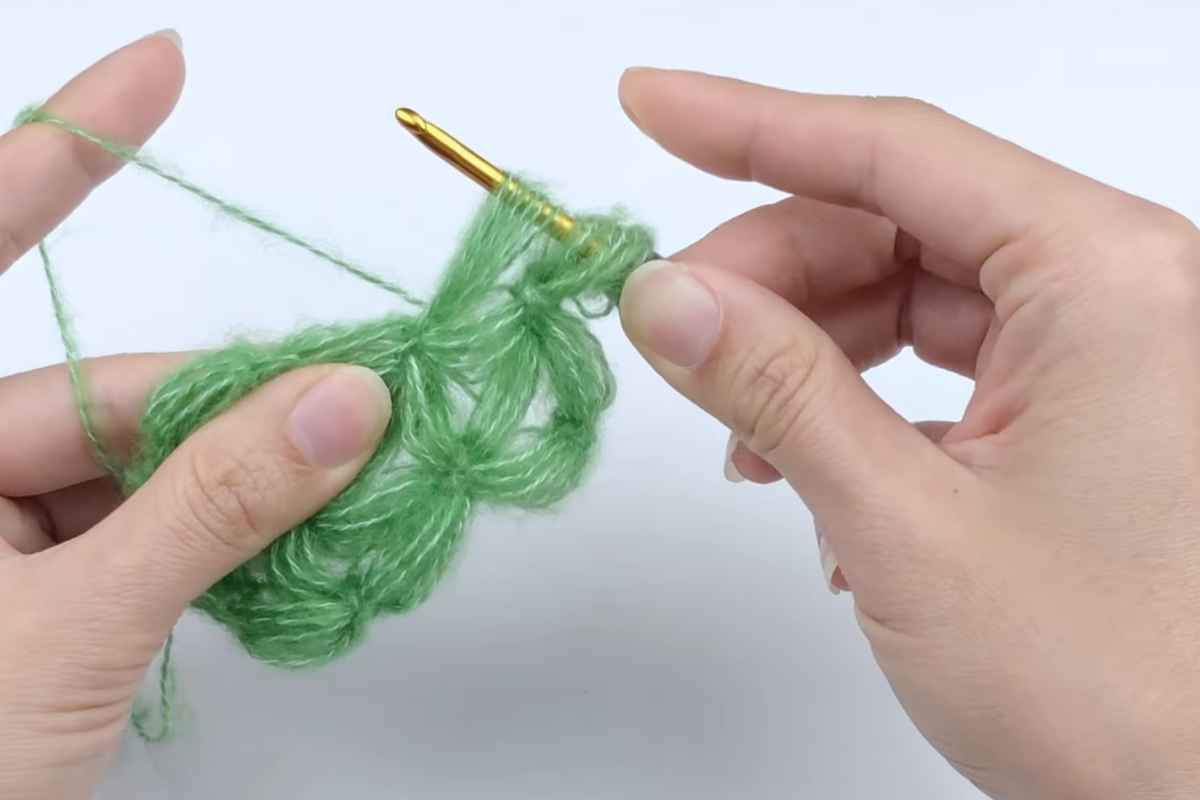
The real magic of the Jasmine Hat comes when you start working the Jasmine Stitch. For the first Jasmine Stitch round:
- Start with a yarn over and insert your hook into the stitch.
- Yarn over again, pull up a loop (you should have three loops on your hook).
- Yarn over once more and pull through the first two loops on the hook.
- Repeat this process in each stitch of the round, always leaving the loops on the hook until you have multiple loops.
- Close the stitch by pulling the remaining loops through the last loop on the hook. You’ll be left with a dense, textured stitch that makes the hat both stylish and cozy.
Repeat this process for several rounds, depending on how deep you want the hat to be. Keep in mind that you’ll need to adjust the number of stitches for different sizes, especially if you’re making the hat for a child or an adult.
Step 4: Shaping the Crown of the Hat
Once you’ve reached the desired depth for the body of the hat, it’s time to shape the crown. To do this:
- Begin decreasing by skipping certain stitches and working two Jasmine Stitches together. This will create a more fitted top, ensuring that the hat molds to your head.
- Continue decreasing each round until you’re left with a small opening at the top.
Step 5: Closing the Hat
To close the hat, cut the yarn and leave a long tail. Use your tapestry needle to thread the yarn through the remaining stitches and pull tightly. This will close the top of the hat, ensuring there are no gaps.
Step 6: Weaving in the Ends
Once the top of the hat is securely closed, use the tapestry needle to weave in any loose ends. This will give the hat a clean finish, and you won’t have to worry about yarn unraveling over time.

Optional: Adding a Pom-Pom or Other Embellishments
To give your Jasmine Hat an extra flair, consider adding a pom-pom to the top or a decorative button at the brim. You can make your own pom-pom by wrapping yarn around a fork or pom-pom maker and securing it with a tight knot.
Then, simply attach it to the top of the hat for a cute and fun look.
Your First Stitch to Success!
The Jasmine Hat is a perfect crochet project for beginners, especially if you’re looking to master the Jasmine Stitch. It’s a versatile accessory that can be customized with different colors and embellishments, making it suitable for any season.
With a little practice, you’ll be able to create beautiful, cozy hats in no time!
Remember, crochet is all about enjoying the process, so take your time, and don’t hesitate to experiment with different yarns and colors to make your Jasmine Hat truly unique. Happy crocheting!
Images and patterns courtesy of ABoC Studio
Enjoy The Video Tutorial

Source: ABoC Studio
Did you find this post useful or inspiring? Save THIS PIN to your Crochet Board on Pinterest!
More crochet projects for you