
Crochet a Comfy Ribbed Cardigan with This Easy Pattern

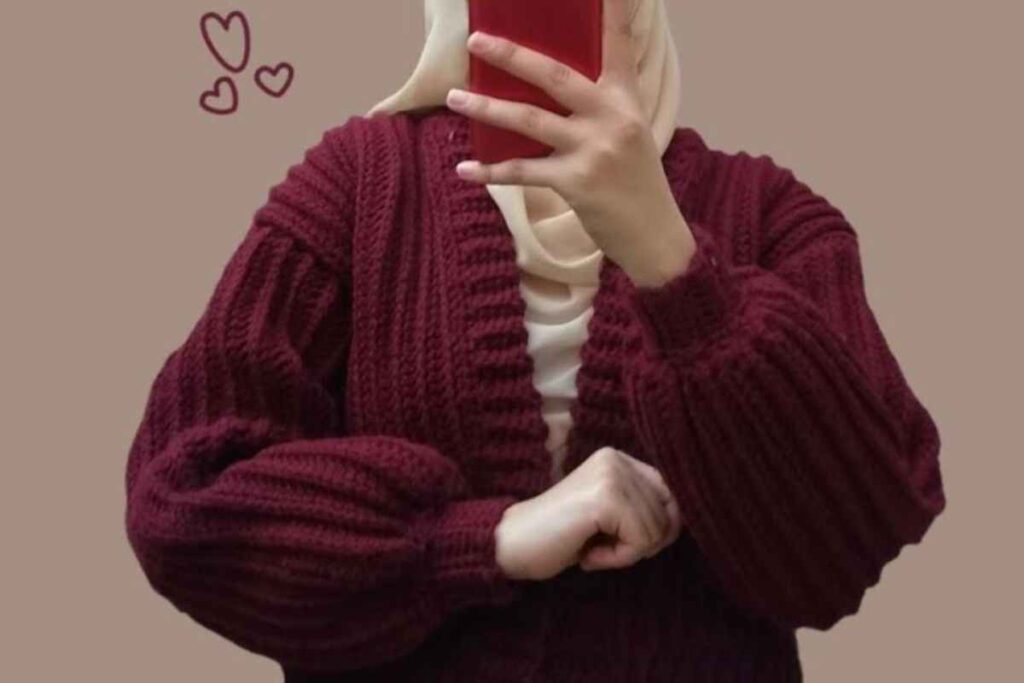
If you’ve been wanting a crochet cardigan that looks polished but still feels approachable, a ribbed texture is such a great place to start. Ribbing adds that cozy, store-bought look while keeping the fabric stretchy and comfortable.
In this tutorial, you’ll see how to crochet a ribbed cardigan step by step, with a focus on creating clean texture and a wearable shape. It’s a helpful watch whether you’re newer to garment-making or you just want an easy crochet cardigan pattern you can revisit anytime.
Ribbed crochet cardigan basics (and why the texture matters)
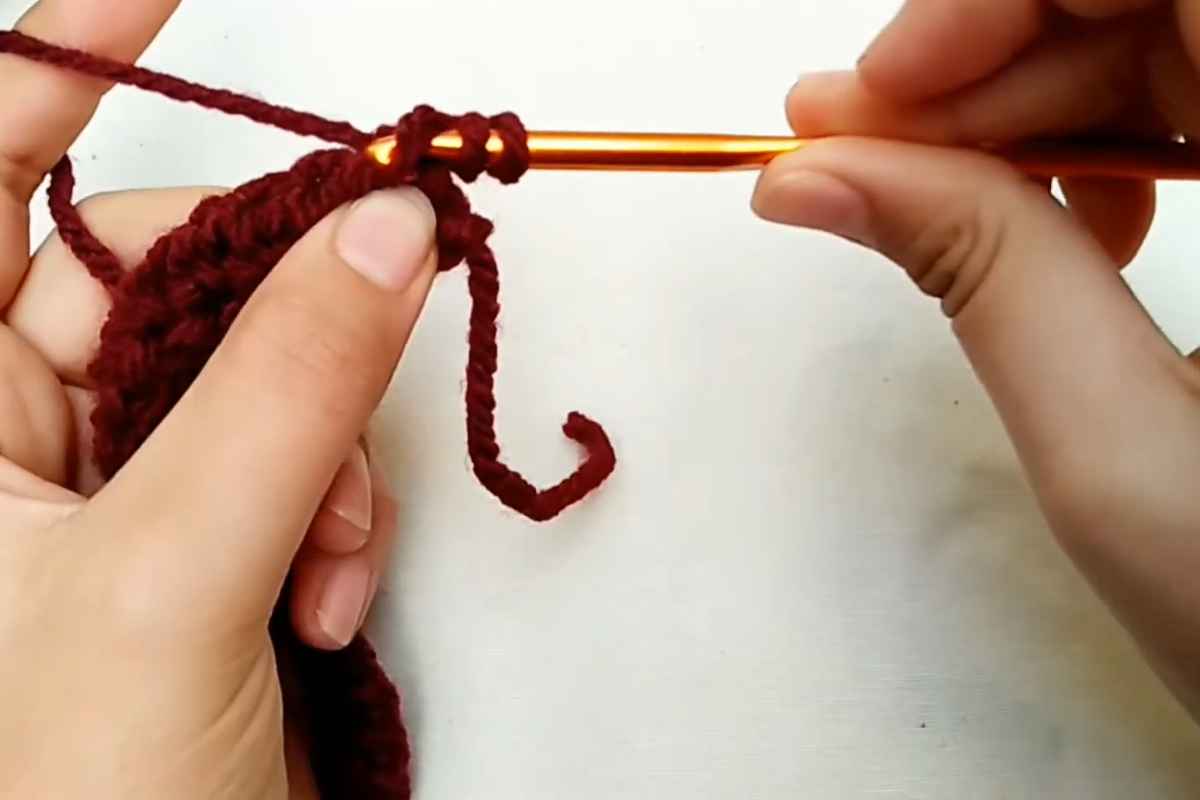
Ribbing isn’t just for cuffs—it can completely transform the look of a sweater. A ribbed crochet cardigan tends to drape nicely, feels flexible when worn, and gives your stitches a more structured, “knit-like” vibe (without actually knitting).
Refill Your Creative Cup
Feeling stuck or out of ideas? Let us bring the spark back to your hook. Our weekly emails deliver patterns, tips, and inspiration to keep your creativity blooming.
😍 Bring Your Crochet Mojo Back – Sign Up Now! Click on the image 👆🏼
As you follow along, pay attention to how the ribbing is formed and kept consistent row to row. Even small changes in tension can affect the texture, so the biggest win is keeping your stitch rhythm steady. If your ribbing ever looks uneven, a quick reset—counting rows and checking alignment—usually fixes it fast.
One more tip: ribbed fabric can be a little “grippy” on the hook. If your hands get tired, take breaks and focus on staying relaxed—smooth tension = smoother ribbing.
How to crochet a ribbed cardigan with a clean, comfy fit
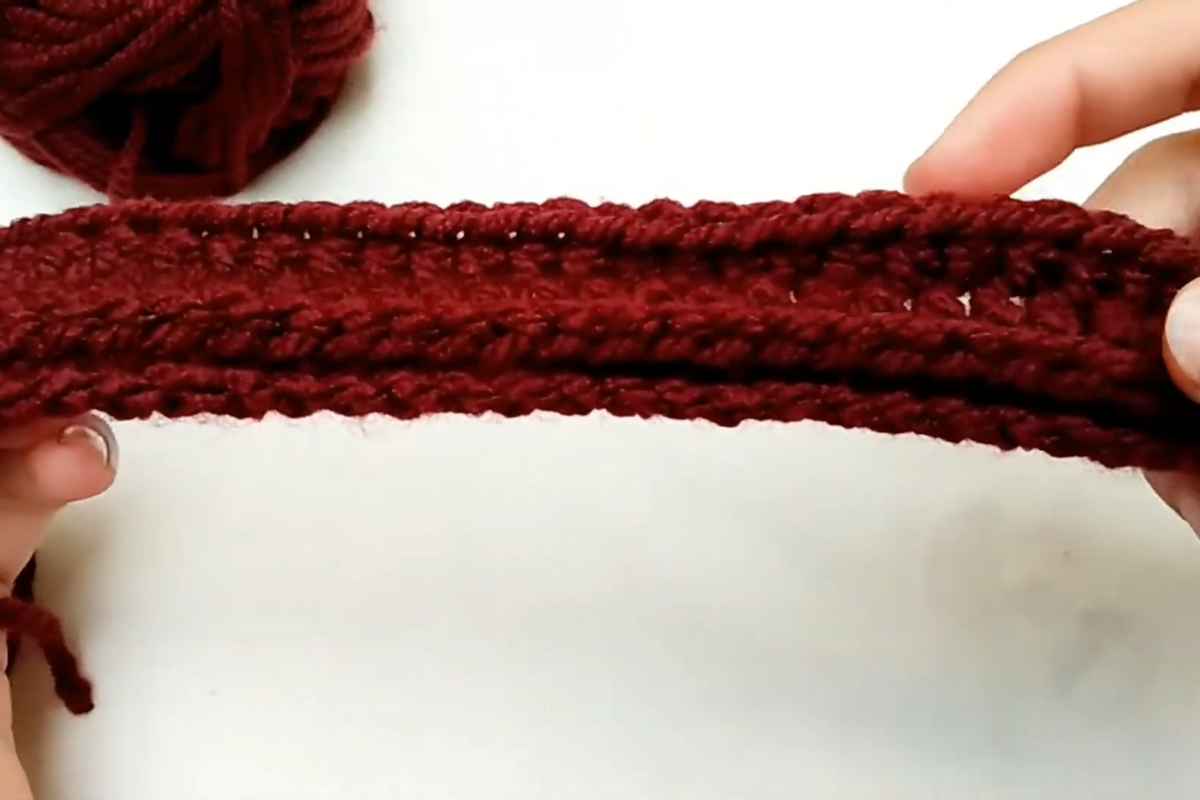
Cardigans feel intimidating until you make one and realize it’s all just repeatable sections. In the video, you’ll see how the cardigan comes together in a way that’s easy to follow, especially if you like learning visually.
As you crochet along, consider how you want your finished cardigan to fit: more oversized and cozy, or a closer fit with neat shaping. Even when a pattern is “easy,” you can still personalize the result by adjusting length, sleeve fit, or how snug you want the ribbing to be.
If you’re planning to make more than one, it helps to jot down quick notes as you go (hook size used, row counts, any tweaks). Future-you will be very thankful. 🙂
Ribbing troubleshooting: common issues (and quick fixes)
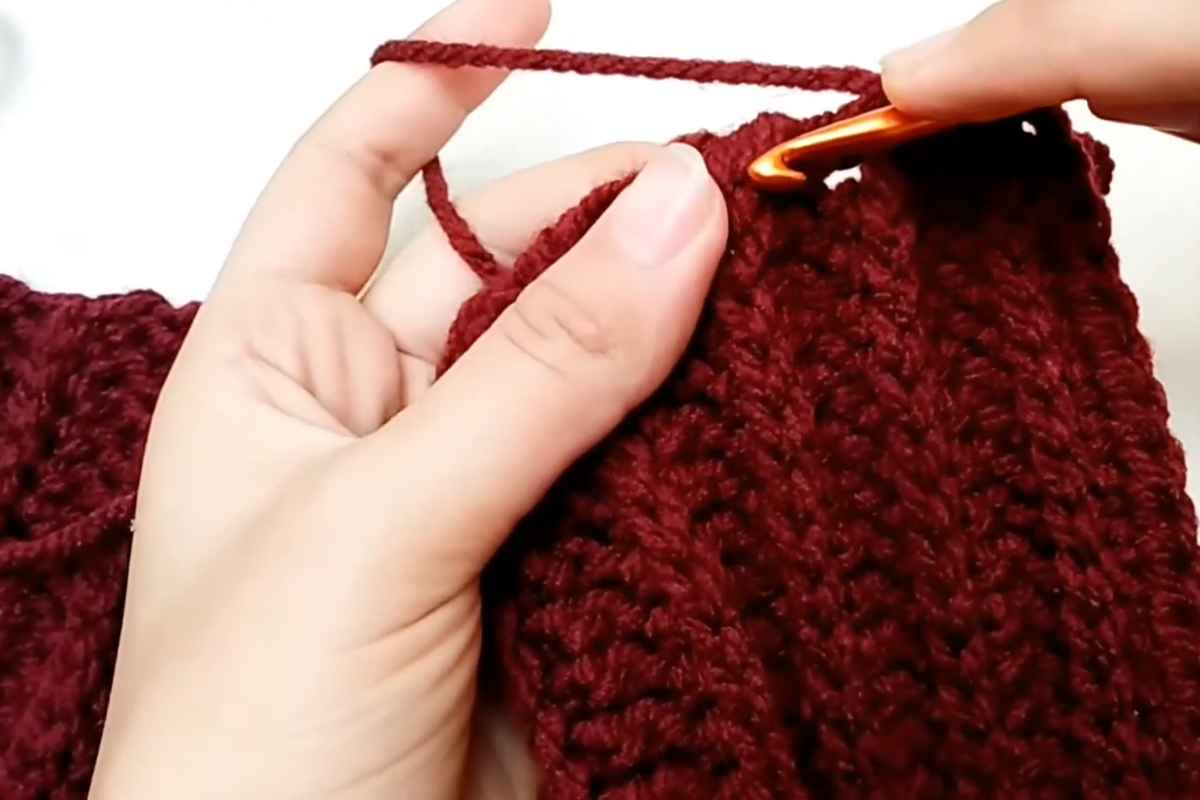
If you run into any of these, you’re not alone—ribbing is all about consistency.
- Ribbing looks wavy: Your tension may be changing. Try slowing down and keeping your yarn feed the same each row.
- Edges look messy: Focus on the first and last stitch of each row—clean edges make seaming so much easier.
- Fabric feels too stiff: Consider sizing up your hook, or choosing a yarn with more drape.
- Cardigan sizing feels off: Before you go too far, compare your piece to the sizing approach shown in the video and adjust early if needed.
Images and patterns courtesy of Sahar Elkady
Easy ribbed crochet cardigan video tutorial
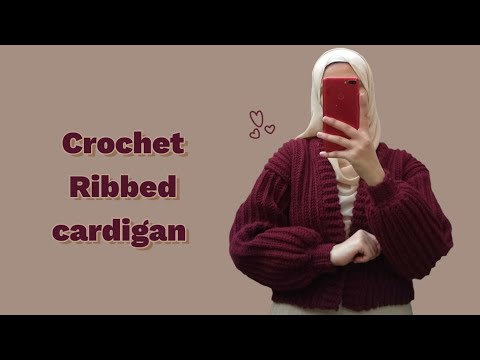
Source: Sahar Elkady
I hope this video helps you feel confident tackling a ribbed cardigan you’ll actually want to wear. Save it, come back to it, and don’t be afraid to make it your own with small fit or length adjustments.
Happy crocheting!
– Maggie
More crochet projects for you