
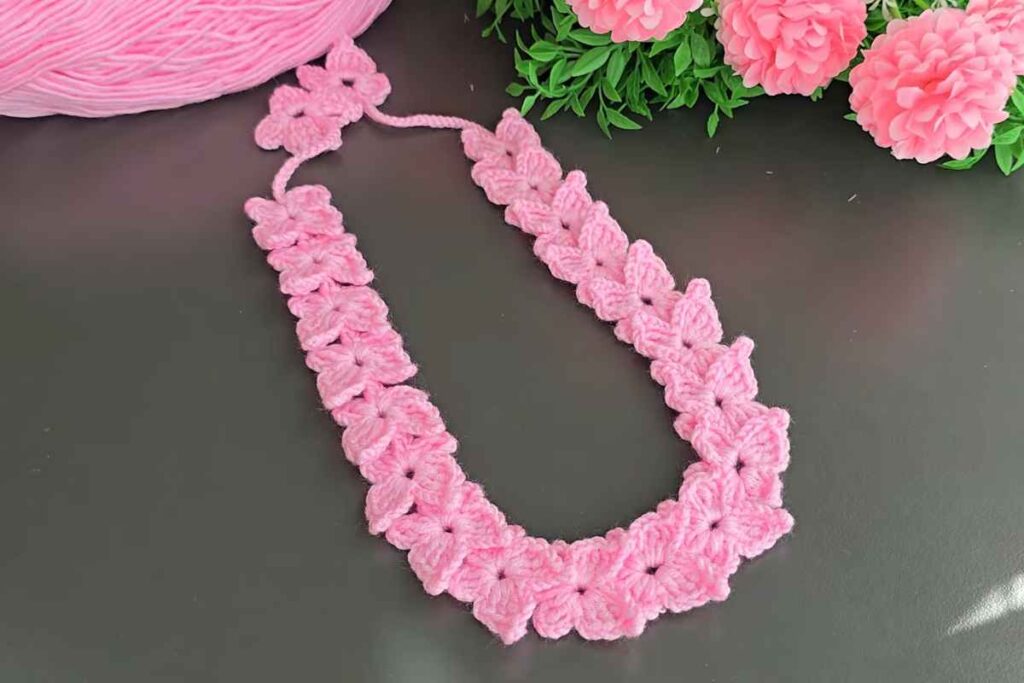
Crochet Butterfly Headband and Bag Handle: Easy Steps for Beginners
Crochet enthusiasts looking to add charming and unique accessories to their collection will love learning how to make a crochet butterfly headband and a stylish bag handle.
These versatile projects are perfect for gifting or personal use, offering a combination of creativity and practicality.
In this guide, we’ll explore simple yet effective techniques to help you crochet beautiful accessories that stand out.
Materials Needed for Your Crochet Projects
Before starting, gather the essential materials to ensure a smooth crafting process:
Refill Your Creative Cup
Feeling stuck or out of ideas? Let us bring the spark back to your hook. Our weekly emails deliver patterns, tips, and inspiration to keep your creativity blooming.
😍 Bring Your Crochet Mojo Back – Sign Up Now! Click on the image 👆🏼
- Medium-weight yarn in colors of your choice (soft cotton or acrylic work well)
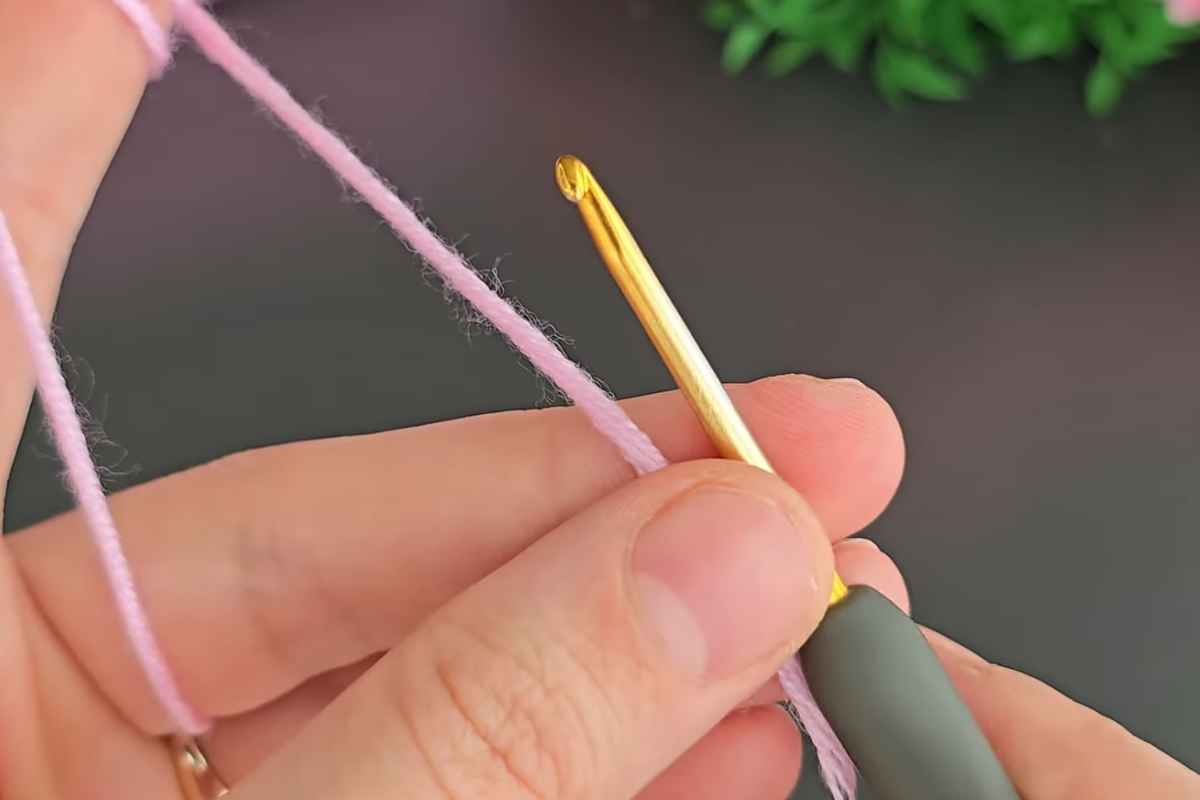
- Appropriate crochet hook size for your yarn (usually indicated on the label)
- Scissors for cutting yarn
- Tapestry needle to weave in ends and sew parts together
- Measuring tape to check length and sizing
- Optional: Buttons, beads, or ribbons for embellishments
Having these materials ready will make crocheting your butterfly headband and bag handle easier and more enjoyable.
How to Crochet the Butterfly for Your Headband
Creating the butterfly is the centerpiece of the headband and adds a charming accent. Follow these steps for a simple and effective butterfly design:
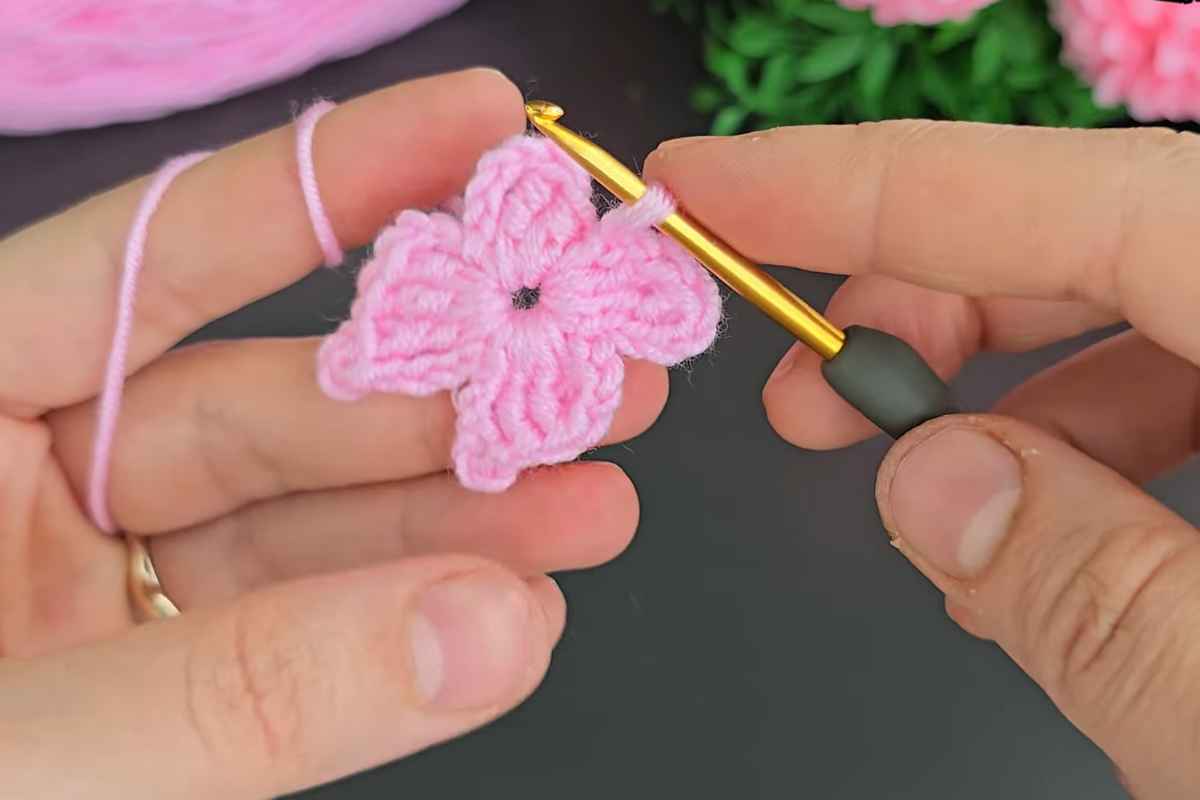
Step 1: Crochet the Butterfly Wings
Start by making a rectangular piece using basic crochet stitches such as single crochet or half-double crochet. Begin with a foundation chain (about 20 stitches) and work several rows until you reach the desired width.
Fold the rectangle in the middle and pinch the center to form the butterfly’s wing shape. This simple folding technique gives the illusion of delicate butterfly wings.
Step 2: Shape and Secure the Butterfly Body
Using a contrasting yarn color, wrap tightly around the center fold multiple times to create the butterfly’s body. Secure it with a knot or by weaving in the ends.
Optionally, add small embroidered antennae or sew on beads for an extra decorative touch.
Crafting the Crochet Headband Band
The headband band is the base that holds the butterfly accessory comfortably around the head.
Step 1: Measure and Chain
Measure the circumference of the head where the band will sit. Chain a length matching this measurement, plus a small allowance for stretch and joining.
Step 2: Build the Band
Work rows of single crochet or your preferred simple stitch back and forth until the band reaches your desired width—usually between 1 to 2 inches for comfort and style.
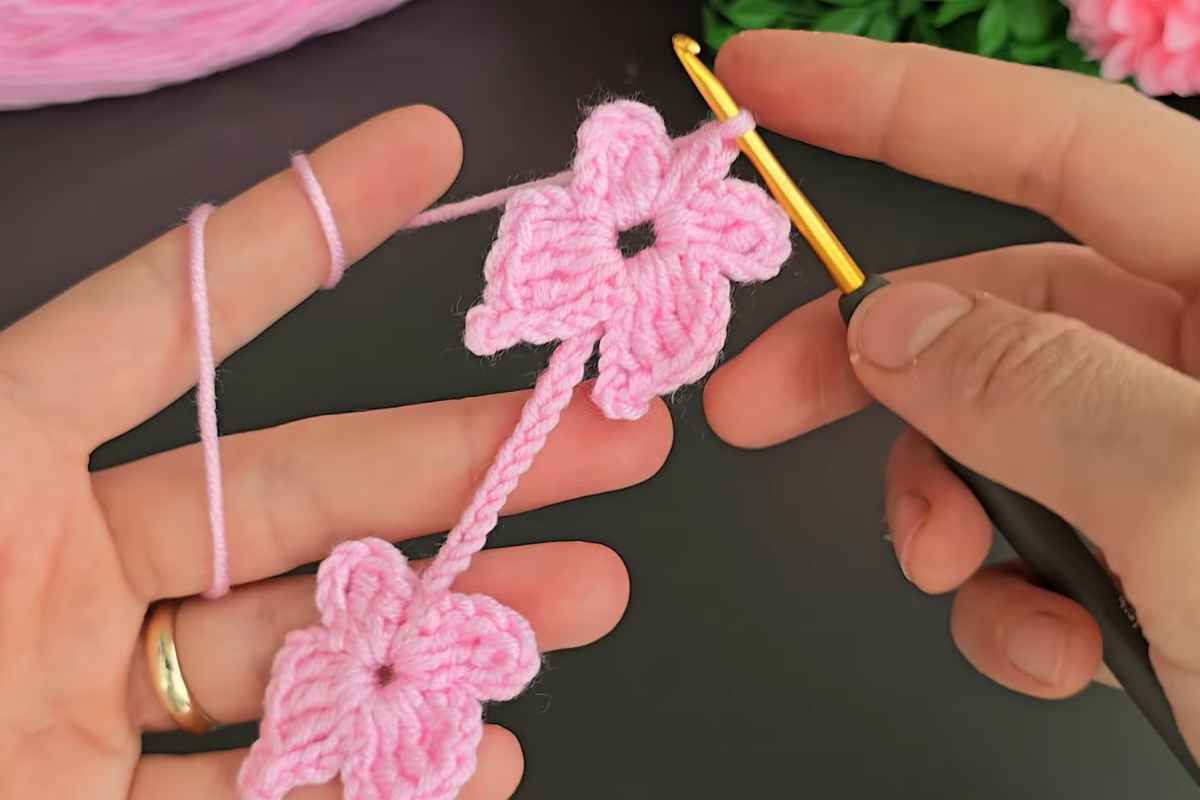
Step 3: Join and Attach
Slip stitch or sew the two ends of the band together to form a circle. Finally, sew the butterfly securely to the center front of the headband.
Making a Matching Crochet Bag Handle
A crochet bag handle is an excellent way to coordinate your accessories and add a handmade touch to your favorite bag.
Step 1: Chain the Desired Length
Start with a chain that matches the length you want for your bag handle—typically around 15 to 20 inches depending on bag style.
Step 2: Crochet the Strap
Work rows of single crochet until the strap reaches the width you prefer, often about 1 to 2 inches.
Step 3: Attach the Handle
Sew the ends of the handle securely to your bag. Reinforce the attachment points with multiple stitches to ensure durability.
You can create a matching color scheme or use complementary tones to tie the look together with the headband.
Tips for Customizing Your Crochet Accessories
- Color Choices: Use bright, pastel, or neutral yarns depending on your style. Variegated yarns add a lovely textured effect to the butterfly wings and band.
- Adjust Sizes: Increase or decrease the number of chains and rows to make your headband or bag handle bigger or smaller.
- Add Embellishments: Buttons, beads, or small crochet flowers can add an extra layer of uniqueness.
- Use Different Stitches: Try experimenting with different stitch patterns for texture and visual interest.
Benefits of Crocheting Your Own Accessories
Making your own crochet butterfly headband and bag handle is not only fun but also practical.
It allows you to express creativity, develop new skills, and produce one-of-a-kind pieces tailored to your taste. These projects make wonderful handmade gifts, too.
Crochet accessories are lightweight, washable, and durable—perfect for everyday wear and use. By following this guide, even beginners can enjoy crafting beautiful pieces with confidence.
Crafting Charming Accessories: The Crochet Way
Mastering these projects will boost your crochet skills and expand your accessory collection. Remember that practice leads to improvement, so take your time and enjoy the process.
The crochet butterfly headband and bag handle combine style and functionality beautifully.
With basic materials and simple techniques, you can create charming, personalized items that brighten your wardrobe and bags.
For a visual walkthrough and helpful tips, consider watching a detailed crochet butterfly headband and bag handle tutorial on YouTube to complement this guide.
Images and patterns courtesy of Knitting Love
Enjoy The Video Tutorial

Source: Knitting Love
More crochet projects for you