
How to Crochet an Amigurumi Doll: Base + Removable Hair

If you’ve been wanting to make a crochet doll amigurumi you can truly customize, this 2-part tutorial is a great place to start. Part 1 walks you through the doll base, and Part 2 shows how to create removable hair—so you can swap styles, change colors, or update your doll’s look anytime.
This is a fun project for anyone who enjoys amigurumi and wants a doll that feels more “buildable” and personal. Even if you’re still learning, following along on video makes it much easier to see how the pieces come together.
Crochet Doll Amigurumi Base: Building the Foundation
In Part 1, you’ll crochet the doll base—basically the core structure you’ll build everything else on. As you work, focus on keeping your stitches consistent so the shape stays smooth and even.
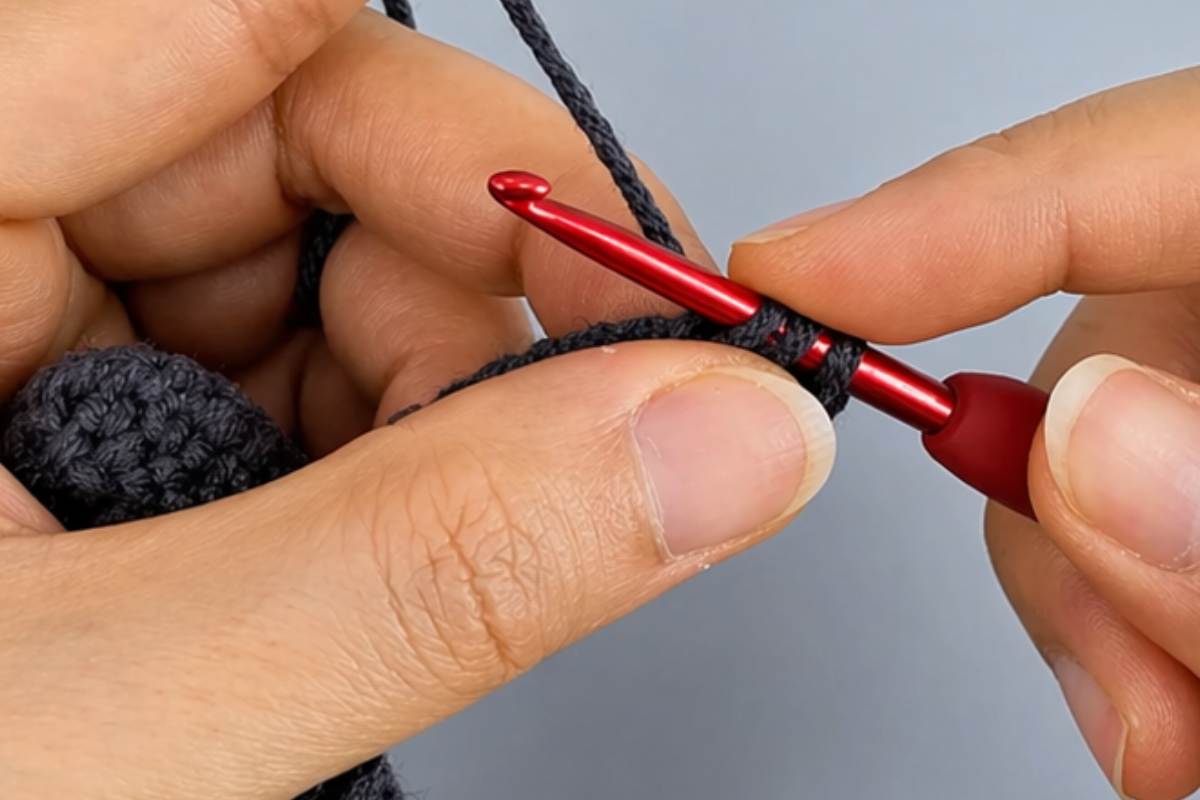
Refill Your Creative Cup
Feeling stuck or out of ideas? Let us bring the spark back to your hook. Our weekly emails deliver patterns, tips, and inspiration to keep your creativity blooming.
😍 Bring Your Crochet Mojo Back – Sign Up Now! Click on the image 👆🏼
A helpful approach is to pause the video when needed and double-check your rounds before moving on. With amigurumi, small counting mistakes can add up, so taking an extra moment to stay on track can save you time later.
Once the base is complete, you’ll have a solid foundation ready for the next stage: adding hair that you can remove and replace.
Images and patterns courtesy of Tata Crochet Patterns
How to Crochet a Doll Base (Part 1 Video Tutorial)

Source: Tata Crochet Patterns
Removable Crochet Doll Hair: Easy Customization for Your Amigurumi
Part 2 is where the doll really becomes customizable. Removable hair is such a clever detail because you can create different looks without making a whole new doll. You can also experiment with texture and color while keeping the same base.
As you follow along, aim for secure but not overly tight placement—you want the hair to stay put, but still be easy to take off and swap. If your hairpiece feels loose, try adjusting your tension or rewatching the joining steps in the tutorial.
Crochet Removable Hair for an Amigurumi Doll (Part 2 Video Tutorial)

Source: Tata Crochet Patterns
Thanks for crocheting along with me! Once you’ve finished, you can try making a few extra hair variations to match different outfits or seasons—this is the kind of project that’s hard to stop customizing once you start.
Happy crocheting!
— Maggie
More crochet projects for you