
Crochet Pinwheel Coaster: Perfect for Your Coffee Time


If you love quick crochet projects that look impressive without being complicated, a pinwheel coaster is a perfect pick. This style creates a bold, swirly look that instantly upgrades your table setup.
In today’s tutorial, you’ll learn how to crochet a pinwheel coaster with a crochet diagram included, so you can follow along visually as the coaster comes together.
How a Pinwheel Coaster Gets Its Swirly Look (And Why the Diagram Helps)
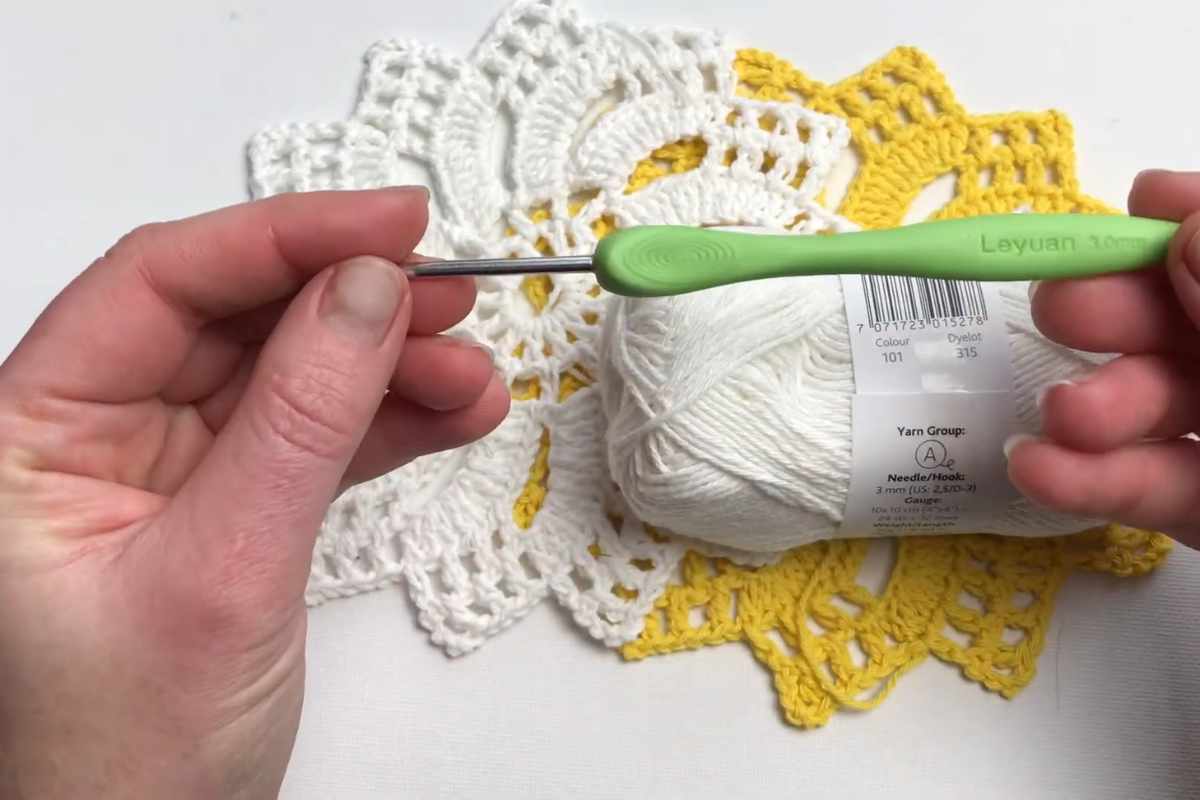
A pinwheel coaster is all about shaping and stitch placement—those small choices are what create the “spinning” effect. Instead of guessing where the next section goes, a diagram helps you see the structure at a glance, which is especially helpful if you’re a visual learner.
In the video, you’ll see how the coaster is built step by step, how each section connects, and how the stitch diagram supports the process. This is also a great project for using leftover yarn, since coasters don’t require a lot of yardage—just enough to create something cute, functional, and giftable.
Crochet Pinwheel Coaster Tutorial + Stitch Diagram Walkthrough

Source: Hobbi CROCHET
Tips for Cleaner Coaster Edges and a Smoother Finish
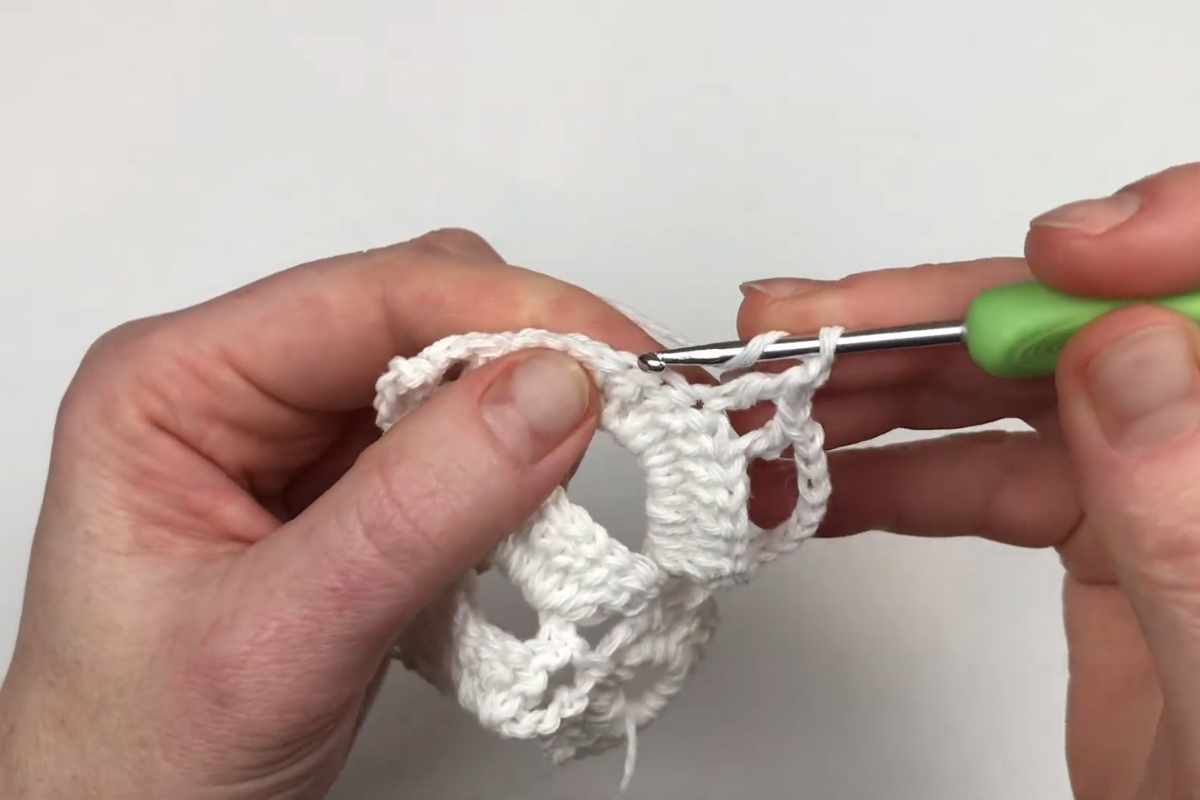
Images and patterns courtesy of Hobbi CROCHET
If your coaster edges look a little wavy or uneven, don’t worry—this is super common with shaped designs. Two things that usually make the biggest difference:
- Keep your tension as consistent as possible (especially when turning or moving into the next section).
- If your coaster curls, a quick light blocking can help it lay flatter (even simple steam blocking works well, depending on your yarn).
Once you’ve made one, you’ll likely want to make a set—these are great for mixing colors and creating a matching bundle for your coffee table or as a handmade gift.
Happy crocheting!
— Maggie
More crochet projects for you