
Crochet Ruffle Skirt for Beginners: Simple, Flowy, Cute


Ready to make a flirty, swishy skirt that looks boutique-made and still feels beginner-friendly? This easy crochet ruffle skirt is worked top-down, which means you can try it on as you go, adjust the length, and decide exactly how dramatic you want those ruffles to be.
We’ll cover sizing, waistband options, body shaping, single or double ruffle tiers, and smart finishing so your skirt looks polished, not “homemade.” Grab your yarn and let’s dive in!
What You’ll Need
- Yarn: Light worsted/DK or worsted (category 3–4). Choose something soft with drape—cotton blends and bamboo blends are great for movement.
- Hook: Size recommended on the yarn label (often 4.0–5.5 mm). Keep a second hook a half size smaller on hand for the waistband.
- Notions: Stitch markers, measuring tape, tapestry needle, scissors. Optional: 1–2 cm elastic for the waistband or a drawstring.
Pro tip: For a floaty ruffle, choose a yarn with good drape. Stiffer acrylics can work, but natural fibers or blends will flow better.

Refill Your Creative Cup
Feeling stuck or out of ideas? Let us bring the spark back to your hook. Our weekly emails deliver patterns, tips, and inspiration to keep your creativity blooming.
😍 Bring Your Crochet Mojo Back – Sign Up Now! Click on the image 👆🏼
Sizing and Fit (Do This First!)
- Measure your high waist (where you want the skirt to sit).
- Decide ease: You want a snug waistband that won’t slide. Aim for 1–2 inches (2.5–5 cm) of negative ease.
- Gauge: Make a quick 10×10 cm (4×4 in) swatch in half double crochet (hdc) or double crochet (dc)—whichever you’ll use for the body. Count stitches per inch.
- Starting stitch count: Multiply your stitches per inch by your target waistband circumference (waist minus negative ease). Round to the nearest multiple of 4 or 6 so increases divide evenly later.
Fit rule of thumb: The waistband should stretch to your body—not the other way around. If it feels loose now, it will be looser after a few wears.
Construction Overview
We’ll crochet:
(1) a comfy waistband, (2) the body in rounds, and (3) ruffles. You can stop at one ruffle for a clean flounce, or add a second tier for a fuller, layered look.
The Waistband (Two Simple Options)
Option A: Ribbed Stretch Waistband (No Elastic)
- Using a smaller hook, chain your calculated stitch count and join without twisting.
- Round 1: Hdc in each ch around, join.
- Rounds 2–6 (or more): Hdc through the back loop only (BLO) each round for gentle ribbing and cling.
- Switch to your main hook for the body.
Why it works: BLO hdc creates subtle ribs that hug the waist without bulky seams.

Option B: Elastic Casing Waistband (Extra Security)
- Chain your stitch count and join.
- Work 2–3 rounds of single crochet (sc) for a tidy band.
- Round 4: Sc around but keep your tension a touch looser.
- After finishing the skirt, thread a soft elastic through the band (use a safety pin). Overlap and sew the elastic ends.
Note: If you choose elastic, keep the waistband rounds shorter—you don’t need heavy ribbing and elastic.
The Body: Clean Lines with Optional A-Line
Switch to your main hook.
- Round 1 (setup): Dc or hdc in each st around, join. Place a stitch marker at the join.
- Rounds 2–? : Continue in dc or hdc for a smooth, even fabric.
- Optional A-line shaping: Every 4th round, increase 6 sts evenly around (e.g., 2 sts in the same stitch, spaced out). This adds a gentle flare so the ruffle sits beautifully and doesn’t cling.
Length guide: Work until you’re 2–3 inches (5–7.5 cm) above where you want the ruffle to start. For a mini skirt, you might stop about mid-thigh before ruffles; for longer looks, keep going.

The Magic: Building Ruffles
Ruffles are simply controlled increases. The more increases, the more dramatic the wave.
Single-Tier Ruffle (Flirty and Simple)
- Ruffle Base Round: Switch to dc (if you used hdc for the body) for extra drape. Work 2 dc in each stitch around, join.
- Ruffle Round 2: For more volume, 2 dc in each stitch again (or alternate 2 dc, 1 dc if you want a softer frill).
- Finishing Edge: 1–2 rounds of dc even, then a shell edging (skip 1, 5 dc in next, skip 1, sl st in next) or simply sc for a crisp hem.
Result: A soft waterfall effect that moves as you walk.
Two-Tier Ruffle (Layered and Luxe)
- Prepare the anchor: On your last body round, work through the front loop only (FLO). This leaves the back loop free for the second ruffle.
- Top Ruffle (Tier 1):
- Join yarn to FLO edge.
- Round 1: 2 dc in each st around, join.
- Round 2: 2 dc, 1 dc repeat around (or 2 dc in each for maximum drama). Finish with a clean sc round or shell edge.
- Lower Ruffle (Tier 2):
- Flip the skirt to expose the unused back loops from that last body round.
- Join yarn and repeat the same ruffle formula. Make this tier slightly longer (add one extra even dc round) so the layers cascade without crowding.
Pro tip: FLO for the upper tier keeps the join invisible and lets the ruffle bloom outward without tugging the body fabric.
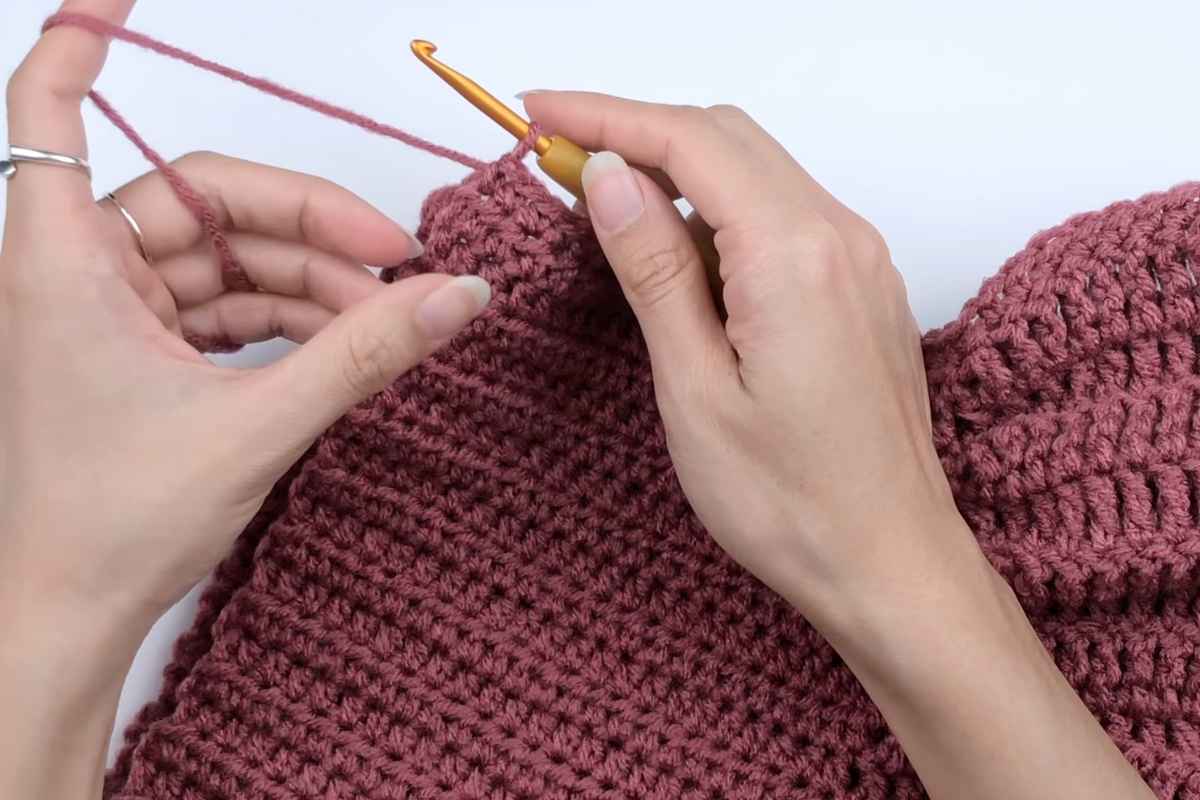
Neat Joins, No Ladders
- Start each round with a gentle chain lift: Ch 1 for sc/hdc, ch 2 for dc (don’t count as a stitch if you prefer a tighter seam).
- End each round by slip stitching into the first true stitch (not the chain) and rotate your starting point every few rounds to avoid a visible line.
- Weave ends into the same color sections only, following the direction of the stitches for invisible finishes.
Customization Ideas
- Drawstring: After Round 1 of the waistband, chain 120–160, thread it through every third stitch, and add tassels. Cute and functional!
- Colorplay: Body in a solid color, then contrasting ruffles for a pop. Ombre yarns look incredible on the flounce.
- Texture switch: Body in hdc for smoothness, ruffles in dc or v-stitches for airy movement.
- Length: From playful mini to above-the-knee—just work more body rounds before starting the ruffles.
Troubleshooting & Fit Fixes
- Waistband too loose: Go down half a hook size on the waistband or remove 4–8 sts at the join and redistribute.
- Ruffles feel stiff: Try a larger hook for ruffle rounds or switch to a fiber with more drape (cotton/bamboo).
- Body clings at the hips: Add an increase round every 3–4 rows until it skims smoothly.
- Ruffle flips upward: Add one more even dc round after the final increase round, then finish with a shell or sc edge.
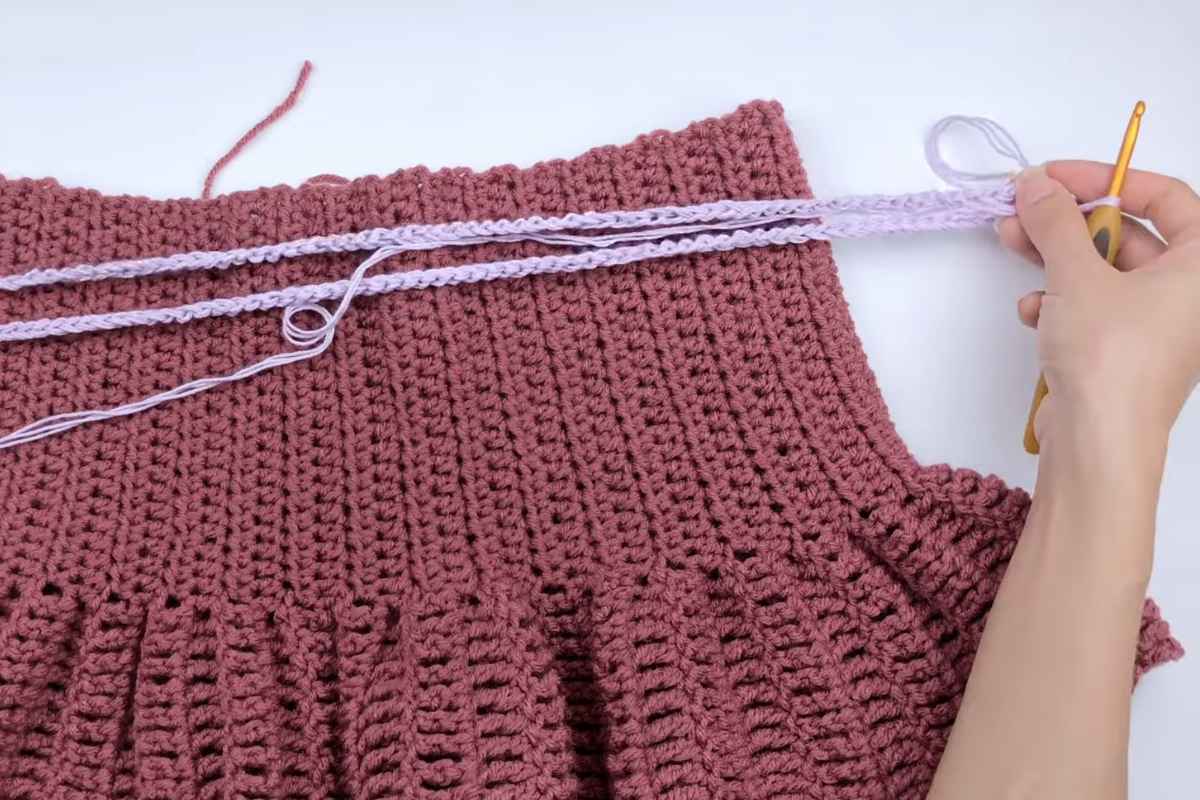
Blocking and Care
- Block lightly to relax the ruffles—steam from a distance or lay flat after a cool wash.
- For cottons and blends, shape the ruffles while damp so the wave sets.
- Care: Gentle wash, dry flat. Avoid high heat; it can dull the stitch definition and snap elastic.
Quick Size Reference (Guided, Not Rigid)
- Waistband: Negative ease 1–2 in (2.5–5 cm).
- Skirt body: Straight or gentle A-line.
- Single ruffle: 2 dc in each stitch for Round 1; for Round 2 choose 2 dc in each (big frill) or (2 dc, 1 dc) (soft frill).
- Double ruffle: Work top tier from FLO, bottom tier from the reserved back loops.
Why This Skirt Works for Beginners
- It uses repetitive stitches (sc/hdc/dc) and simple increases.
- The top-down approach means try-on-as-you-go adjustments.
- Ruffles are modular: add one, two, or stop early—your choice.
- Waistband options give you either stretchy comfort (BLO rib) or extra security (elastic casing).
Style It Your Way
Pair your skirt with a tucked tee, a cropped cardigan, or a light tank. For movement, choose drapey yarn and dc ruffles. For a more structured look, work hdc ruffles and keep increases modest. However you style it, those ruffles will move beautifully with every step.
You’ve got this. With a few rounds of mindful stitching, some smart increases, and a gentle block, your crochet ruffle skirt will look crisp, swirl gracefully, and fit exactly the way you like.
If this is your first garment, celebrate each milestone: a smooth waistband, an even body, and finally those satisfying, wavy ruffles. Happy crocheting!
Images and patterns courtesy of ABoC Studio
Enjoy The Video Tutorial

Source: ABoC Studio
More crochet projects for you