
How to Crochet a Four Leaf Clover 🍀

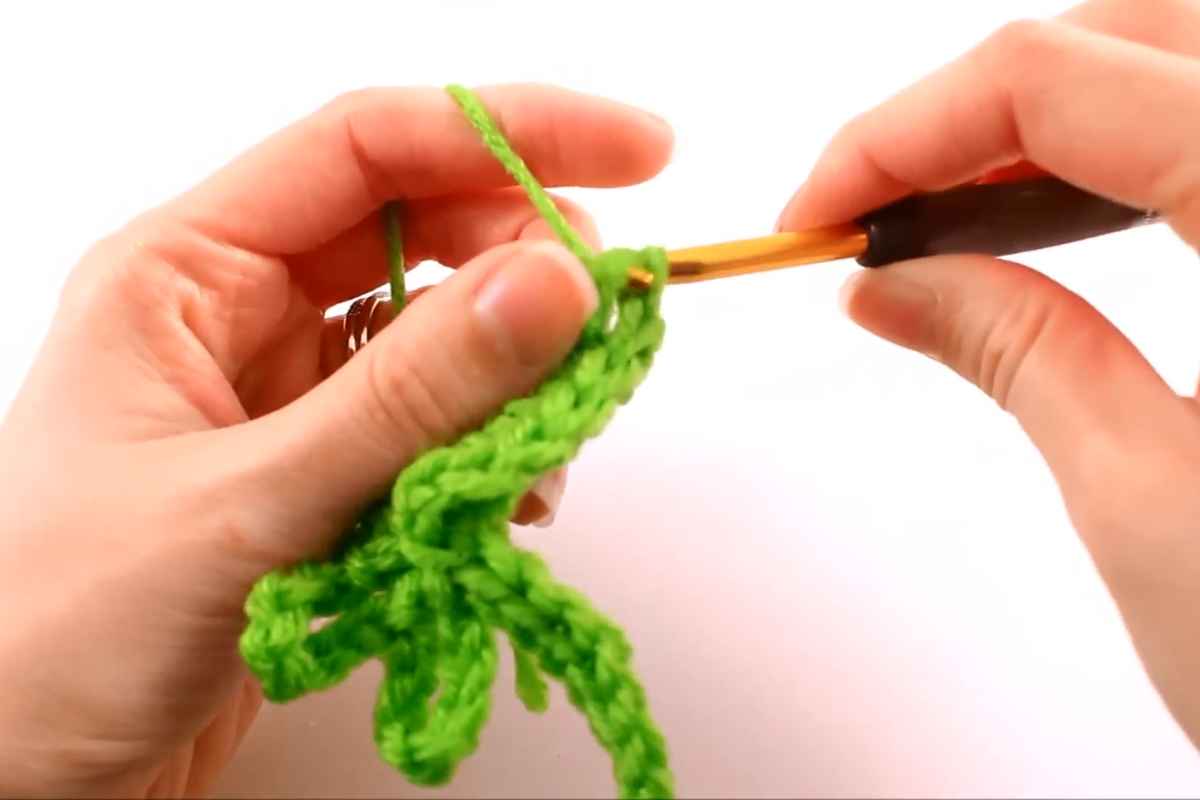
Crocheting a four-leaf clover is a delightful and quick project that’s perfect for celebrating St. Patrick’s Day or adding a touch of luck to your creations.
This small, simple design makes a wonderful applique for hats, scarves, bags, or even as a standalone decoration. Whether you’re a beginner or an experienced crocheter, this project is sure to bring you joy.
A Quick Make for St. Patrick’s Day!
If you're looking for a quick and easy St. Patrick's Day project, this crochet four-leaf clover is a great option.
Not only is it simple to make, but it can be used in a variety of ways to add a touch of green to your celebration.
This project it's also a great way to showcase your creativity and add a personal touch to your celebration. You can pin it to your shirt, attach it to a headband, turn it into a pair of earrings, or secure it to your bag - the possibilities are truly endless!
Whether you're a seasoned crocheter or just starting out, this four-leaf clover pattern is simple enough for anyone to follow.
And the best part? It can be made with just a few scraps of green yarn, so you likely already have everything you need on hand.
So why not give it a try this March and get into the St. Patrick's Day spirit!
Finishing Touches for Your Four Leaf Clover
Once the main body of the clover is complete, a few finishing touches can make it look polished and ready for display.
Weaving in Ends
Use a yarn needle to weave in any loose ends neatly. This ensures that the clover looks tidy and durable, especially if it will be used as an applique on clothing or accessories.
Blocking the Clover
Blocking your four-leaf clover helps it hold its shape and enhances the definition of each leaf. To block, gently dampen the clover and lay it flat to dry, adjusting the leaves as needed to create the perfect shape.
Attaching the Clover
If you plan to attach the four-leaf clover to another project, use a yarn needle and matching yarn to sew it securely in place. You can add it to a hat, scarf, or bag, or even use it as a brooch or keychain by adding a pin or ring to the back.
Enjoy The Video Tutorial

Source: B.Hooked Crochet & Knitting
Did you find this post useful or inspiring? Save THIS PIN to your Crochet Board on Pinterest! 😊

More crochet projects for you