
How to Crochet Stretchy Slip Stitch Ribbing


Crochet slip stitch ribbing is a versatile technique that can be used for creating brims of hats, cuffs of sleeves, and mittens. It provides a stretchy and flexible texture that can fit snugly around the edges of any project.
In this tutorial, Marly will teach you how to crochet this technique, including finding the back loop, maintaining consistent stitches, and identifying the last stitch of the row.
First, you will need to start with a foundation row of single crochet stitches. Then, insert your hook into the back loop of the first stitch, and yarn over.
Crochet Tutorial: Creating Stretchy Slip Stitch Ribbing for Hats, Sleeves, and Mittens
Pull the yarn through the back loop, creating a slip stitch. Continue this pattern across the entire row, working into the back loop only. By working only into the back loop, you create a ribbed effect that gives the project its stretchy texture.
Every Beautiful Project Starts With a Stitch
If the stitches feel confusing, everything else does too. This ebook breaks down 25 super easy crochet stitches step by step, with clear photos so you can finally see exactly what your hook should be doing. It's the perfect starting point for beginners — and a handy refresher for anyone who wants cleaner, more confident results.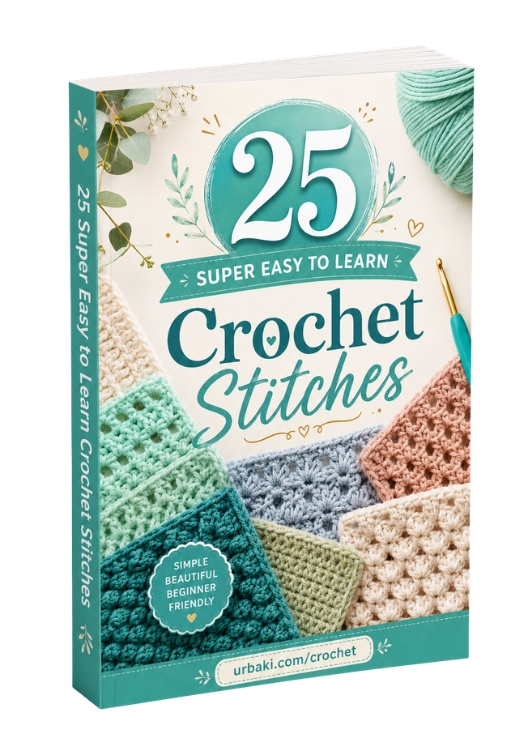
🧶 Master Your First Stitches – Click on the Image 👆🏼
As you work each row, it is important to keep your stitches consistent in size and tension. This ensures that your ribbing looks even and professional.
With these tips and tricks, you can create beautiful and stretchy slip stitch ribbing for all of your crochet projects.
Whether you're making a hat, a sweater, or a pair of mittens, this technique will give your project a professional and finished look. So grab your hook and yarn, and start practicing your slip stitch ribbing today!
Enjoy The Crochet Video Tutorial

Source: Marly Bird
Did you find this post useful or inspiring? Save THIS PIN to your Crochet Board on Pinterest! 😊

More crochet projects for you