
Crochet Your Ideal Ribbed Beanie: Easy Instructions for Beginners

If you love the cozy look of knit hats but prefer a crochet hook, this ribbed beanie tutorial is right up your alley. In the video, you’ll see how to create a stretchy, knit-like texture that works beautifully for everyday wear and handmade gifts.
Whether you’re newer to crochet or just want a relaxing project, this is an easy style to keep in your back pocket.
Ribbed beanies are also a smart choice when you want a hat that feels snug without being stiff—plus the texture makes even solid colors look extra polished.
Ribbed Crochet Beanie Hat: What Makes It Look Knit-Like
Refill Your Creative Cup
Feeling stuck or out of ideas? Let us bring the spark back to your hook. Our weekly emails deliver patterns, tips, and inspiration to keep your creativity blooming.
😍 Bring Your Crochet Mojo Back – Sign Up Now! Click on the image 👆🏼
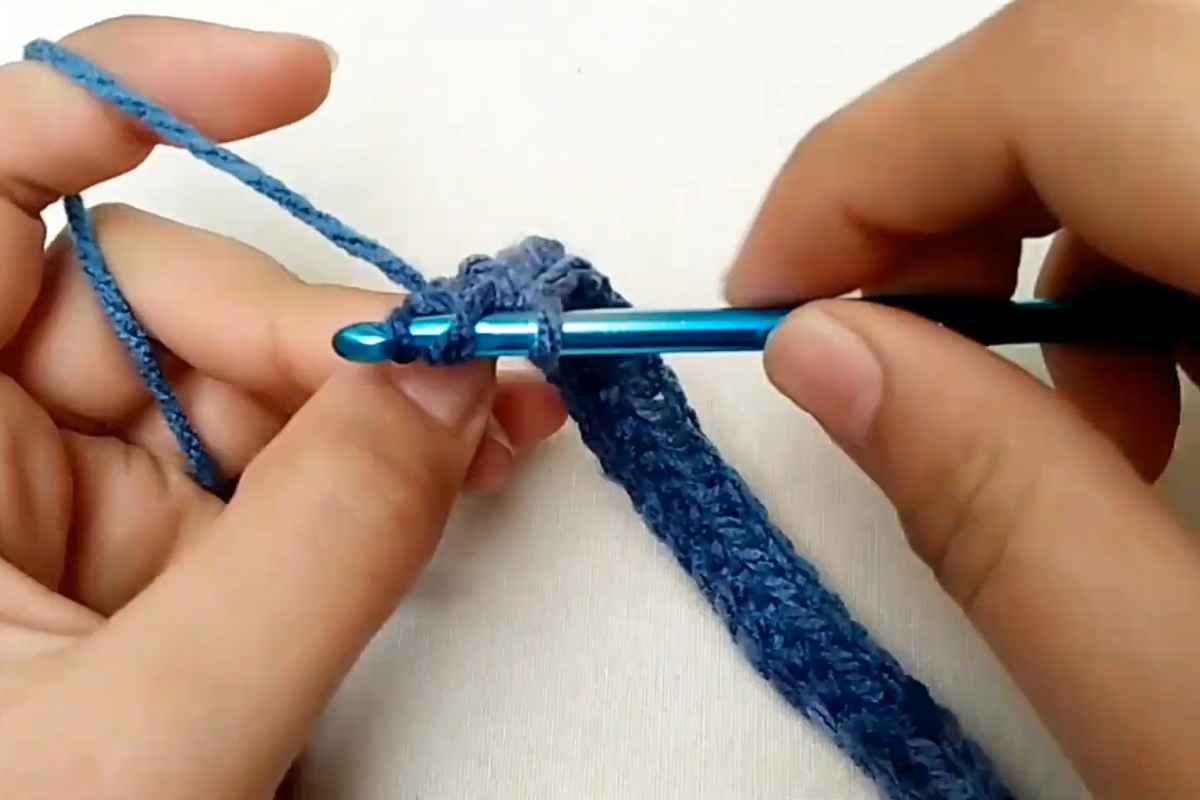
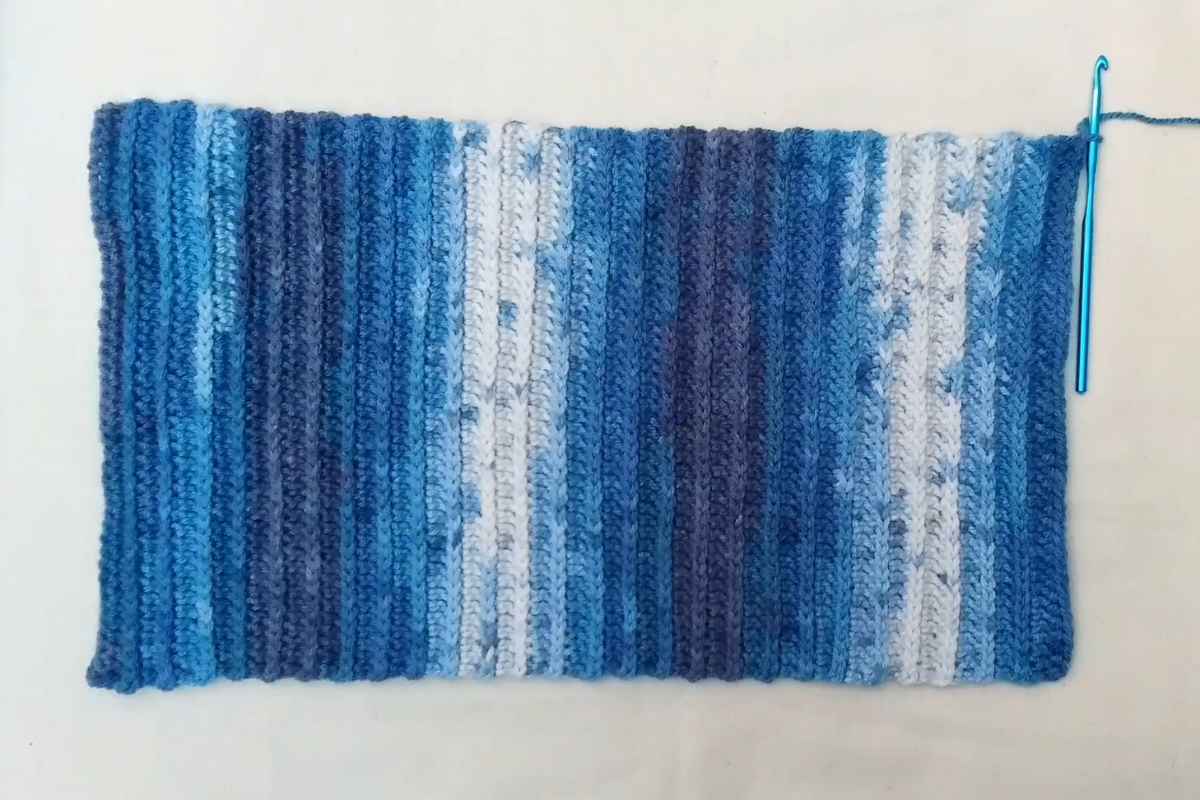
The secret to a knit-look crochet beanie is all in the ribbing texture. Instead of a flat fabric, ribbing creates those raised lines that make the hat look classic and store-bought—in the best way.
In this tutorial, you’ll follow a simple approach that focuses on creating a fabric with great stretch and recovery, which is exactly what you want in a beanie. Ribbed crochet is also super versatile: once you understand the construction, you can easily experiment with things like brim height, fit, and overall slouch.
One more bonus? Ribbing tends to hide minor inconsistencies, so it’s a forgiving project if your tension isn’t perfectly even yet.
How to Crochet a Ribbed Beanie Hat (Video Tutorial)
Images and patterns courtesy of Sahar Elkady
Use the video below to crochet along step-by-step and see the technique up close. Watching the stitches in motion can make the ribbing method click much faster—especially if you’re aiming for that clean, knit-like finish.

Source: Sahar Elkady
Tips for Cleaner Crochet Ribbing (Stretchy + Neat)
- Keep your tension consistent. Ribbing shows texture more than gaps, so steady tension helps the fabric look smooth and intentional.
- Don’t skip the stretch-check. Every so often, gently stretch the fabric to confirm it rebounds well (this is key for a comfy fit).
- Use stitch markers if you need them. If you ever lose track of rows or shaping, a marker can save time and frustration.
- Take your time at the start. The first few rows set the look of the ribbing—once it’s established, it gets easier to keep it even.
If you make this beanie, save the tutorial so you can revisit it anytime you need a quick, reliable hat that looks amazing in any yarn color.
Happy crocheting!
– Maggie
More crochet projects for you