
DIY Crochet Pompompurin: Sanrio-Inspired Amigurumi Tutorial
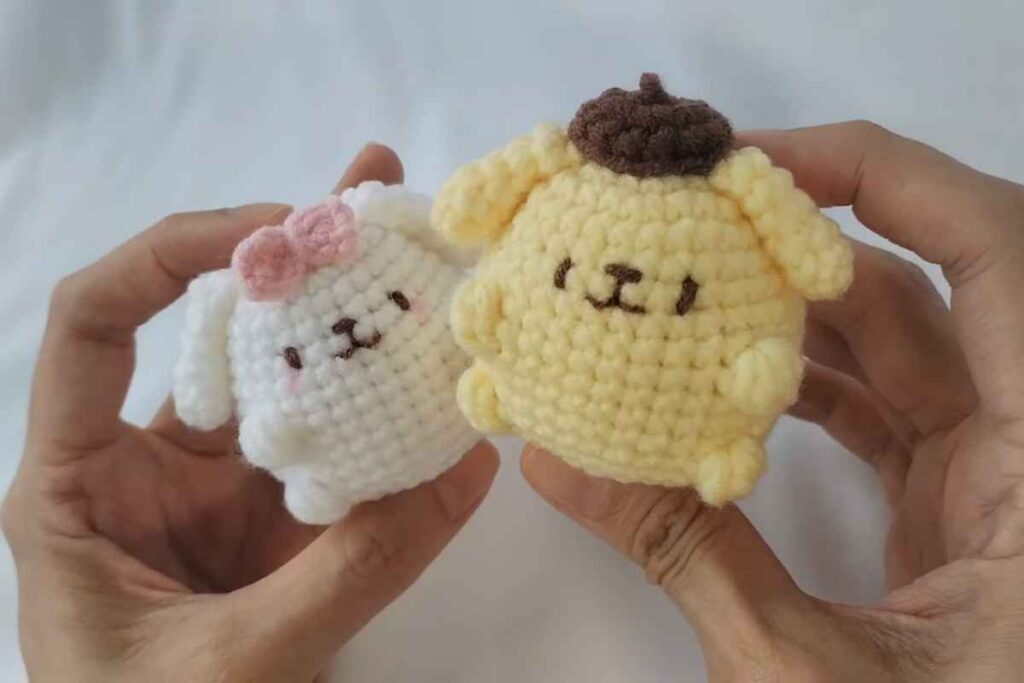
If you're a fan of Sanrio characters and crochet, this guide will teach you how to create your own adorable Pompompurin Amigurumi.
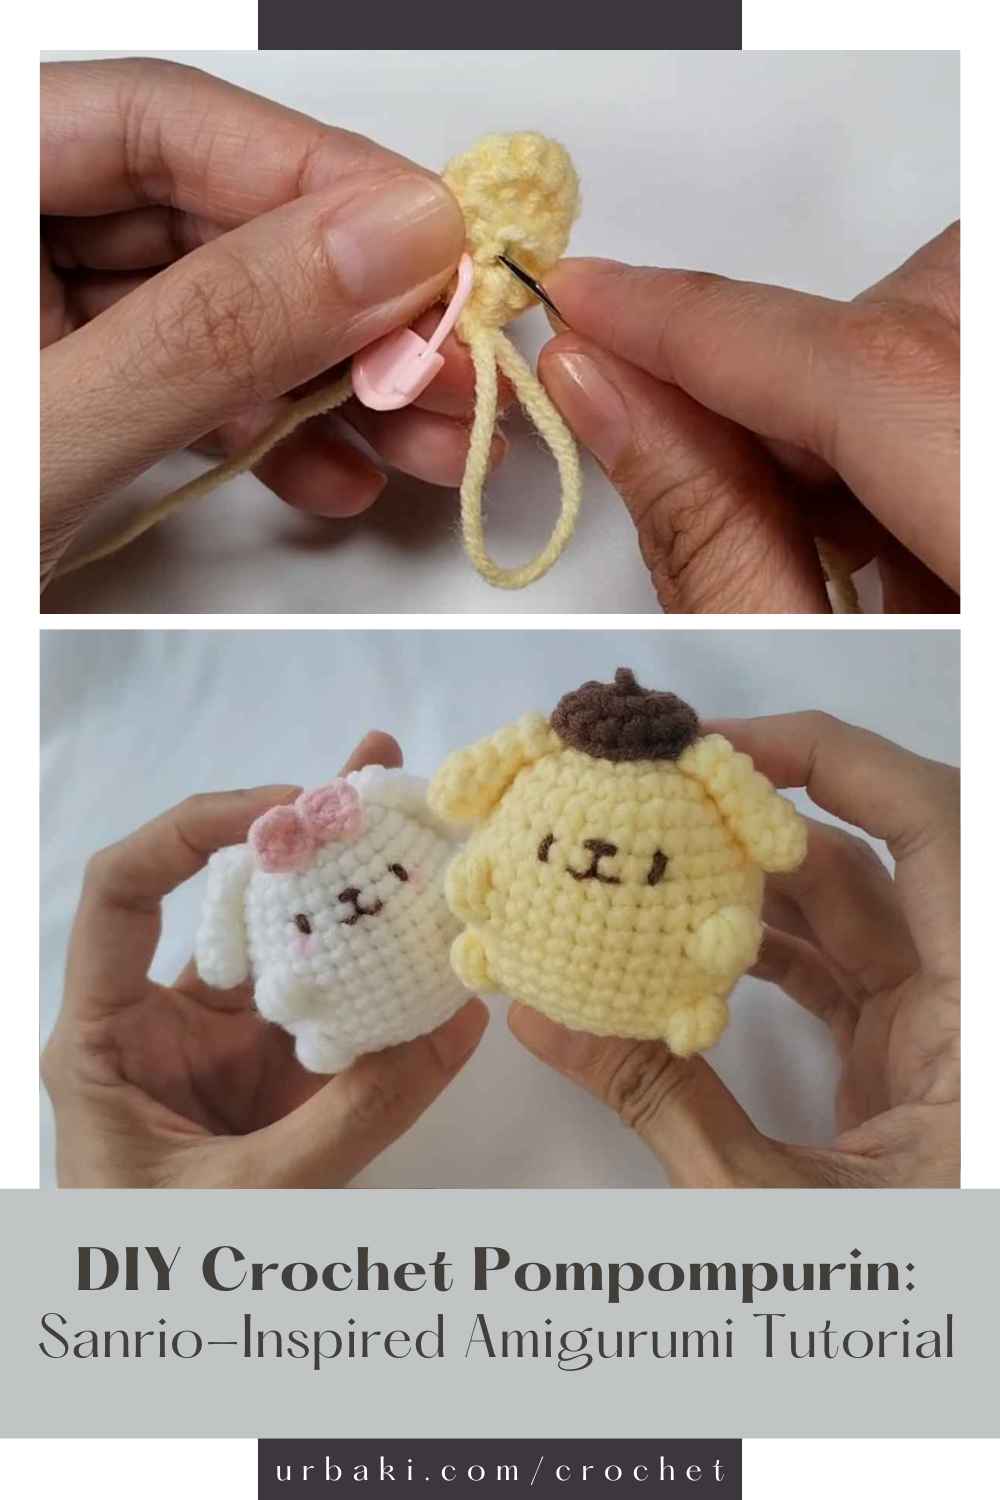
Pompompurin, the cute little yellow dog with a brown beret, is a favorite among fans, and crocheting this delightful character is a fun and rewarding project.
Whether you're a beginner or more experienced, this tutorial will walk you through each step, providing all the information needed to crochet this lovable character.
Materials You Will Need
Before starting your Pompompurin Amigurumi, it's important to gather the necessary materials to make the process smooth and enjoyable. Here's a list of the essential supplies:
Refill Your Creative Cup
Feeling stuck or out of ideas? Let us bring the spark back to your hook. Our weekly emails deliver patterns, tips, and inspiration to keep your creativity blooming.
😍 Bring Your Crochet Mojo Back – Sign Up Now! Click on the image 👆🏼
- Yarn: For Pompompurin’s body, use yellow yarn (medium weight) and brown yarn for the ears and beret. These colors are key to achieving his signature look.
- Crochet Hook: A 3.5mm or 4mm hook works well for medium-weight yarn. Choose a hook size that will create tight stitches, ensuring the stuffing won't show through.
- Stuffing: Use polyester fiberfill to stuff the Amigurumi. This will give it a soft, squishy feel.
- Safety Eyes: Use small, black safety eyes for a cute and expressive face. These are secure and give your Amigurumi a polished look.
- Embroidery Thread: For adding the smile and nose, embroidery thread in black or brown is ideal.
- Stitch Markers: These are useful for keeping track of rounds.
- Yarn Needle: For weaving in the ends and sewing pieces together.
Once you've gathered all these materials, you're ready to start crocheting!
Step-by-Step Guide to Making Pompompurin
Creating the Body
The body of Pompompurin is the main part of the Amigurumi, and it’s shaped to be round and soft. Here’s how to begin:
- Start with a Magic Ring: Begin by making a magic ring. This will be the foundation of the body. Crochet six single crochets (sc) into the ring.
- Increase Rounds: In the next round, increase by crocheting two single crochets in each stitch around. Continue increasing in each round until you reach the desired diameter for the body.
- Continue to the Desired Height: Work in continuous rounds, increasing where necessary, until the body reaches the height that feels right for Pompompurin’s proportions. You don’t need to make it too tall as Pompompurin has a compact and cute form.
Tip: Be sure to crochet tightly to avoid any gaps in the stitches where stuffing might show through.
Creating the Head
Pompompurin’s head is larger than the body, and you want it to be round and well-defined. Follow the same steps as the body to crochet the head, but ensure it is a bit larger.
- Start with a Magic Ring: Again, begin with a magic ring and crochet six single crochets (sc) into the ring.
- Increase Rounds: Continue increasing in each round until you reach the desired size for the head. Make sure the head is proportionate to the body but large enough to hold the eyes comfortably.
- Stop When Ready for Ears: Once you have reached the right size, stop crocheting, leaving space at the top for the ears to be attached later.
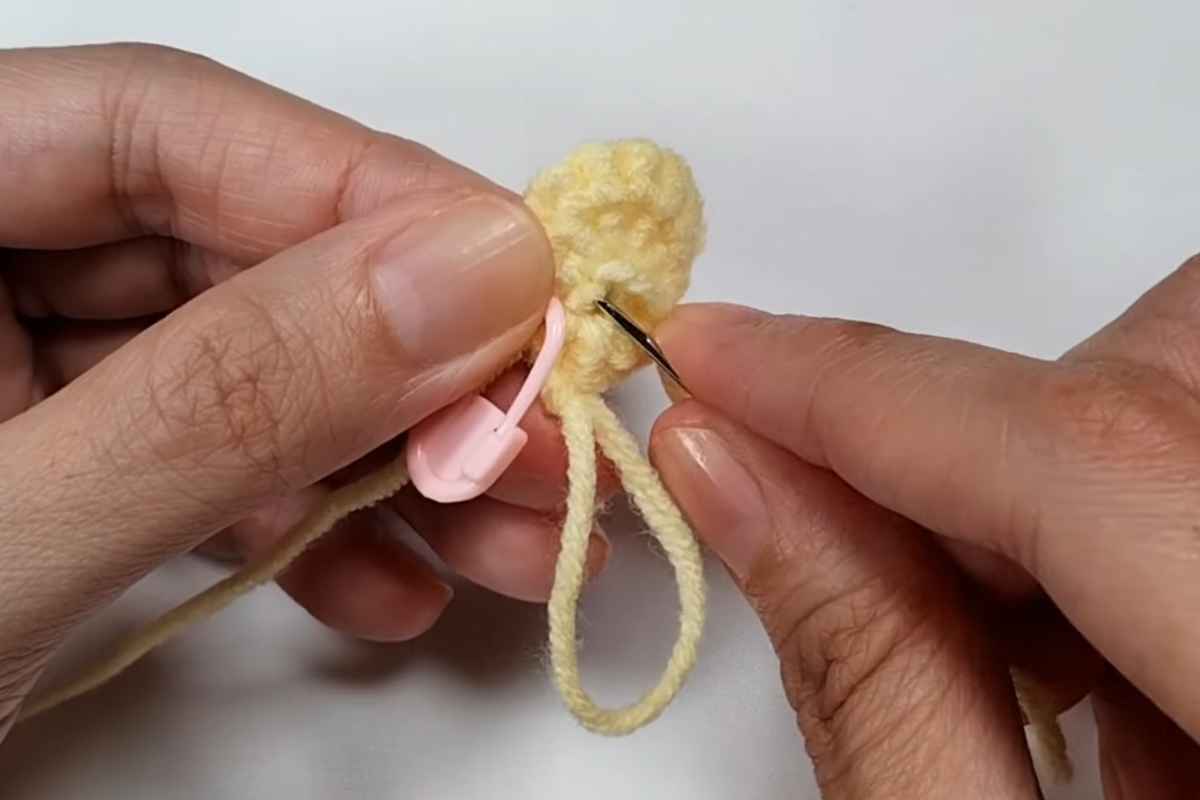
Making and Attaching the Ears
Pompompurin’s ears are soft and floppy, made with brown yarn. They add a lot of character to the design, so take your time to create them carefully.
- Crochet the Ears: Using the brown yarn, make two small ovals. Start with a chain and work in rows to form the ear shapes. The size should be small enough to look natural on top of Pompompurin’s head.
- Attach the Ears: Once the ears are crocheted, position them on the sides of the head. Place them towards the top, above where you’ll be attaching the safety eyes. Secure them with a yarn needle.
Adding the Face
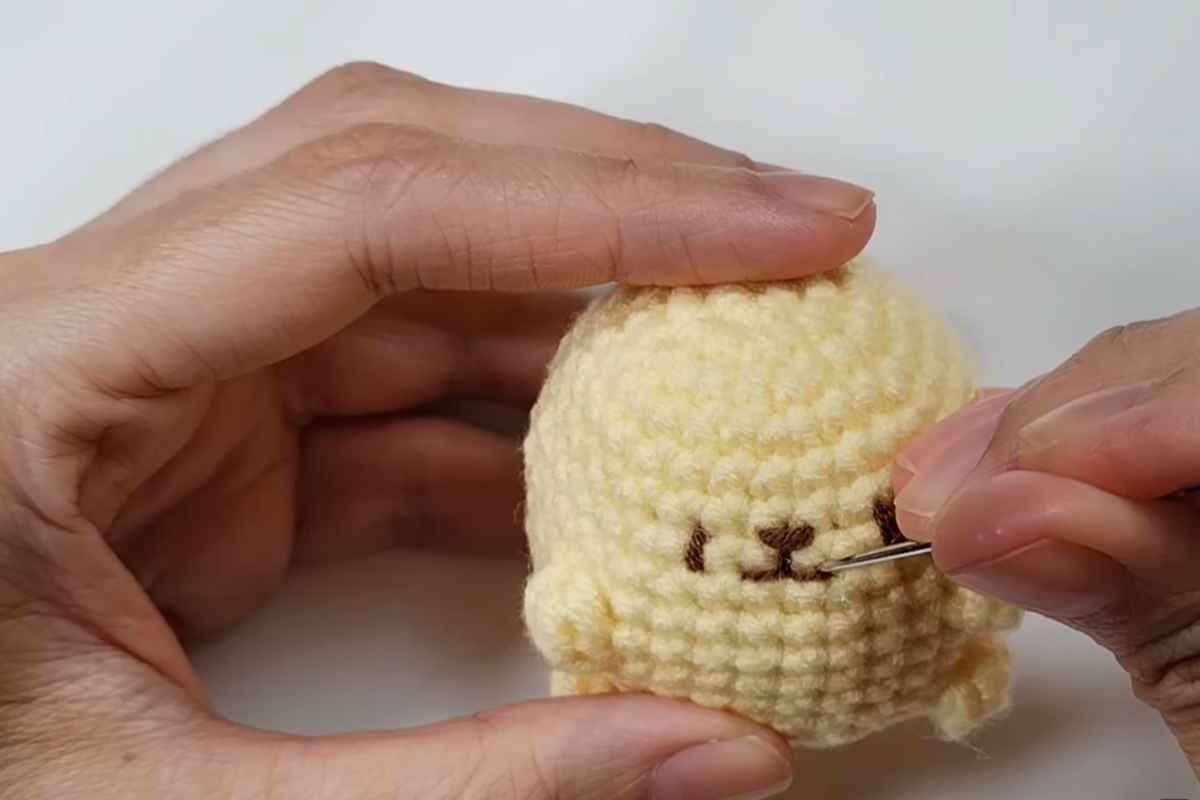
The face is what brings Pompompurin to life! It’s important to position the safety eyes and embroider the smile and nose correctly to make sure he looks as adorable as possible.
- Attach the Safety Eyes: Position the safety eyes near the center of the head, a little below the top edge. Make sure they are evenly spaced to create a symmetrical look.
- Embroider the Smile and Nose: Use black or brown embroidery thread to stitch on a small smile below the eyes and a tiny nose just above it. This gives Pompompurin his signature happy expression.
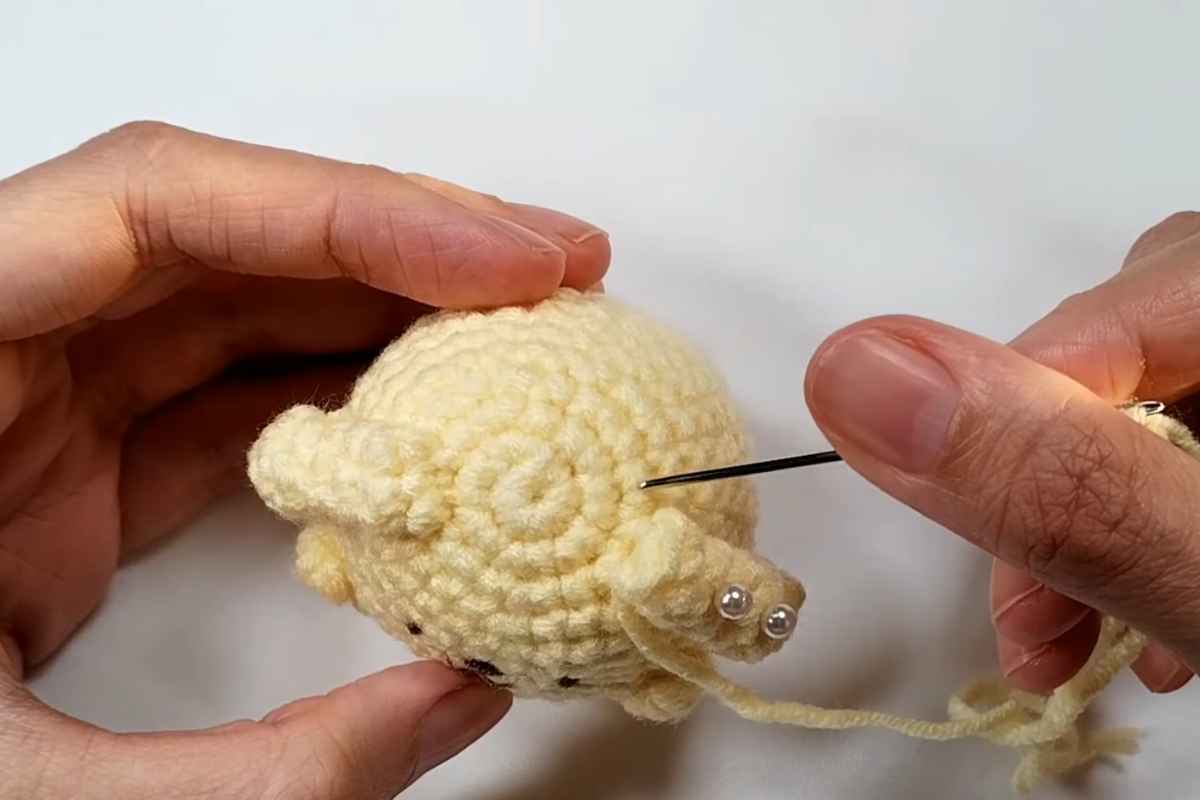
Assembling the Body and Head
Once the head and body are completed, it's time to assemble the pieces. Start by placing the head on top of the body and secure it with a yarn needle. Make sure the neck area is firmly attached so that the head doesn't wobble.
Stuffing the Amigurumi
To make sure your Pompompurin Amigurumi has that soft and huggable feel, you need to stuff both the head and body with polyester fiberfill. Add just enough stuffing to give the amigurumi a firm yet squishy texture, but avoid overstuffing, as this can stretch the yarn and alter the shape.
Final Touches
Add any final details to your Amigurumi to personalize it further. You could add a small crochet bow or create a tiny pompom on the beret, just like in the Sanrio design. This will give your Pompompurin a fun, unique twist.
Start Your Sanrio Collection
Crocheting your own Pompompurin Amigurumi is a wonderful way to bring a beloved Sanrio character to life through the art of crochet.
With patience and the right materials, you can create a soft, adorable Pompompurin that’s sure to be a hit with any fan.
Whether you’re making it for yourself or as a gift, this crochet project will be a satisfying and enjoyable experience. Keep practicing, and soon you’ll be able to create a whole Sanrio collection of Amigurumi characters!
Images and patterns courtesy of Greenfairymari
Enjoy The Video Tutorial

Source: Greenfairymari
Did you find this post useful or inspiring? Save THIS PIN to your Crochet Board on Pinterest!
More crochet projects for you