
Easy Crochet Bustier Corset Tutorial for All Sizes


If you’ve been wanting to crochet a structured, flattering top, a bustier corset style is such a fun project to try. This tutorial is designed to help you create a custom-fit crochet bustier that works for all sizes, with shaping and adjustments you can apply to your own body.
Whether you’re making a statement piece for summer outfits or layering it under a cardigan, this is one of those projects that looks detailed—but becomes totally doable once you see the steps in action.
How to Get a Comfortable, Custom Fit on a Crochet Corset Top
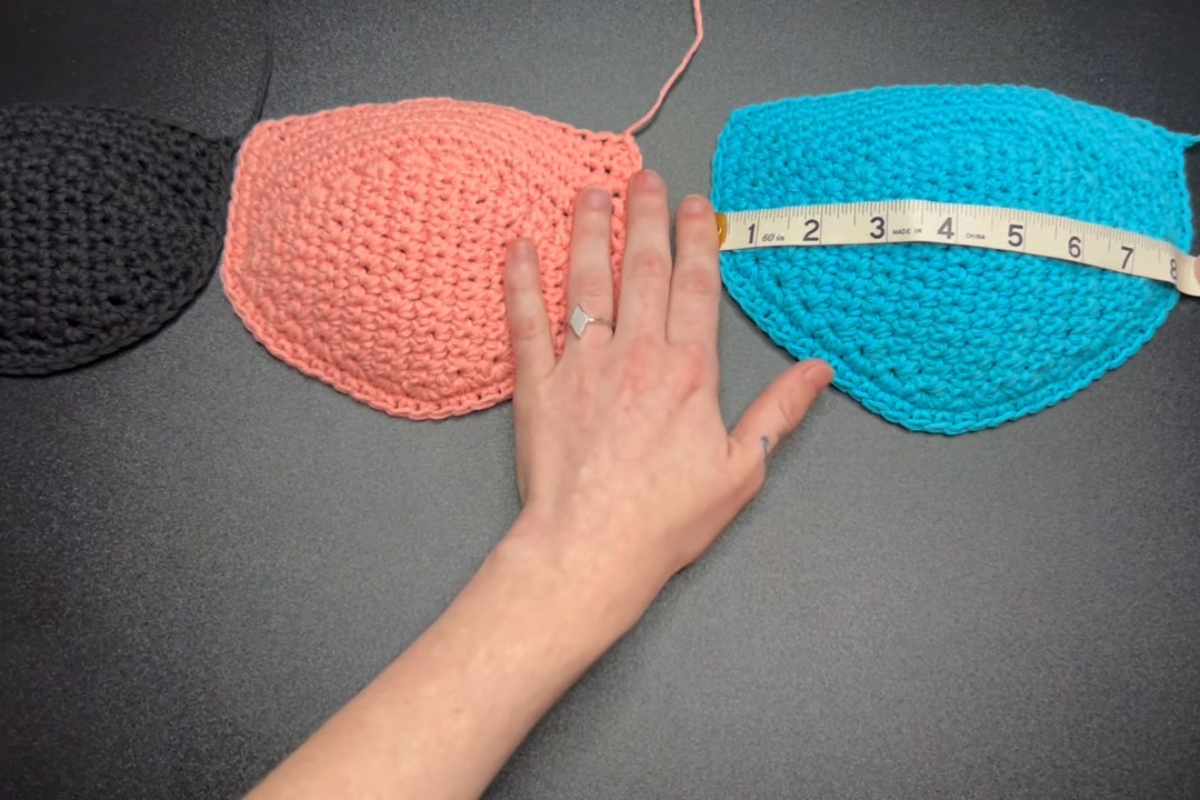
The best thing about a crochet bustier corset is how adjustable it can be. In the tutorial, you’ll see how the shape is built in a way that helps you fine-tune the fit, so it feels secure, supportive, and wearable (not stiff or awkward).
Refill Your Creative Cup
Feeling stuck or out of ideas? Let us bring the spark back to your hook. Our weekly emails deliver patterns, tips, and inspiration to keep your creativity blooming.
😍 Bring Your Crochet Mojo Back – Sign Up Now! Click on the image 👆🏼
As you follow along, pay extra attention to how the top is sized and shaped. Small tweaks—like adjusting the overall width, changing the length, or refining the shaping—can make a big difference in how your finished piece sits on the body.
Tip: A corset-style top usually looks best when you focus on smooth edges and consistent tension, especially around areas where you want clean structure and a neat finish.
Crochet Bustier Corset Tutorial Video for All Sizes
In the video below, you’ll follow the full DIY process for crocheting the bustier corset top, including how the shape comes together and how to adapt it for sizing. Keep it handy while you work—you’ll likely want to pause and replay certain parts when you reach shaping or finishing steps.

Source:Made by BJax
Finishing Touches That Make a Crochet Bustier Look Polished
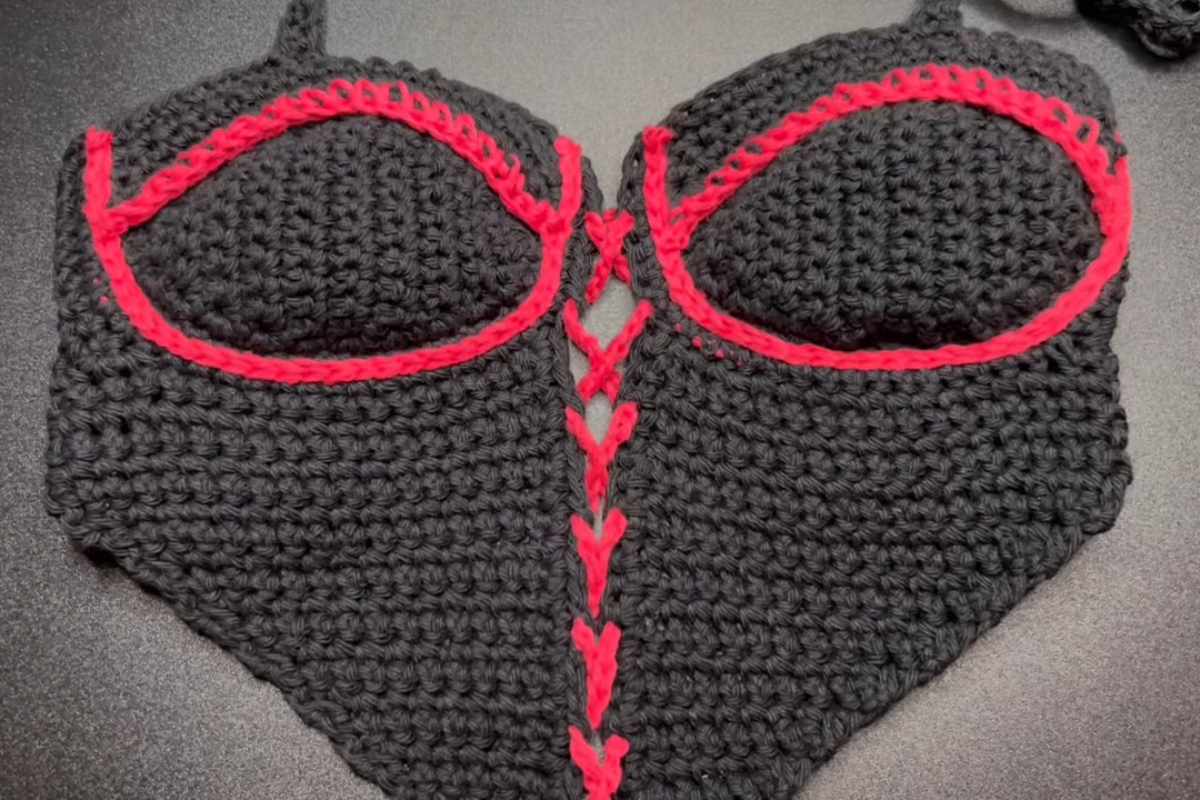
Images and patterns courtesy of Made by BJax
A bustier corset top really shines when the finishing details are clean. In the tutorial, watch for the steps that help the edges look crisp and the overall top feel more “store-bought.”
A few things to keep in mind while you finish:
- Check symmetry as you go (it’s easier to fix early than after everything is done).
- Keep your tension steady near edges so they don’t ripple or pull.
- Try it on (or measure against your body) before fully committing to final finishing.
If you take your time here, you’ll end up with a crochet corset top that looks intentional, structured, and ready to style.
Thanks for crocheting with me—hope you love making this one your own. Don’t forget to save this tutorial so you can come back anytime you want to crochet another custom-fit top!
— Maggie
More crochet projects for you