
Easy Crochet Polo Dress Shirt – No Increases or Decreases!

If you’ve ever wanted a handmade polo shirt that looks polished and feels wearable, this video is for you. In this tutorial, you’ll see how a crochet polo can come together with a clean shape, a classic stitch texture, and customizable sizing. It’s a great project for makers who want a wardrobe piece—not just a swatch.
In the video, you’ll learn how to build the shirt using your own body measurements, so you can adjust the fit, length, and overall look without guessing.
How This Crochet Polo Shirt Is Built (And How to Customize the Fit)
A crochet polo looks elevated because of a few key details: the stitch pattern, the sleeve shaping, and that signature collar + front opening. This tutorial walks through the full construction, showing how to measure as you go so the shirt fits the way you want.
Refill Your Creative Cup
Feeling stuck or out of ideas? Let us bring the spark back to your hook. Our weekly emails deliver patterns, tips, and inspiration to keep your creativity blooming.
😍 Bring Your Crochet Mojo Back – Sign Up Now! Click on the image 👆🏼
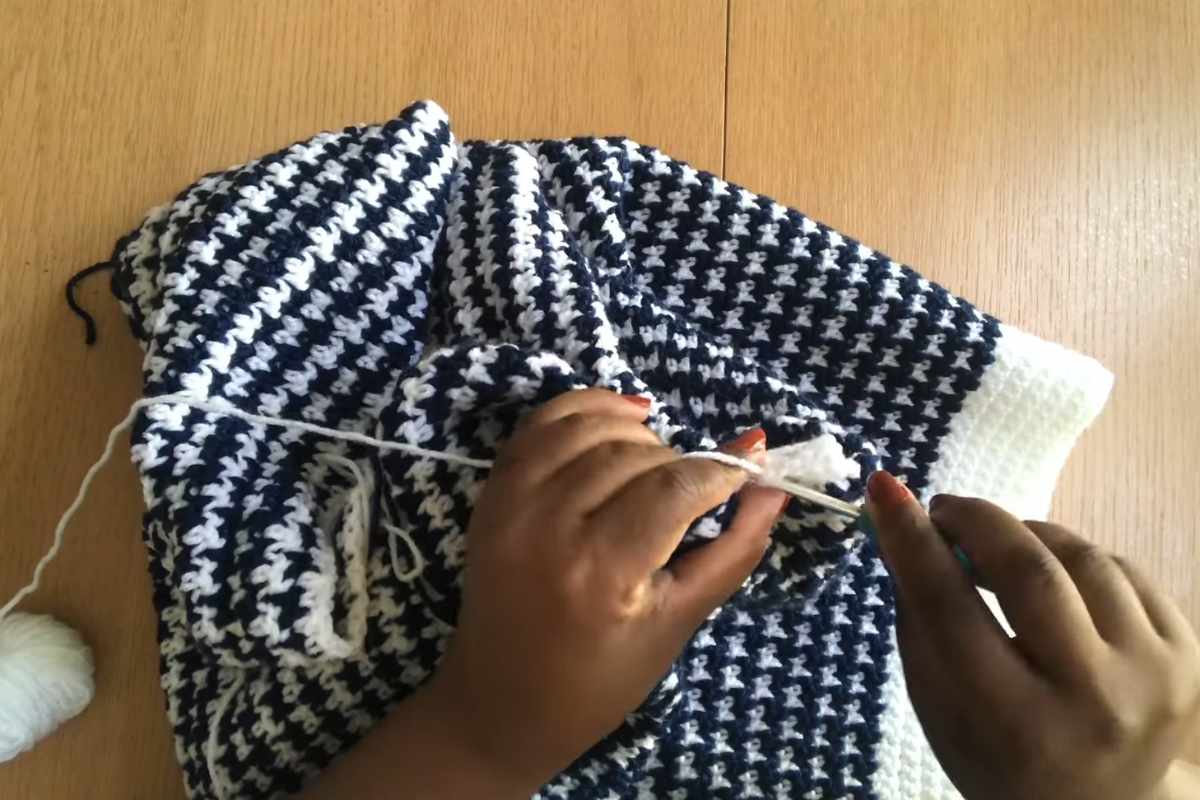
You’ll also see how the houndstooth-style texture gives the fabric a structured, modern look—perfect for a polo silhouette. And because the sizing is based on measurements, it’s easier to adapt for different bodies and preferences (more fitted, more relaxed, cropped, or longer).
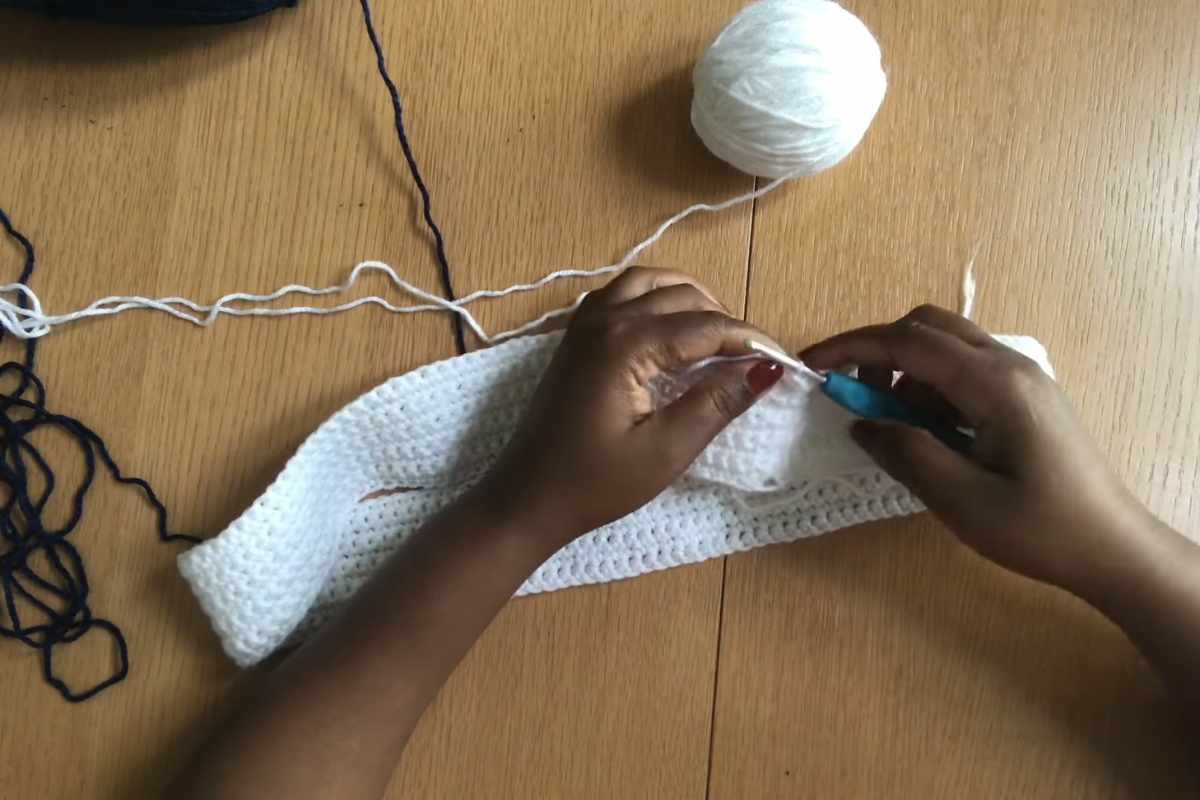
If you’re gathering supplies, the creator uses Category 3 yarn and a 4 mm crochet hook, plus basics like a measuring tape, stitch markers, scissors, and a yarn needle.
Crochet Polo Shirt Video Tutorial: Houndstooth Stitch, Sleeves, and Collar
This is where you’ll follow along step-by-step—from taking measurements, to forming sleeves, to creating the neckline, and finishing the front opening and collar. Keep your measuring tape nearby, and don’t be afraid to pause and check fit as you go (that’s the secret to a wearable result).
")
Source: Aliche Crochet Creations
Quick Tips for a Cleaner Collar and Front Opening
Images and patterns courtesy of Aliche Crochet Creations
The collar and front opening are what make this look like a true polo. As you watch, pay extra attention to how the edges are finished—clean edges make a huge difference in the final “store-bought” vibe.
A few things that can help:
- Use stitch markers to keep openings even and symmetrical.
- Check your tension before you commit to long sections (consistent stitches = smoother collar).
- Block lightly if needed to help the fabric lay flat, especially around edges and seams.
Hope you enjoy crocheting along—and if you make your own version, it’s the kind of piece you’ll want to wear on repeat.
Happy crocheting!
– Maggie
More crochet projects for you