
Easy DIY Crochet Pumpkin: Perfect Fall Decoration
As the crisp air of autumn settles in and the leaves begin to turn golden, it's the perfect time to infuse your home with cozy, handmade touches. One delightful way to do this is by creating your own crochet pumpkins.
Not only are they charming and festive, but they're also surprisingly easy to make—even for beginners.
Why Crochet Pumpkins?
Crochet pumpkins offer a warm, handmade alternative to traditional fall decorations. They're customizable in size, color, and texture, allowing you to match them perfectly with your existing décor.
Whether you prefer classic orange, soft white, or even a rustic farmhouse style, the possibilities are endless.
Refill Your Creative Cup
Feeling stuck or out of ideas? Let us bring the spark back to your hook. Our weekly emails deliver patterns, tips, and inspiration to keep your creativity blooming.
😍 Bring Your Crochet Mojo Back – Sign Up Now! Click on the image 👆🏼
Additionally, these pumpkins are durable and reusable, making them a sustainable choice for seasonal décor. Unlike real pumpkins that can rot or attract pests, your crocheted creations will last for years to come.
Materials You'll Need
Before you begin, gather the following supplies:
- Yarn: Choose a medium-weight yarn (like worsted weight) in your desired color.
- Crochet Hook: Select a hook that matches your yarn weight; typically, a 5mm (H-8) hook works well with worsted weight yarn.
- Yarn Needle: For weaving in ends and sewing pieces together.
- Fiberfill: To stuff your pumpkin and give it a plump, rounded shape.
- Scissors: For cutting yarn.
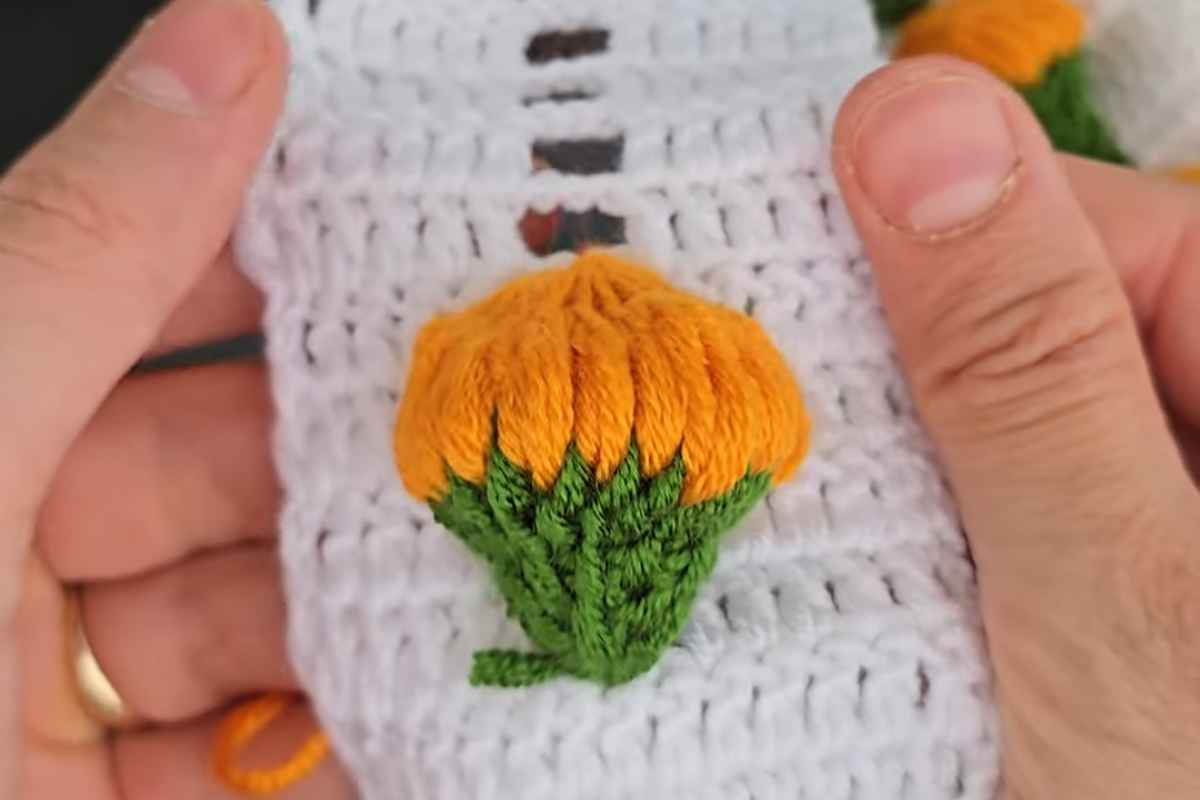
- Optional Embellishments: Cinnamon sticks, twigs, or crocheted leaves for decoration.
Step-by-Step Guide to Crocheting This Project
Crocheting a pumpkin is a fun and simple project that allows you to add a cozy, handmade touch to your fall décor. Whether you're new to crochet or a seasoned pro, this guide will walk you through each step to create your own beautiful crochet pumpkin.
By following these easy instructions, you'll soon have a charming pumpkin that can be used year after year as part of your autumn decorations.
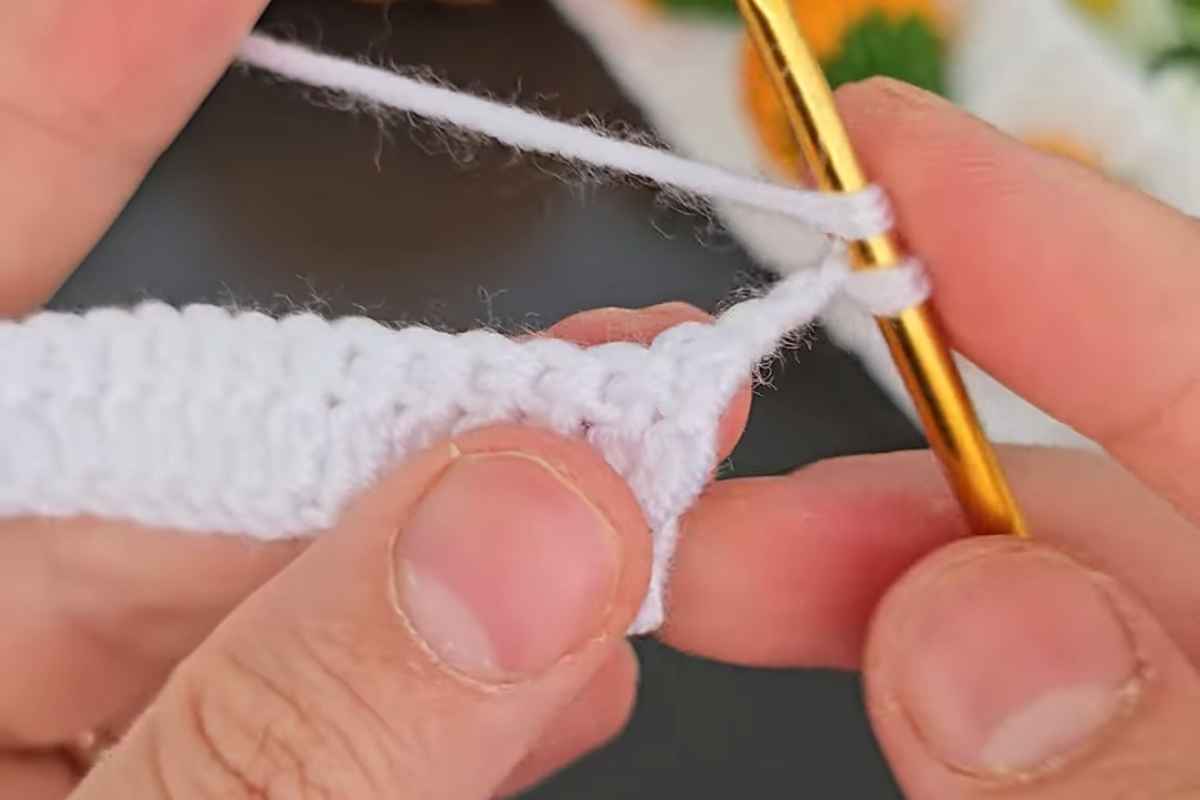
1. Start with the Magic Ring
The magic ring technique is essential for creating a neat, tight center for your pumpkin. Begin by making a slip knot and then create a magic ring by wrapping the yarn around your fingers.
This method eliminates the hole that typically forms at the start of a crochet project, giving your pumpkin a cleaner look. Once your ring is formed, you'll crochet into it to start building the body of your pumpkin.
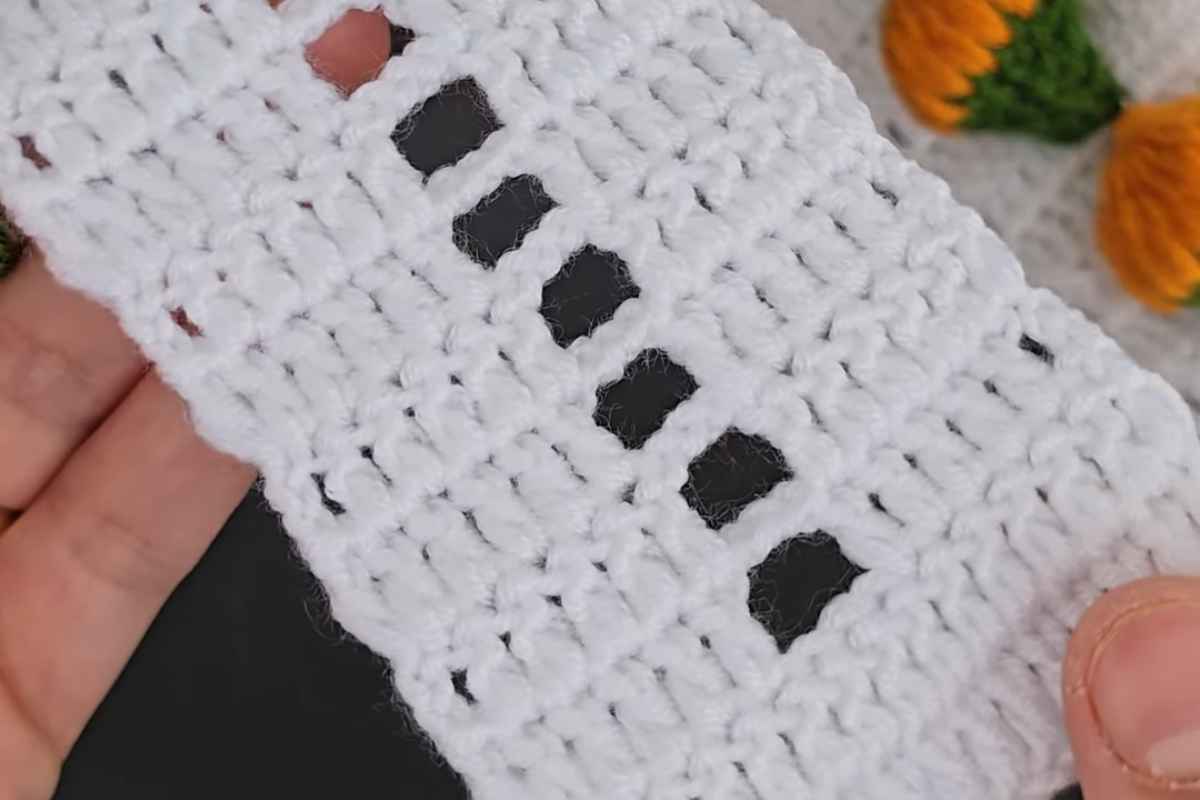
2. Build the Base with Single Crochet Stitches
After you've created the magic ring, start working single crochet stitches into the ring. This foundation will shape the base of your pumpkin. For the first round, work six single crochet stitches into the ring.
Pull the ring tightly to close the hole, and then continue crocheting in a spiral, increasing your stitch count in the following rounds to build up the sides of the pumpkin. Keep your stitches even to ensure a smooth, round shape.
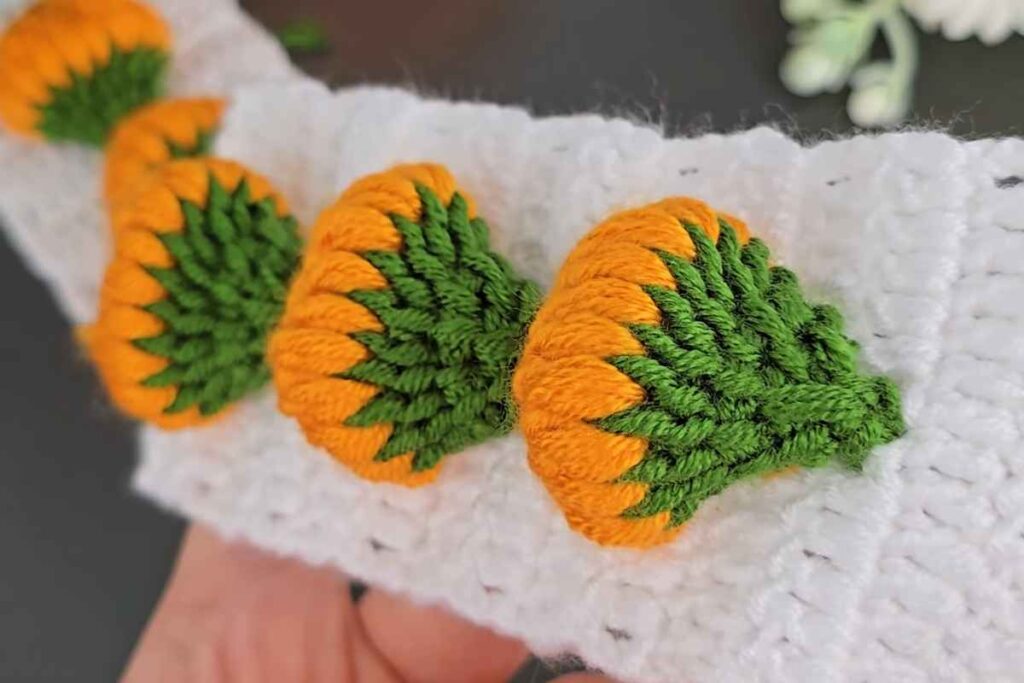
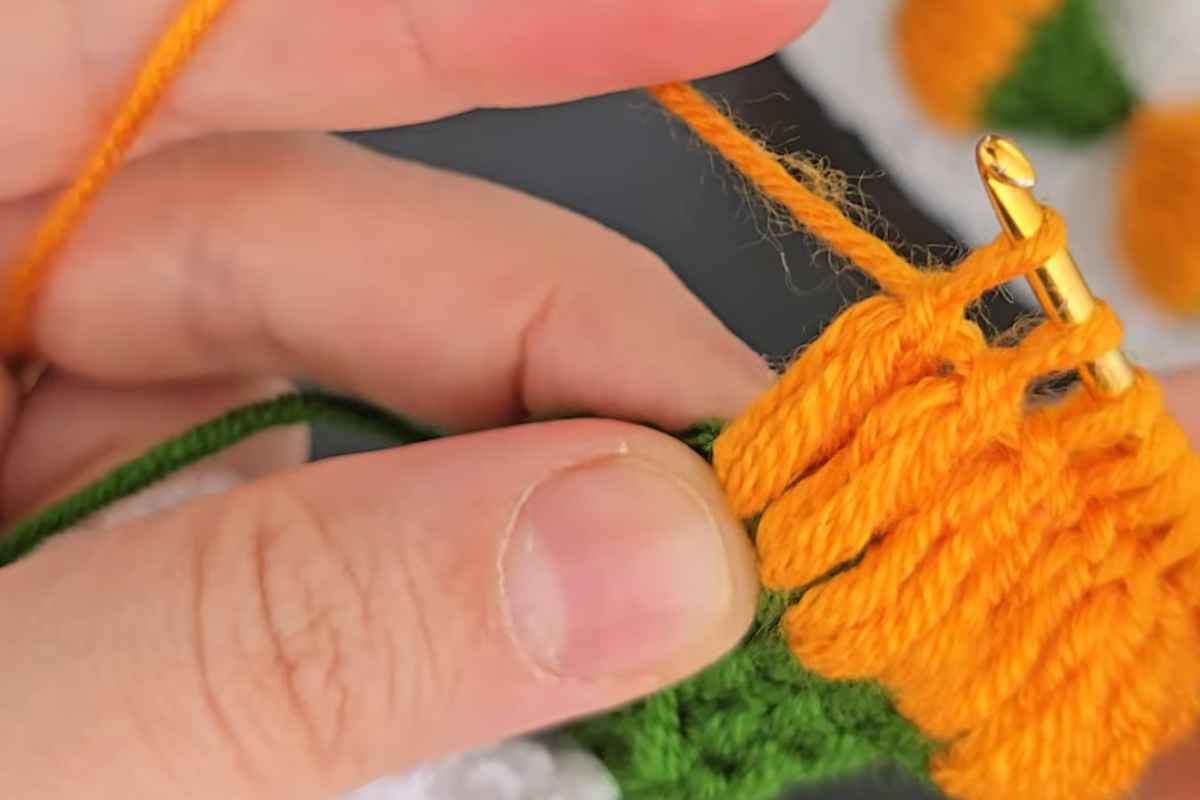
3. Create the Ribbed Texture
To give your pumpkin its distinctive ribbed texture, you can use a technique like crocheting in the back loop only (BLO). This method adds depth and creates the subtle ridges that make your crochet pumpkin resemble the natural lines on a real pumpkin.
Alternating between front and back post stitches can also enhance the texture, adding a more pronounced appearance to the ribs.
4. Increase and Decrease to Shape the Pumpkin
As you crochet, you'll increase stitches to form the round body of the pumpkin. After reaching your desired size, begin decreasing to taper the top and bottom of the pumpkin. This step is crucial to creating a realistic pumpkin shape.
Make sure to regularly check your progress by gently stuffing the pumpkin to see how the form is developing. If necessary, add more stitches or decreases to perfect the shape.
5. Stuff the Pumpkin
Once your pumpkin is crocheted to the right size and shape, it’s time to add some stuffing.
Use fiberfill or another soft stuffing material to give your pumpkin a plump and rounded appearance. Be careful not to overstuff; you want the pumpkin to maintain its shape but still have a soft, squishy feel. Adjust the stuffing as needed before moving on to the next step.
6. Close the Opening and Secure the Shape
With the pumpkin fully stuffed, it’s time to close the top. Thread your yarn needle with the yarn tail and weave it through the remaining stitches of the top edge. Gently pull the yarn to cinch the opening closed, ensuring the pumpkin is tightly secured.
Once the opening is closed, tie off the yarn and weave in the ends for a neat finish.
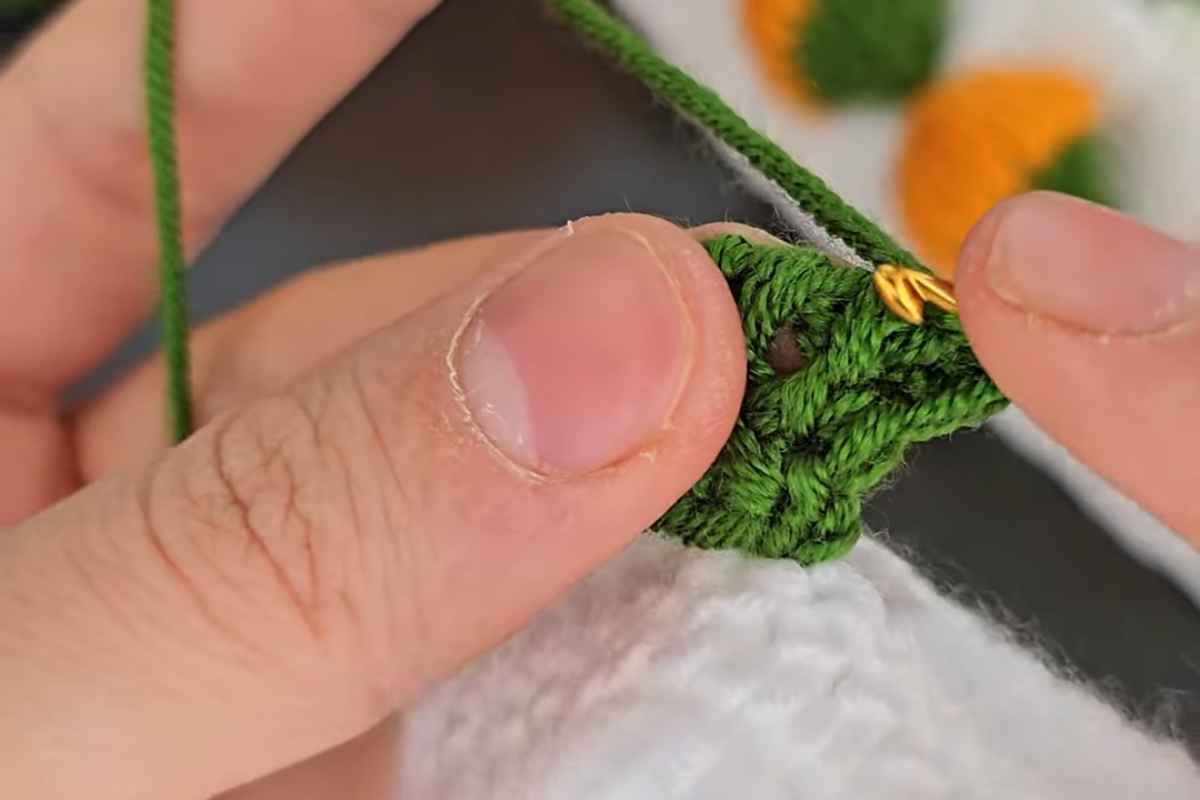
7. Make the Pumpkin Stem
For the final touch, crochet the pumpkin’s stem. You can do this by working a few rounds of single crochet stitches to create a small, cylindrical shape. Alternatively, you can use a natural twig or cinnamon stick for a rustic, organic look.
Attach the stem to the top of the pumpkin securely using a few stitches, and you're done!
Tips for Success
- Choose the Right Yarn: Opt for a yarn that has some texture, like a slight fuzziness, to give your pumpkin a more natural look.
- Adjust Size Easily: To create pumpkins of various sizes, simply adjust the number of stitches in your starting ring and the number of rounds worked.
- Experiment with Colors: Don't be afraid to try unconventional pumpkin colors like teal, purple, or even multicolored yarn for a fun twist.
- Use Natural Embellishments: Incorporate real elements like cinnamon sticks or dried leaves to add authenticity and a delightful scent to your décor.
Displaying Your Crochet Pumpkins
Once completed, your crochet pumpkins can be displayed in numerous ways:
- Centerpieces: Arrange them in a bowl or tray as a charming table centerpiece.
- Mantel Décor: Place them along your fireplace mantel to add a cozy autumn touch.
- Entryway Accents: Use them to greet guests by placing them near your front door.
- Gift Items: Crochet pumpkins also make thoughtful handmade gifts for friends and family.
Your Ultimate Fall Craft
Crocheting your own pumpkins is a delightful and rewarding project that brings the spirit of fall into your home. With just a few basic materials and some simple crochet techniques, you can create charming decorations that add warmth and personality to any space.
Whether you're a seasoned crocheter or a beginner, this project is accessible and enjoyable for all skill levels.
So, gather your yarn and hook, and let your creativity flow as you craft these adorable crochet pumpkins. They're sure to become a beloved part of your autumn décor for years to come.
Images and patterns courtesy of Knitting Love
Enjoy The Video Tutorial

Source: Knitting Love
More crochet projects for you