
Easy Kiwi Bird for Amigurumi Fans


If you love quick, adorable amigurumi that doesn’t require a bunch of sewing, this no-sew crochet kiwi bird is going to be your new favorite make. This tutorial walks you through the process step by step in real time (no sped-up guessing), so you can follow along confidently.
Whether you’re making a tiny plush for your desk, a cute gift, or a sweet little buddy for your keychain bag charm, a crochet kiwi bird is the kind of project that’s small, satisfying, and totally lovable.
How a No-Sew Amigurumi Kiwi Comes Together
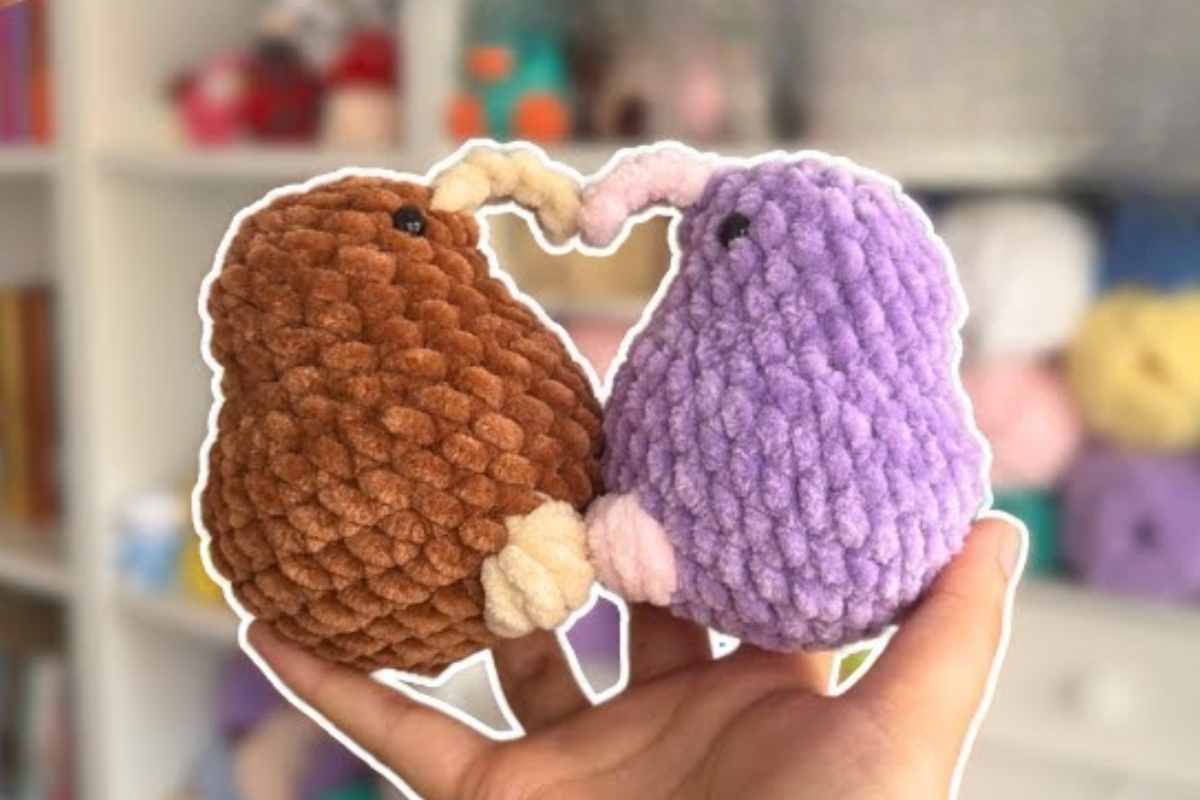
A no-sew amigurumi is all about smart construction: instead of stitching lots of pieces on at the end, you’ll shape the body and details as you go. In this kiwi bird tutorial, you’ll see how the form is built in a way that keeps everything neat and secure—especially helpful if sewing is your least favorite part of crochet.
Refill Your Creative Cup
Feeling stuck or out of ideas? Let us bring the spark back to your hook. Our weekly emails deliver patterns, tips, and inspiration to keep your creativity blooming.
😍 Bring Your Crochet Mojo Back – Sign Up Now! Click on the image 👆🏼
To get the cleanest look, pay attention to small habits that make a big difference: consistent tension, counting stitches, and placing details evenly. Even when the project is tiny, these little tweaks help your finished crochet bird look polished and “store-bought cute.”
And don’t worry if you’re newer to amigurumi—this is the kind of project that’s perfect for practicing the basics, because you can see your progress quickly and correct things early as you follow along.
No-Sped-Up Crochet Kiwi Bird Video Tutorial
This step-by-step video shows the full process at a comfortable pace, so you can pause, rewind, and crochet right along—especially helpful for shaping, placement, and those “wait, where does this stitch go?” moments.

Source: My_universe64
Tips for Cleaner Amigurumi Results (Without Extra Stress)
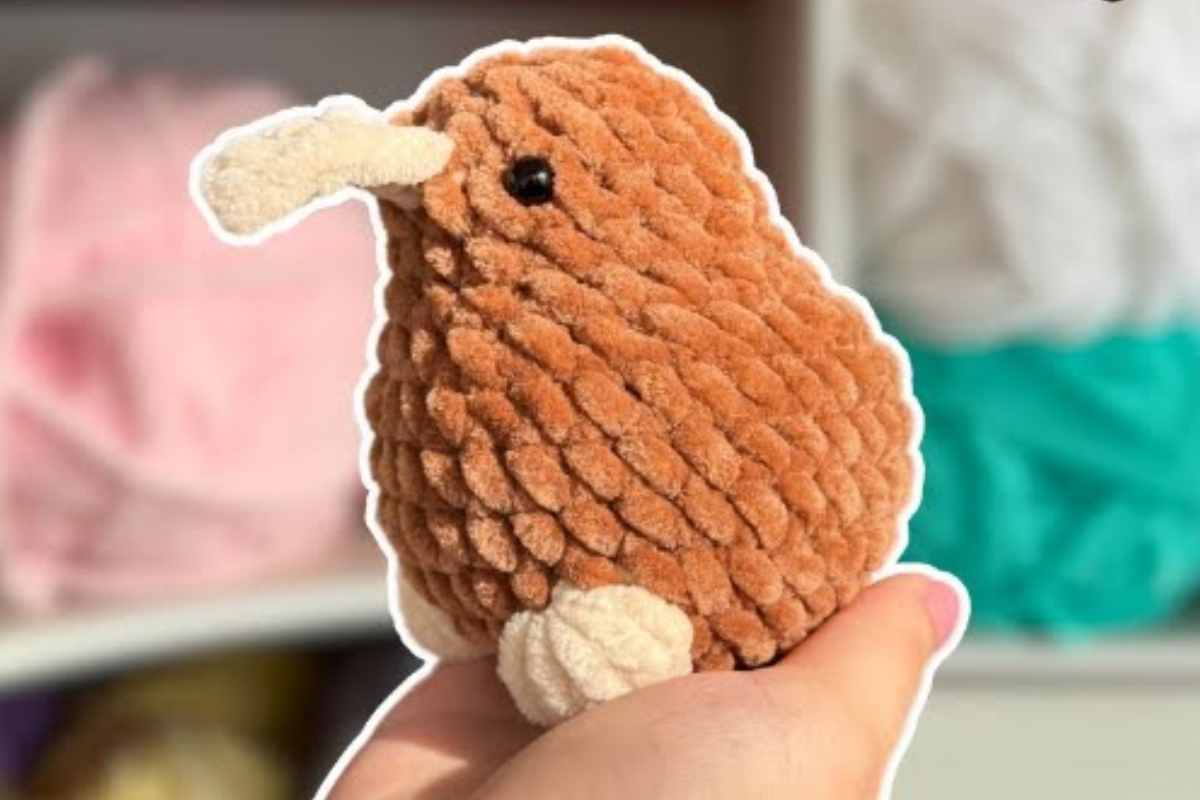
Images and patterns courtesy of My_universe64
If your stitches look a little gappy or the shape feels uneven, a few quick adjustments usually fix it:
- Use a hook size that gives you tight, firm stitches (amigurumi should feel dense).
- Keep stitch counts accurate—one missed increase can change the shape fast.
- If the piece starts to twist, adjust where you begin each round so the shaping stays centered.
- Take a second to check placement before you commit—small details are what make a crochet kiwi bird look extra cute.
Once you finish, give it a gentle squeeze and shape it with your hands—amigurumi often looks even better after a quick “final fluff and sculpt.”
Thanks for crocheting along with me today—this little kiwi is such a fun project to keep in your pocket of go-to makes. If you enjoyed it, save it for later and come back anytime you want a fast, adorable no-sew amigurumi win.
— Maggie
More crochet projects for you