
Fast Crochet Tank Top: Simple Steps, Great Fit
Ready to make a summer-ready staple you’ll actually wear? This beginner-friendly crochet top is built from simple rectangles, light shaping, and clean seams so you can go from yarn to wardrobe in a weekend.
The method is intentionally flexible—follow your body measurements instead of rigid stitch counts—and the fabric uses stitches you likely already know.
If you can chain, single crochet, and half double crochet (plus a tiny bit of slip stitch), you can crochet a stylish top that looks boutique-made.
What You’ll Make (and Why You’ll Love It)
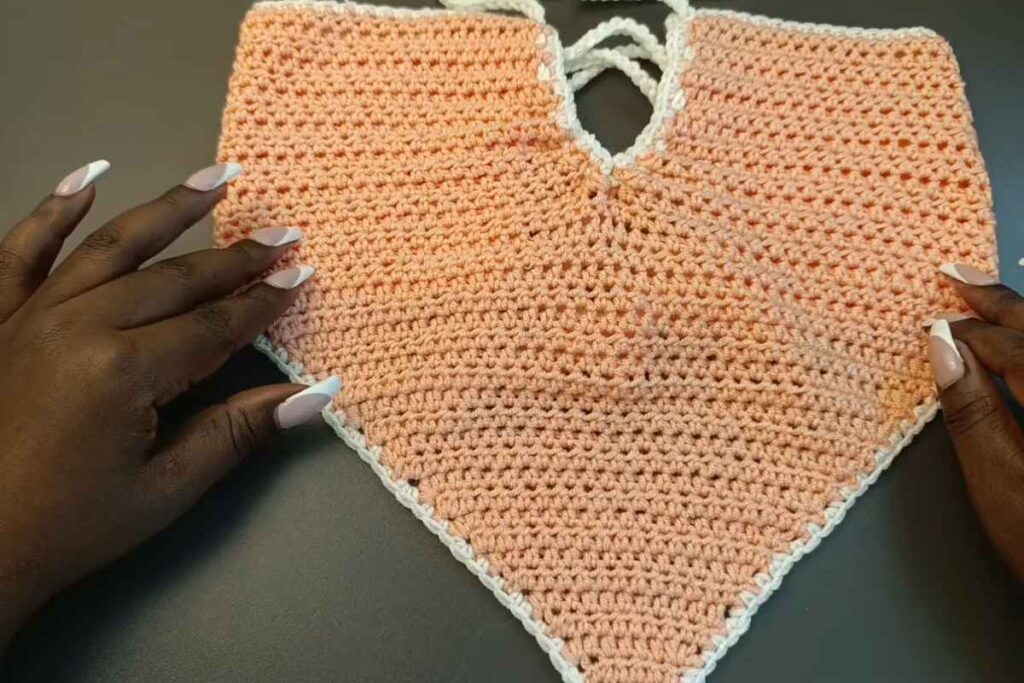
You’ll create a breezy, slightly boxy camisole with neat edges and optional tie straps. The silhouette is modern and forgiving, and the construction is quick & easy: two rectangles, a little neckline shaping on the front, then seam and finish.
Refill Your Creative Cup
Feeling stuck or out of ideas? Let us bring the spark back to your hook. Our weekly emails deliver patterns, tips, and inspiration to keep your creativity blooming.
😍 Bring Your Crochet Mojo Back – Sign Up Now! Click on the image 👆🏼
The pattern scales cleanly from petite to plus, so you can craft a comfortable custom fit without wrestling a complicated schematic.
Highlights
- Beginner-friendly stitches (chain, single crochet, half double crochet).
- Size-inclusive by measurement, not fixed counts.
- Modular build: stop when you reach your ideal length.
- Two strap options: simple chains or sturdier straps.
- Works in cotton, cotton blends, bamboo, or any plant-based yarn for drape.
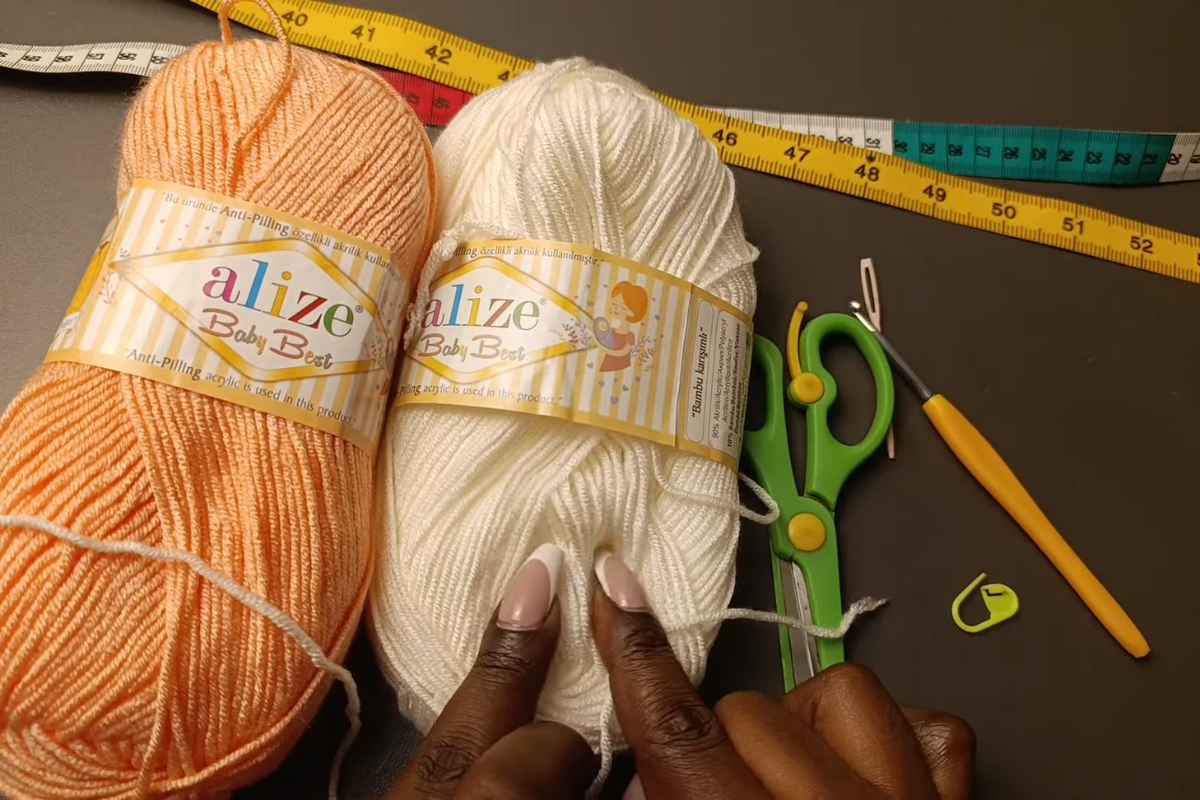
Materials & Tools
- Yarn: DK (Category 3) or light worsted (Category 4) cotton or cotton blend. Choose a smooth, breathable fiber with a nice drape.
- Hook: Size recommended on the label (often 4.0–4.5 mm for DK; 5.0 mm for light worsted).
- Notions: Scissors, yarn needle, stitch markers, soft tape measure, a couple of locking markers for strap placement.
- Gauge (relaxed): About 16–18 hdc sts = 4 in (10 cm) in rows after light blocking for DK; a little less for light worsted. Don’t stress—this project is measurement-led.
Pro tip: Swatch a 5” square in half double crochet, block or steam lightly, then measure. If you’re off by a lot, go up or down a hook size so your fabric feels soft but not holey.
Sizing by Measurement (No Math Headaches)
This top is worked side-to-side widthwise (back and front), then up-and-down lengthwise—meaning you’ll chain for width (your bust + ease) and work rows for length. Here’s how to personalize:
- Bust: Measure your fullest bust.
- Ease: Add 2–4 in (5–10 cm) for comfortable movement.
- Finished Width: (Bust + chosen ease) ÷ 2 = Width of each rectangle.
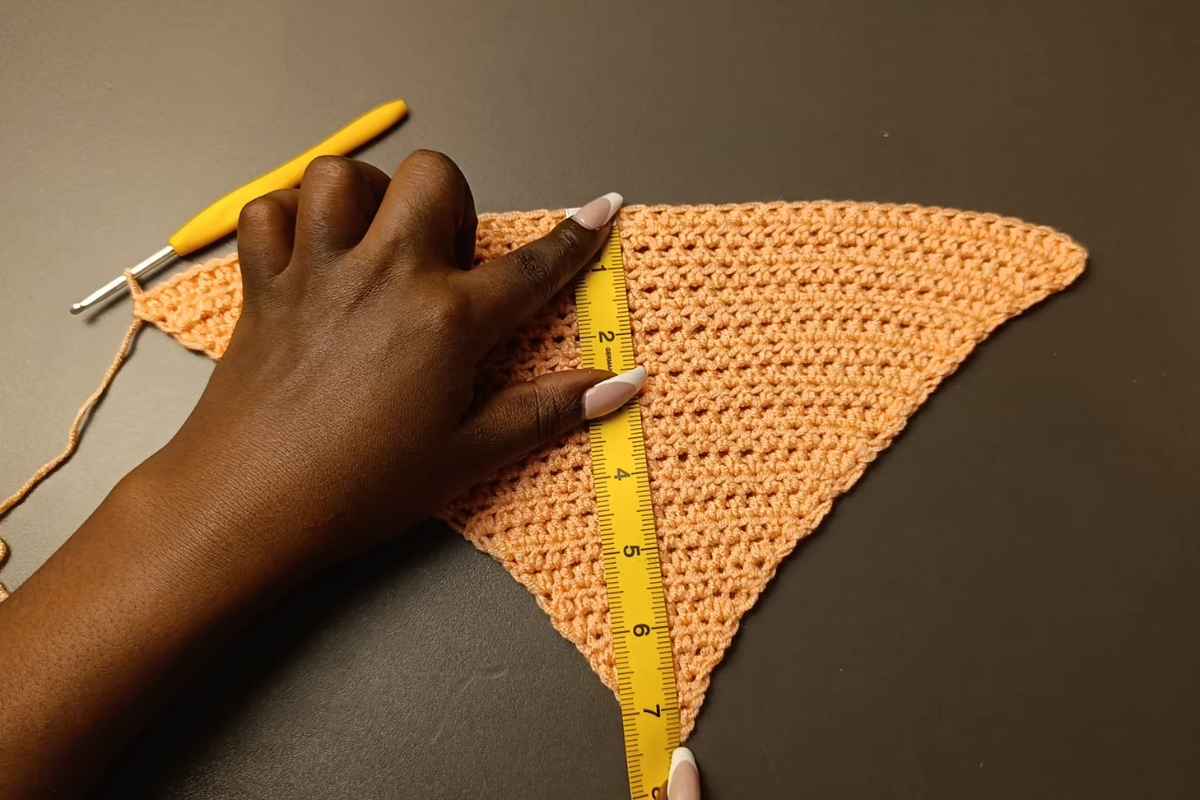
- Length: Measure from high point of shoulder to where you want the hem to land, minus roughly 1–1.5 in (2.5–4 cm) because straps will add height. If you prefer a cropped fit, aim for 16–18 in (40–46 cm). For regular length, 20–22 in (51–56 cm).
Because you’re working to measurement, the stitch counts below are examples. Focus on inches/centimeters, and your top will fit.
Stitch Glossary
- ch – chain
- sl st – slip stitch
- sc – single crochet
- hdc – half double crochet
- sk – skip
- st(s) – stitch(es)
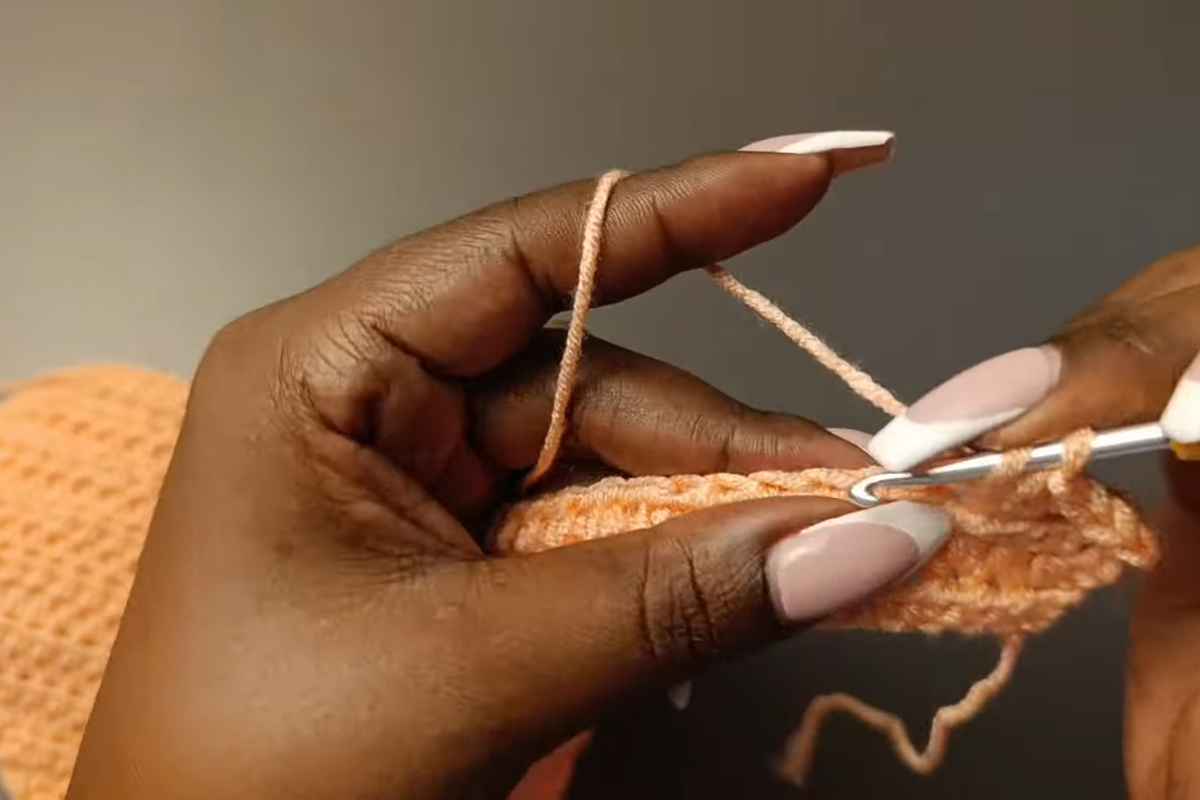
We’ll use a simple texture combo that looks polished: a foundation of half double crochet with slim single-crochet edging. If you want extra airiness, you can sprinkle in a mesh row (detailed below) every few inches.
Step 1: Plan Your Numbers
- Decide your rectangle width: (Bust + ease) ÷ 2.
- Decide your rectangle length: hem to underarm + a couple of inches for seam allowance and edging (remember straps add overall height).
- Compare your gauge to the width—how many chains accomplish that width? If gauge is 4.5 stitches per inch in hdc and your rectangle width is 18 in, aim for ~81 chains (round to an even or odd number as you prefer; even numbers make mesh repeats tidy).
Tip: Place markers at ¼ and ¾ points across your foundation chain. These will later help align side seams and strap positions.
Step 2: Crochet the Back Rectangle (No Shaping)
Foundation Chain
- Ch to your target width. Add 1 ch for turning (if you prefer turning chains at the start of each row; otherwise use stacked stitches if that’s your habit).
Row 1 (hdc across)
- Hdc in 2nd ch from hook and in each across. Turn.
- Row 2: Ch 1 (doesn’t count), hdc across. Turn.
Texture Repeat
- Repeat Row 2 until your fabric measures the desired length from hem up to underarm. If you want a subtle breathable look, work Mesh Row every 6–8 rows:
- Mesh Row: [sc, ch 1, sk 1] across, ending with sc. Next row: hdc in each sc and into each ch-1 space to keep stitch counts consistent.
Edge Tidy
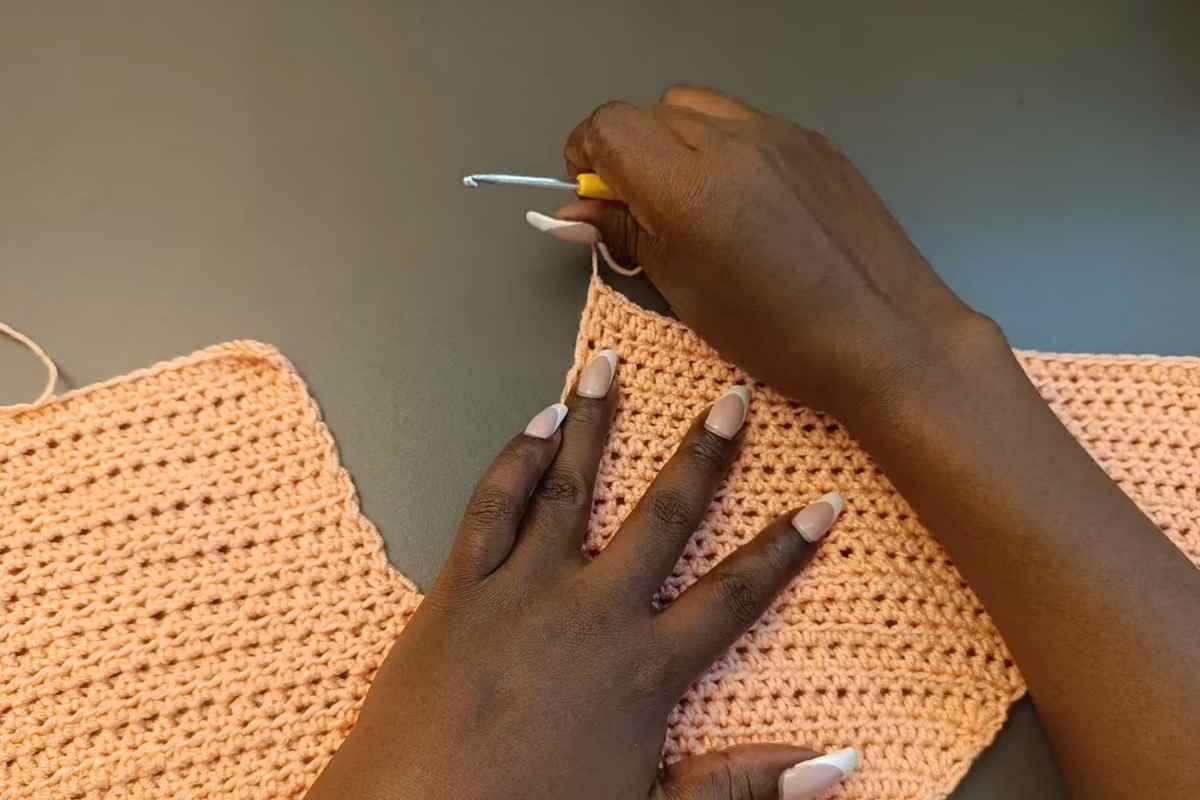
- Optional: work 1 round of sc evenly around the rectangle to prevent curling, placing 3 sc in each corner.
You’ve finished the back.
Step 3: Crochet the Front Rectangle (Light Neckline Shaping)
Work the front the same as the back until you reach approximately 2–3 in (5–7.5 cm) below your underarm. Then create a shallow scoop so the top feels airy and sits comfortably.
Prep Row (last straight row)
- Hdc across. Measure length; you should be just shy of your underarm line.
Divide for Neckline
- Count your stitches; mark the center 6–10 stitches (wider scoop for larger sizes). You’ll now work right and left straps separately to form the scoop, decreasing a little near the center.
Right Shoulder
- From the right edge, hdc to 1 stitch before the center markers, hdc2tog over the last stitch and the first marked stitch to soften the neckline edge. Turn.
- Work even hdc rows on this right shoulder strip to the underarm height (match the back’s total length). Fasten off.
Left Shoulder
- Re-attach yarn at the left edge. Hdc to 1 st before the center markers, hdc2tog across that stitch and the last marked stitch. Turn.
- Work even hdc rows to match the right shoulder and the back. Fasten off.
Neckline Clean-Up
- With RS facing, join at one shoulder, sc evenly around the neckline, placing 1 sc per row edge and 1 sc per stitch along the straight sections. Keep your tension relaxed so the neckline doesn’t pucker. Slip stitch to join and fasten off.
Optional: If you prefer a straight neckline, skip the shaping and treat the front like the back—this turns the piece into an ultra-simple rectangle top with a square neck once straps are added.
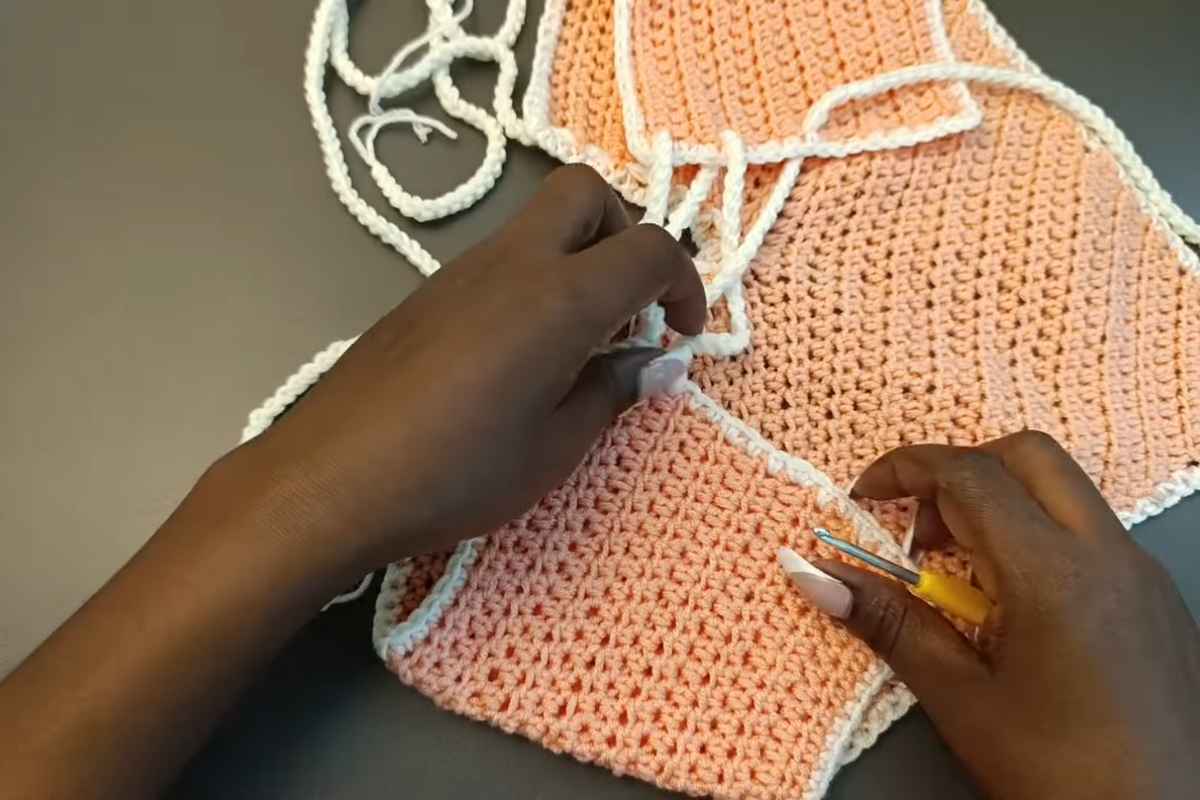
Step 4: Seam the Sides
Lay front and back RS together. Use your preferred seam: whip stitch with a yarn needle or slip stitch seam with a hook. Seam from the hem upward, leaving 6–8 in (15–20 cm) open for armholes (more for larger sizes or if you prefer extra movement).
Try it on and adjust the opening before securing the tails.
Fit check: The top should skim your body with gentle positive ease. If it’s too roomy, re-seam a little further inward; if snug, move the seam outward or consider a more relaxed blocking.
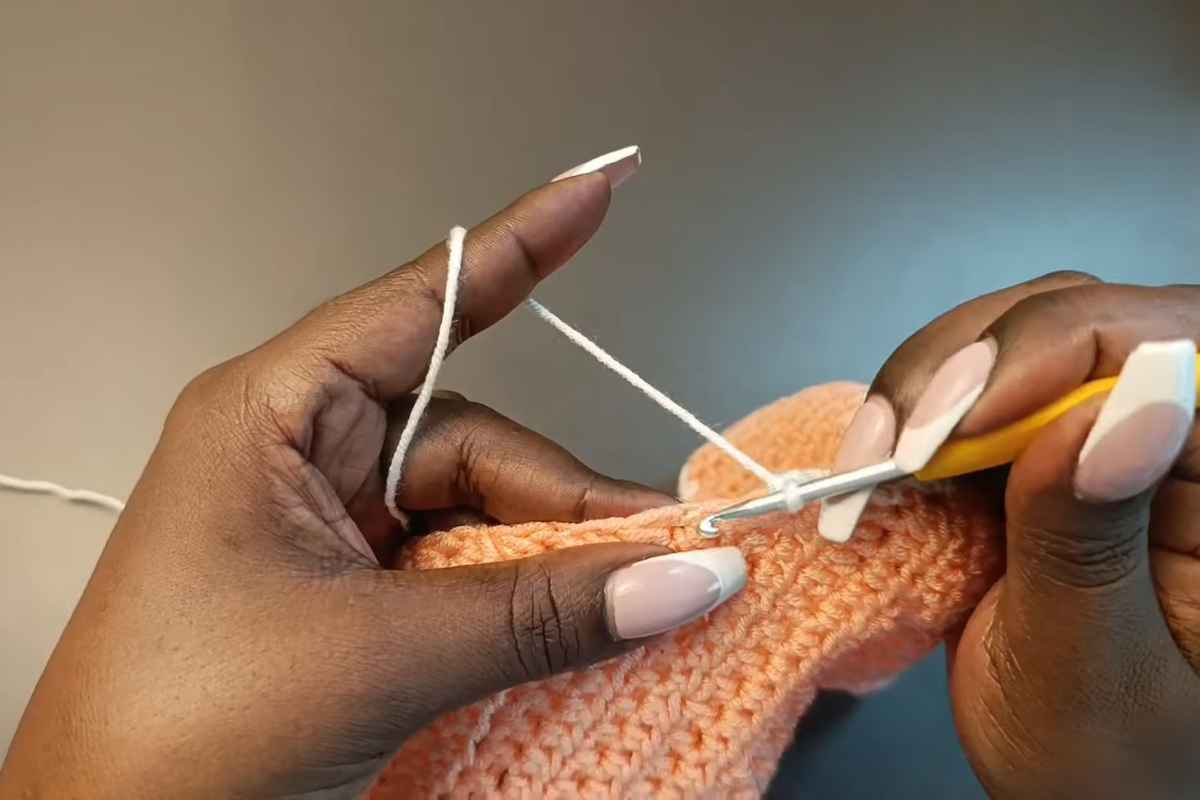
Step 5: Add the Straps (Two Options)
Your straps determine how the top hangs. Place locking markers on the front to center the straps roughly over your bust points, then mirror their position on the back.
Option A: Chain-Only Straps (fast & delicate)
- Attach yarn at the first front marker.
- Ch 60–90 (15–23 in / 38–58 cm), depending on desired drop.
- Join with sl st at the matching back marker to form a strap.
- Turn and sl st back along the chain to thicken slightly; sl st into the starting st to secure. Fasten off.
- Repeat for the other strap.
Option B: Sturdy Fabric Straps
- Attach yarn at the front marker. Ch 2, hdc in same st and hdc in next 2 sts (3 hdc strap width).
- Turn, ch 1, hdc across (3). Repeat rows until strap length reaches the back marker.
- Seam the strap to the back with whip stitch.
- Repeat for the other side.
Tip: Try on before fastening off. Adjust strap length so the neckline sits where you like and the armhole feels comfortable.
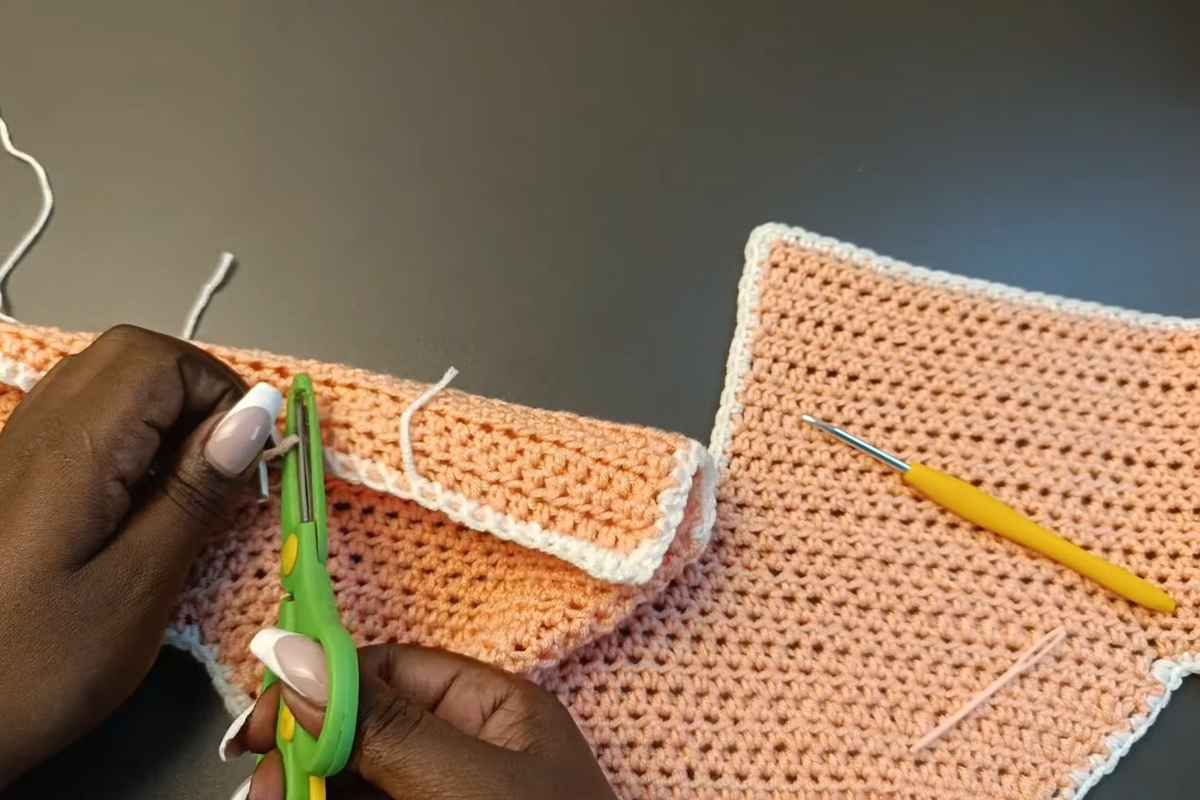
Step 6: Finishing Borders (Polished Look in Minutes)
Clean edges upgrade your make from “homemade” to handcrafted.
- Hem Edge: Join at a side seam, sc evenly around the hem, sl st to join. For a minimalist finish, stop here.
- Rolled Rib Hem (optional): After the sc round, work 1–2 rounds of hdc, then 1 round of sl st for a subtle rolled look.
- Delicate Picot Hem (optional): [sc, ch 3, sl st in first ch (picot), sk 1] repeat around for a pretty finish.
- Armholes: If you want extra stability, work 1 round of sc around each armhole before attaching straps (or after, working around straps).
Weave in all ends carefully and lightly block (steam or wet block) to relax stitches and even edges. Plant fibers bloom gently—don’t over-stretch.
Make It Yours: Easy Customizations
- Length: Add or subtract rows to go from cropped to hip-grazing.
- Texture: Swap every 6th row for a mesh row for extra breathability.
- Color-blocking: Change color at ⅓ and ⅔ height for bold stripes.
- Neckline: Keep straight for a square neck, scoop lightly as above, or add a V-neck by decreasing 1 stitch at the center every RS row for a handful of rows.
- Straps: Try i-cord straps (crocheted or knit) for a sleek, supportive look.
- Tie-Back: Leave the top’s back seam open from mid-back upward and add two long chain ties to create a lace-up detail.
Washing & Care
For cotton and plant-based fibers, machine wash cold in a mesh bag and lay flat to dry. If your yarn includes linen or bamboo, expect a little softening and drape increase after the first wash—one reason these tops look nicer with age.
A gentle steam pass will help resettle the neckline and hem after laundering.
You’re Done!
You just learned how to crochet a stylish top using approachable stitches, a measurement-first approach, and smart finishing. The result is a quick & easy piece you’ll be proud to wear and remake.
When you’re ready to push further, try adding patterned panels, textured rib bands, or lace inserts—the same blueprint works, and your creativity does the rest.
Images and patterns courtesy of LaDenser Crochets
Enjoy The Video Tutorial

Source: LaDenser Crochets
More crochet projects for you