
Handmade Elegance: Crocheting a Cover for Your Favorite Books


Crocheting a book cover is a great way to personalize your favorite book while protecting it from wear and tear.
It is also a fun and relaxing project that can be done by both beginners and experienced crocheters.
In this introductory text, we will guide you through the basic steps on how to crochet a book cover.
The first step in crocheting a book cover is to measure the dimensions of your book. This will determine the size of your cover.
Refill Your Creative Cup
Feeling stuck or out of ideas? Let us bring the spark back to your hook. Our weekly emails deliver patterns, tips, and inspiration to keep your creativity blooming.
😍 Bring Your Crochet Mojo Back – Sign Up Now! Click on the image 👆🏼
You can use a measuring tape or ruler to measure the length, width, and spine of your book.
Once you have your measurements, add a few extra inches to each dimension to allow for a snug fit and to accommodate the thickness of the cover.
Crocheting Your Own Book Cover
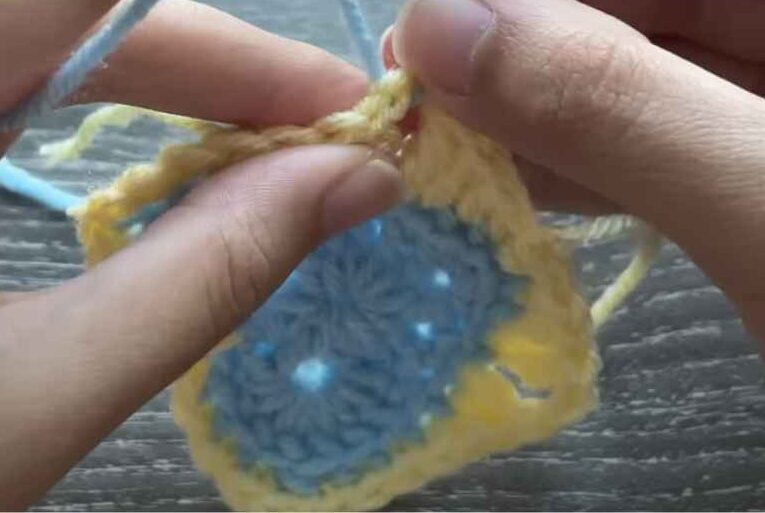
Next, choose your yarn and hook size. The thickness of your yarn and size of your hook will depend on the desired look and feel of your book cover.
A medium weight yarn and a hook size of 4mm or 5mm are good starting points for most projects.
You can also experiment with different yarn textures and colors to create unique and personalized designs.
To begin crocheting your book cover, start with a foundation chain of stitches that matches the length of your book.
Then, work in rows of single crochet or another stitch pattern until you reach the desired width of your cover.
You can add embellishments such as buttons, tassels, or a flap closure to make your cover more functional and stylish.
Finally, sew the edges of your cover together to create a pocket for your book. You can use a whip stitch or slip stitch to close the sides and bottom of your cover.
Try your cover on your book to ensure a snug fit, and make any necessary adjustments.
With a few simple steps, you can crochet a beautiful and practical book cover that will protect your favorite book for years to come.
Enjoy The Video Tutorial

Source: crochet with mahum
More crochet projects for you