
How to Add a Scalloped Crochet Border to a Velvet Baby Blanket
If you love plush, baby-soft crochet blankets, this velvet wavy edge design is such a satisfying project. The texture looks polished, but the steps are approachable—great if you want a blanket that feels extra special without complicated shaping.
In this tutorial, you’ll see how the blanket builds up with an easy-to-repeat stitch pattern, then gets finished with a pretty wavy edge border that instantly upgrades the look.
A soft velvet baby blanket that looks boutique (without tricky stitches)
![]()
Images and patterns courtesy of Daisy Farm Crafts
Tiny Blankets, Big Smiles
There's nothing sweeter than wrapping a little one in a blanket you made yourself. Inside this ebook you'll find 25 of the fastest, easiest baby blanket patterns — each explained step by step with photos, so even your very first project turns out beautifully.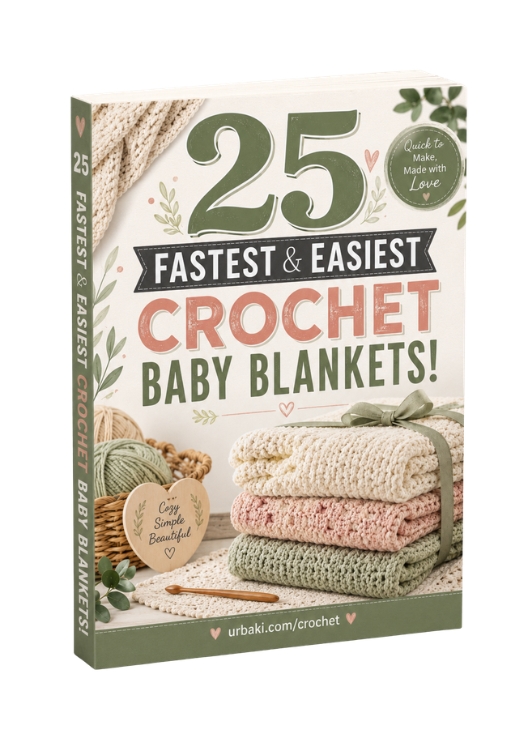
🧶 Find Your Next Favorite Pattern – Click on the Image 👆🏼
Velvet yarn makes even simple stitches feel luxurious, and it creates a beautiful drape for baby blankets. In the video, you’ll see how to keep your stitches consistent so the fabric stays smooth and cuddly (velvet can be a little slippery compared to acrylic or cotton).
This blanket is worked as a simple rectangle, so it’s a great option when you want a project that’s easy to track row-by-row. Once the main body is done, the border adds that “wow” factor—those waves help the edges look finished and gift-ready.
A few quick tips that help with velvet:
- Keep your tension steady (not too tight).
- Use good lighting so you can clearly see each stitch.
- If you need to count, counting by feel can be easier than counting by sight.
How to crochet a wavy edge border on a velvet baby blanket
The border is where this blanket really shines. You’ll watch the waves form as the edging repeats around the blanket—giving you that sweet, scalloped look without needing advanced techniques.
Pay attention to how the tutorial places the repeats along the sides and corners. Border stitch placement is what keeps the edge lying flat and helps the waves look even all the way around.

Source: Daisy Farm Crafts
If you’re planning to gift this blanket, the finished edge is a great spot to slow down and make it neat: smooth corners, even spacing, and tidy ends make a big difference.
Happy crocheting—and don’t forget to save this one so you can come back when you need a soft, cozy baby gift idea!
— Maggie
More crochet projects for you