
How To Crochet A Baby Rattle - Teddy Bear Teether

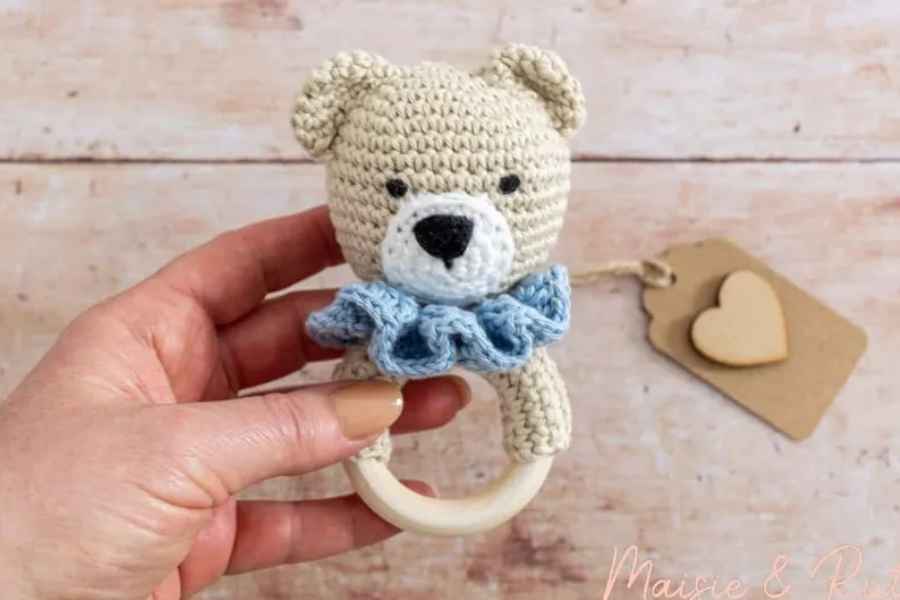
If you’re searching for a cute and quick crochet project for a baby shower or a new arrival, this crochet rattle is the perfect choice!
In the video tutorial by Maisie and Ruth, you’ll learn how to make a rattle that also serves as a teether, making it a practical and soothing gift for little ones.
Materials and Steps to Crochet the Rattle
To begin, gather the following materials: a non-toxic, unpainted wooden ring, soft yarn in your chosen color, a crochet hook, and a small amount of stuffing.
- Secure the Yarn: Wrap the yarn around the wooden ring and tie a knot to hold it in place.
- Create the First Loop: Chain 10 stitches and slip stitch to the ring, forming a loop that serves as the starting point.
- Crochet Around the Ring: Single crochet into each chain stitch around the ring, making sure to work over the tail of the yarn to keep it secure. Continue working in the round until the rattle reaches the desired size.
Adding Stuffing and Finishing Touches
Once the rattle has reached the desired size, add a small amount of stuffing, leaving some space for it to move around and make noise.
Refill Your Creative Cup
Feeling stuck or out of ideas? Let us bring the spark back to your hook. Our weekly emails deliver patterns, tips, and inspiration to keep your creativity blooming.
😍 Bring Your Crochet Mojo Back – Sign Up Now! Click on the image 👆🏼
- Attach to the Wooden Ring: Chain 10 stitches and slip stitch to the opposite side of the ring, creating another loop.
- Cut and Weave: Cut the yarn and weave in the ends to complete the project.
This adorable teddy bear teether rattle will be a hit with any baby, providing both comfort and a fun toy to enjoy.
Images and pattern courtesy of Maisie and Ruth
Enjoy The Video Tutorial

Part 2
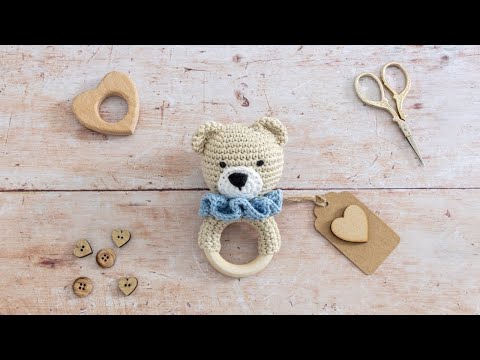
Source: Maisie and Ruth
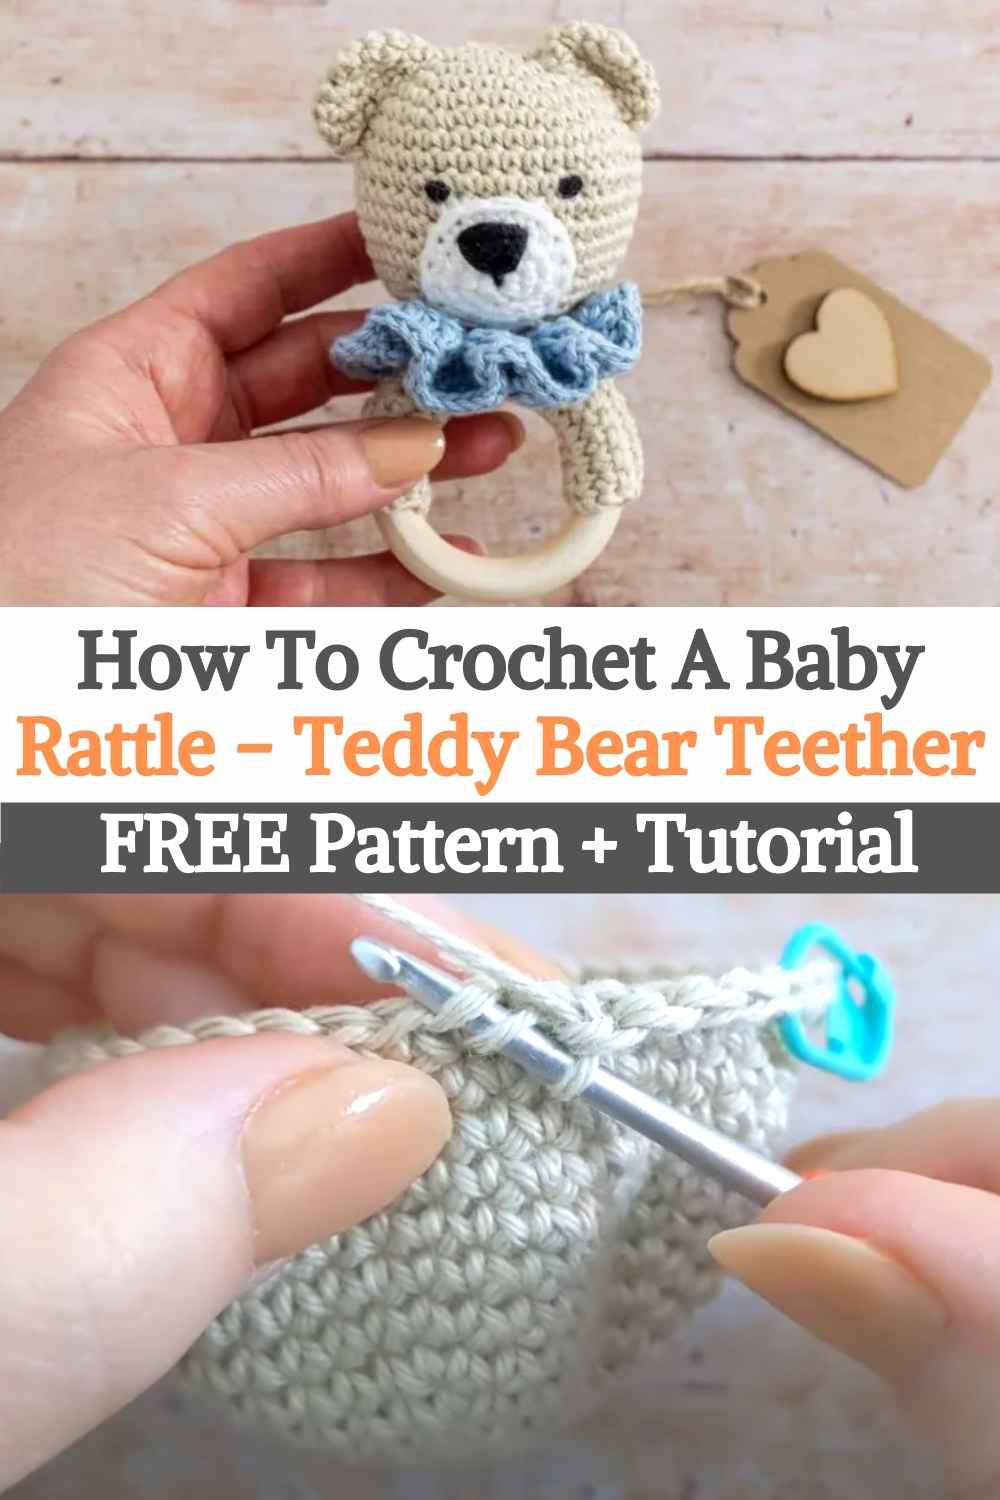
Did you find this post useful or inspiring? Save THIS PIN to your Crochet Board on Pinterest! 😊
More crochet projects for you