
How to Crochet a Beautiful Dream Catcher Mandala


If you’ve got leftover yarn begging to be used, this crochet mandala dream catcher is a fun way to turn scraps into something beautiful. In today’s video, you’ll learn a simple, repeatable stitch pattern that works up into a mandala-style center you can use as wall decor.
This is a great project for beginners (or anyone who wants a relaxing make) because the rounds rely on easy repeats—and you can keep it small or grow it larger depending on your vibe.
How a Crochet Mandala Dream Catcher Works (And Why Scrap Yarn Is Perfect)
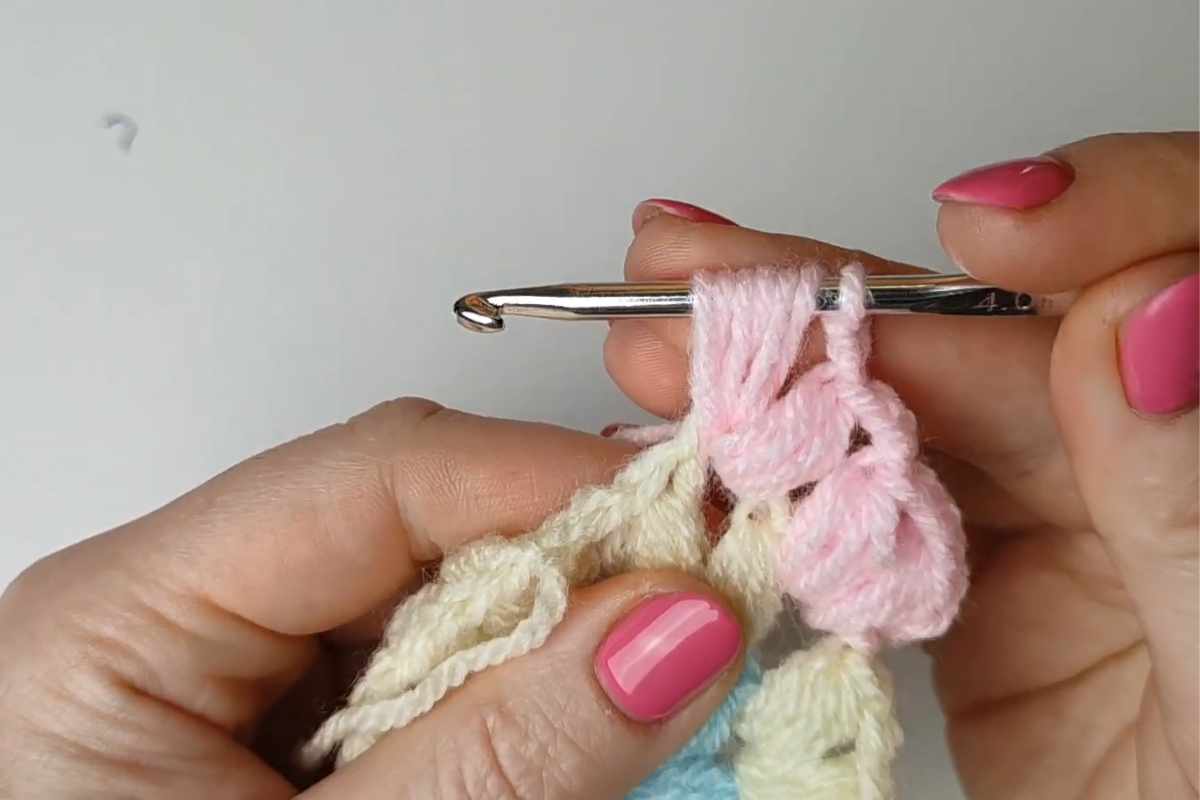
Images and patterns courtesy of Hobbi CROCHET
A crochet mandala dream catcher starts like many circular projects: you build rounds that expand evenly to create that classic mandala look. The best part? You can mix and match colors as you go, making it ideal for scrap yarn crochet and stash-busting.
Refill Your Creative Cup
Feeling stuck or out of ideas? Let us bring the spark back to your hook. Our weekly emails deliver patterns, tips, and inspiration to keep your creativity blooming.
😍 Bring Your Crochet Mojo Back – Sign Up Now! Click on the image 👆🏼
In the video, you’ll see how the design uses a straightforward rhythm of puff stitches and chains to create texture and airy spaces. Once you get the repeat, it’s the kind of pattern you can crochet while watching TV—or make as a quick handmade gift.
If you’re new to texture, don’t worry: the tutorial demonstrates the puff stitch slowly, so you can follow along without feeling rushed.
Crochet Dream Catcher Mandala Tutorial With Puff Stitches and Chains
This is where you’ll follow the step-by-step video and crochet along round by round. Pay attention to stitch placement and counting—small adjustments early on help your circle stay smooth and flat.

Source: Hobbi CROCHET
Tips to Keep Your Mandala Flat and Even (Beginner Troubleshooting)
If your mandala starts to ripple, it usually means there are too many stitches in a round; if it cups, there may be too few stitches (or your tension is tight). A few quick fixes:
- Keep your chain spaces consistent (try not to “yank” chains tight).
- Pause after each round to make sure your circle is laying flat.
- If needed, size up your hook slightly for looser tension (especially with puff stitches).
Once you finish, you can display it as a simple crochet wall hanging, attach it to a hoop, or style it as boho-inspired decor.
Happy crocheting—and don’t forget to save this idea for your next scrap-yarn session!
– Maggie
More crochet projects for you