
Crochet Deaths-Head Hawkmoth Amigurumi: Fuzzy Moth Video Tutorial


The deaths-head hawkmoth is famous for the pale, skull-like marking on its back, and it makes a surprisingly cute plush. In this video, ComplicatedKnots shows how to crochet a deaths-head hawkmoth amigurumi from head to wings, then brushes the wings until they look soft and fuzzy like a real moth.
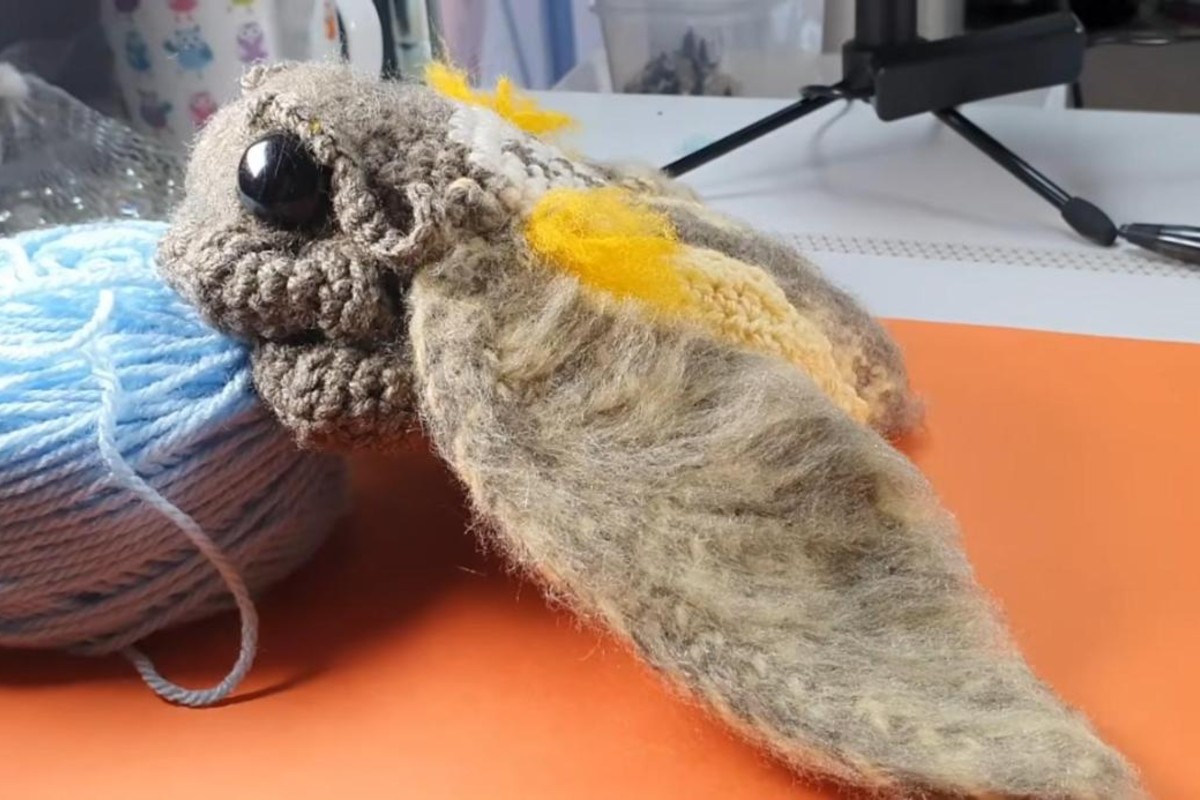
Deaths-Head Hawkmoth Amigurumi at a Glance
- Designer: ComplicatedKnots
- Colors: grey-brown for the body, white or cream for the skull patch and pale yellow for the details
- Other supplies: black safety eyes, fiberfill stuffing, a curved sewing needle and a slicker brush for the fuzzy finish
- Terminology: US crochet terms
- Construction: pieces are worked in a continuous spiral, then sewn together
- Video length: about 41 minutes
How the Moth Comes Together
The tutorial follows the order of the pieces. You start with the head, then work the body, where the skull patch is added with color changes so the marking is part of the fabric. After that come the rear of the body, the front and back legs, the antennae, the small wings and the large wings.
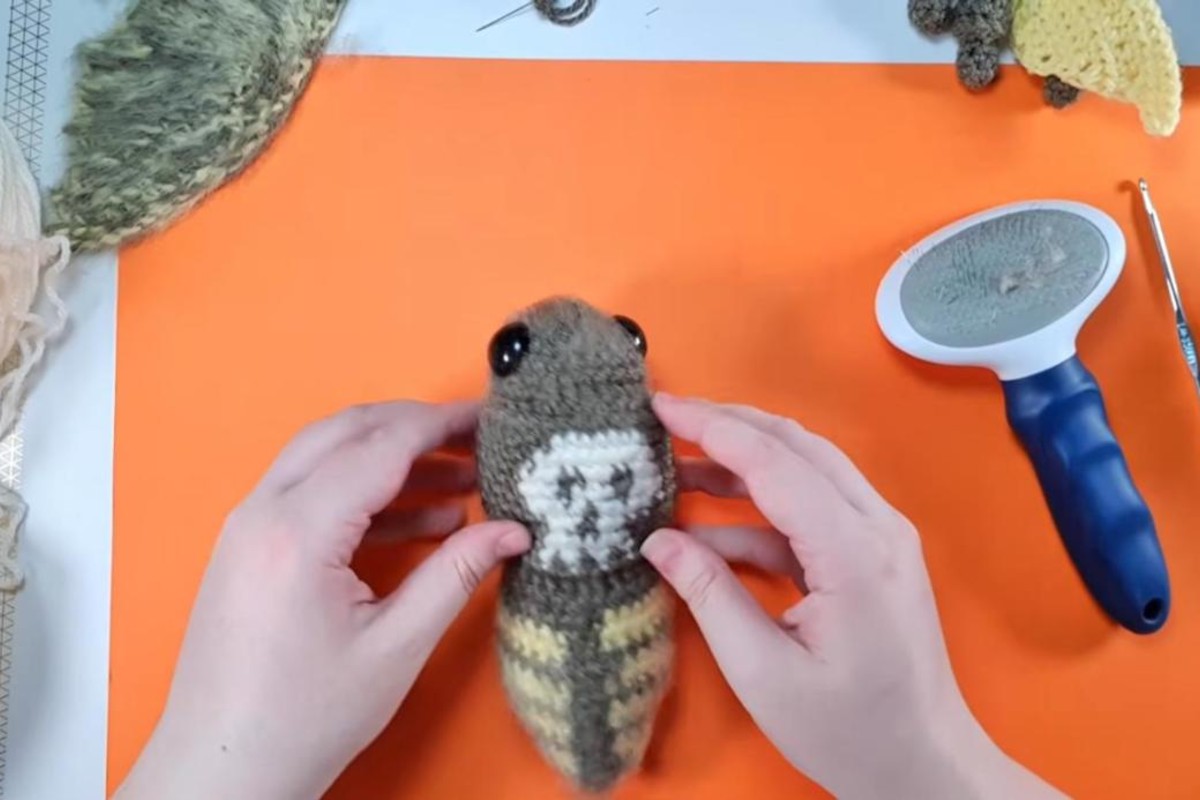
Before the final assembly there is a whole section on fluffing. The wings are brushed with a slicker brush, which pulls up the fibers and blends the two colors into that soft, dusty moth look. The video ends with the assembly, where all the pieces are attached to the body.
The round-by-round counts are shown on screen as you go, so it helps to watch on a larger screen and pause when a new round starts.
Tips for a Neat Finish
- Keep your tension even at each color change in the skull patch, so the marking stays flat and the edges look clean.
- Brush the wings before sewing them on. It is much easier to fluff a flat piece than one that is already attached.
- Brush gently and in short strokes. You can always brush a little more, but you can't undo a wing that has gone too fuzzy.
Frequently Asked Questions
Can I make this moth without a slicker brush?
Yes, it will still look like a hawkmoth, but the wings will keep a smooth crochet texture instead of the fuzzy finish shown in the video.
Is the pattern available on Urbaki?
No. ComplicatedKnots' patterns are not sold or available for download on Urbaki, and Urbaki is not affiliated with ComplicatedKnots. The full tutorial is free to watch on her YouTube channel.
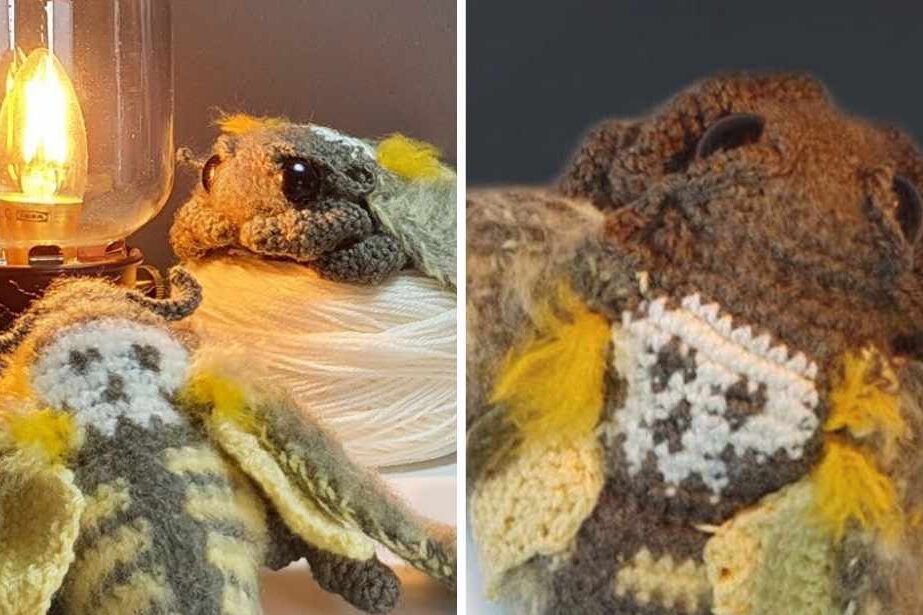
Images and patterns courtesy of ComplicatedKnots
Watch the Video Tutorial

Source: ComplicatedKnots
More from ComplicatedKnots
More crochet projects for you