
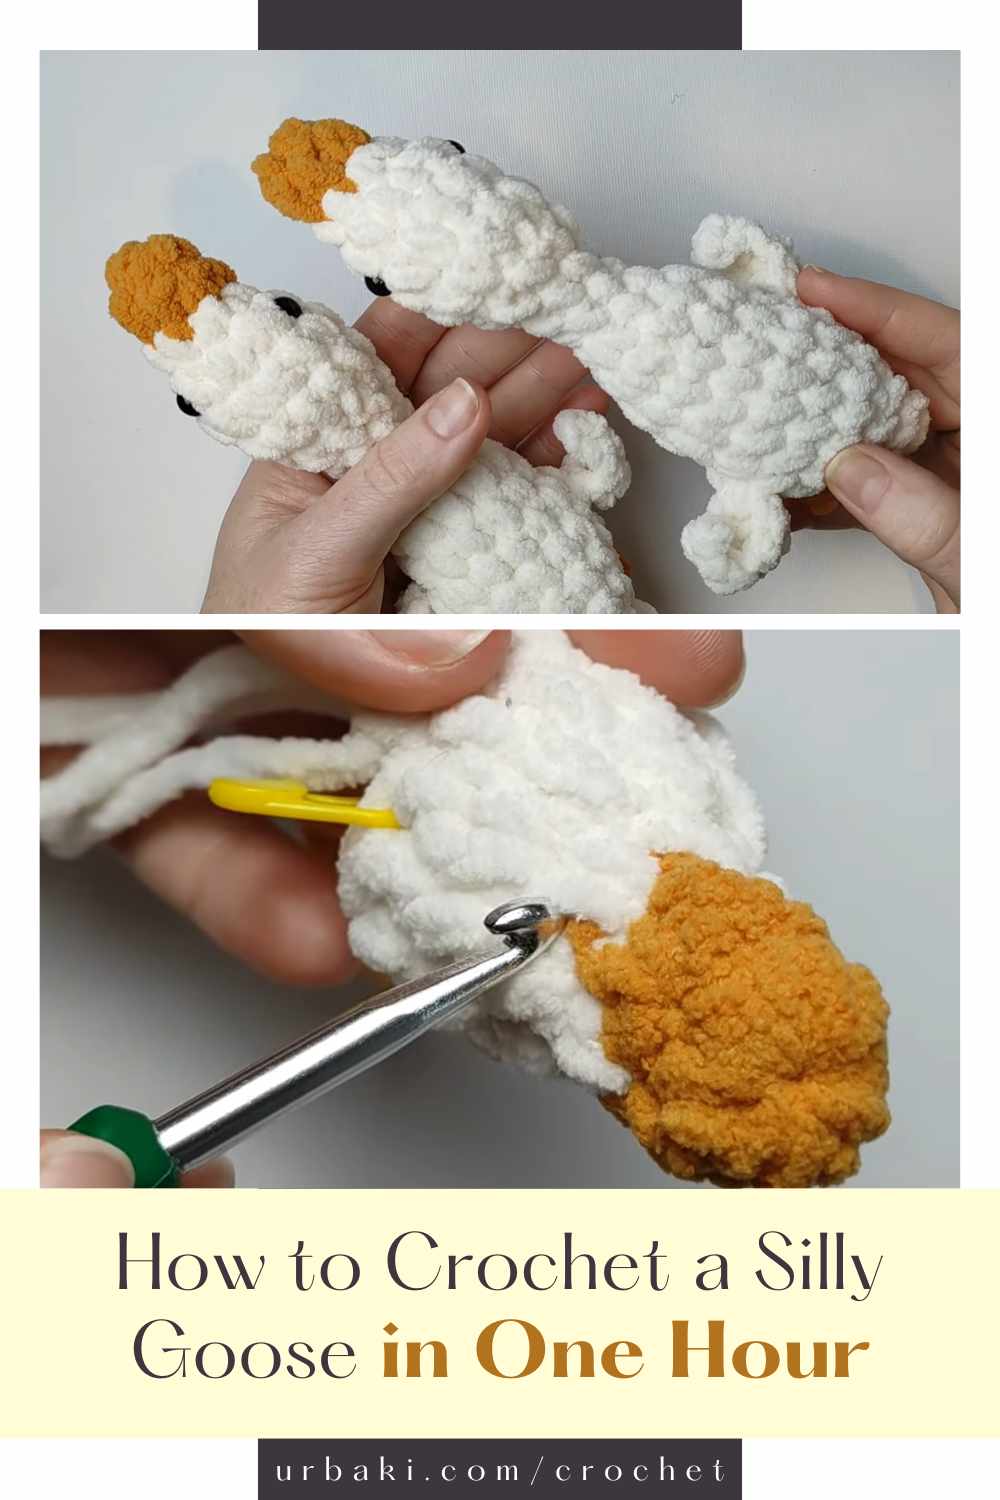
How to Crochet a Silly Goose in One Hour

This small amigurumi toy is not only cute but also makes a great keychain or gift idea. It’s a perfect project for anyone looking to create a quick and charming handmade item that can bring joy to others.
Whether you’re making it as a thoughtful present for a friend, a fun accessory for your bag, or a delightful addition to your desk, this Silly Goose is versatile and adorable.
Best of all, you can complete it in just one hour, making it an ideal project for those with busy schedules or for last-minute gifts.
Why Make a Crochet Silly Goose?
Before diving into the steps, let’s explore why the Crochet Silly Goose is a fantastic project:
- Quick and Easy: Perfect for both beginners and advanced beginners, this project can be completed in just one hour.
- Great Gift Idea: This cute and silly goose makes a unique and thoughtful gift for friends, teachers, or family members.
- Versatile Use: Use it as a keychain, a small plush toy, or a fun desk accessory.
Materials You’ll Need
To start your Crochet Silly Goose project, gather the following materials:
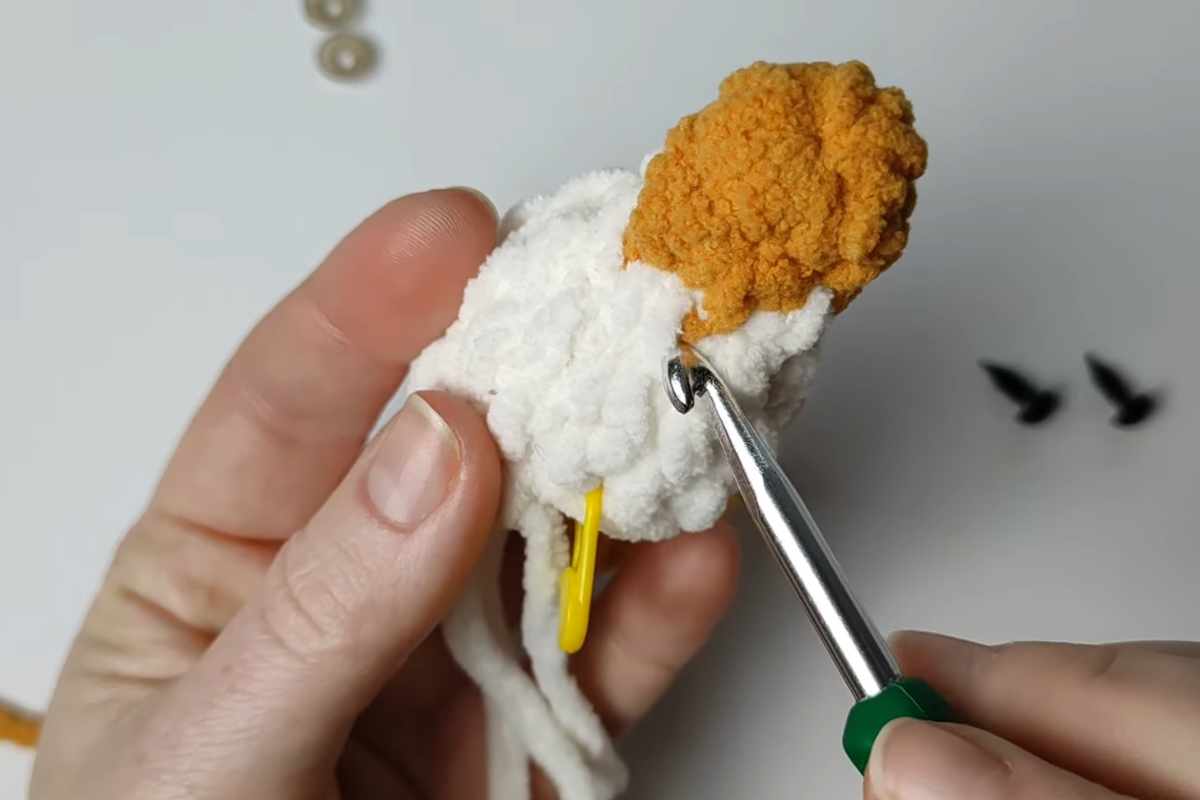
- Yarn: Choose a soft yarn in white, orange, and black for the goose’s body, beak, and eyes.
- Crochet Hook: Follow the size recommendation in the tutorial by Hobbi CROCHET.
- Stuffing: High-quality stuffing to fill your amigurumi goose.
- Scissors: For trimming your yarn ends.
- Tapestry Needle: To weave in any loose ends and sew the parts together.

Benefits of Making a Crochet Silly Goose
This project is not only enjoyable but also results in a charming and useful item:
- Brings Joy: This silly and cute goose is sure to make someone smile.
- Portable: Its small size makes it perfect for carrying around as a keychain or a small plush toy.
- Handmade Gift: A handmade goose is a thoughtful and personalized gift that shows you care.
We hope you enjoy making your own Crochet Silly Goose. It’s a fun and easy project that’s perfect for adding a touch of handmade charm to your life.
Be sure to watch the tutorial by Hobbi CROCHET here and share your creations with us!
Images and patterns courtesy of Hobbi CROCHET
Enjoy The Video Tutorial

Source: Hobbi CROCHET
Did you find this post useful or inspiring? Save THIS PIN to your Crochet Board on Pinterest! 😊
More crochet projects for you