
How to Crochet an Airplane Toy!

If you’ve been looking for a fun, giftable crochet toy idea, this little airplane is such a cute project to add to your list. In today’s tutorial, you’ll see how to crochet an airplane step by step, with the kind of shaping that makes amigurumi-style toys look polished and professional.
Even if you’re still building confidence with crochet toys, this is a great project to learn from—watching the construction in real time helps you understand how the pieces come together and how to keep your stitches neat.
How this crochet airplane toy is built (and what to watch for)
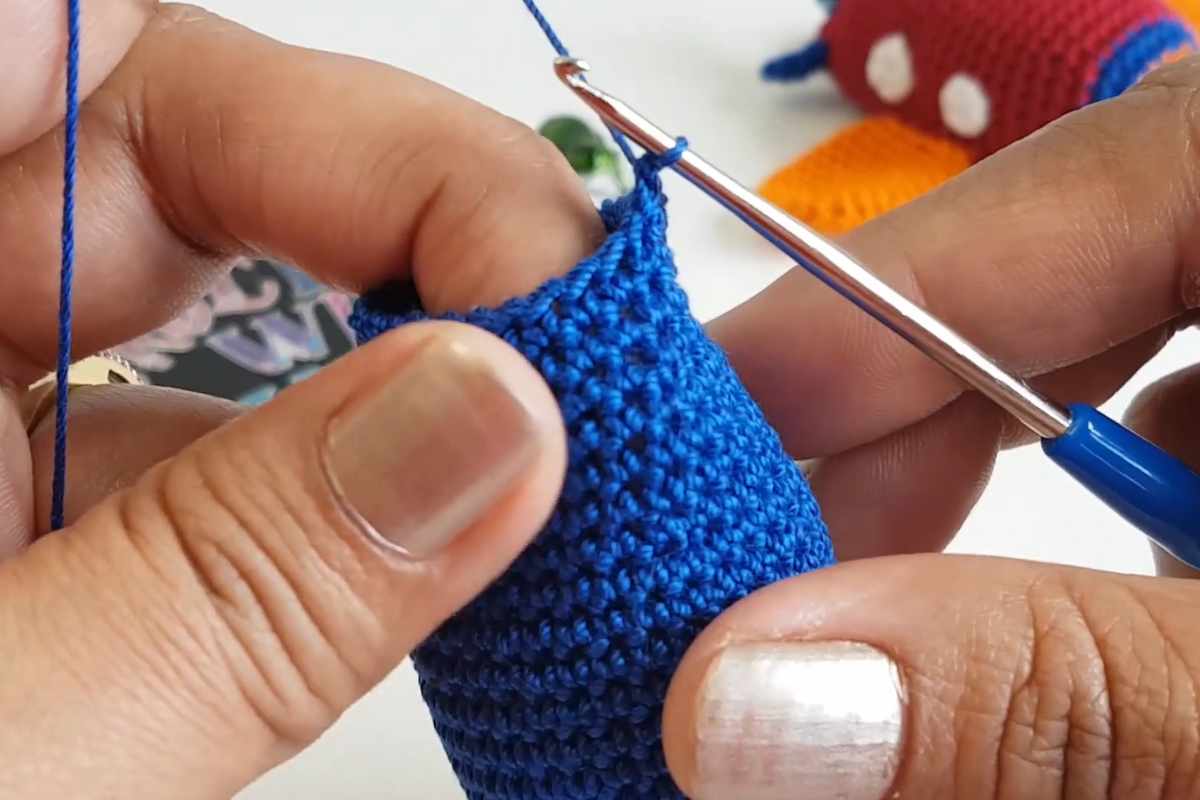
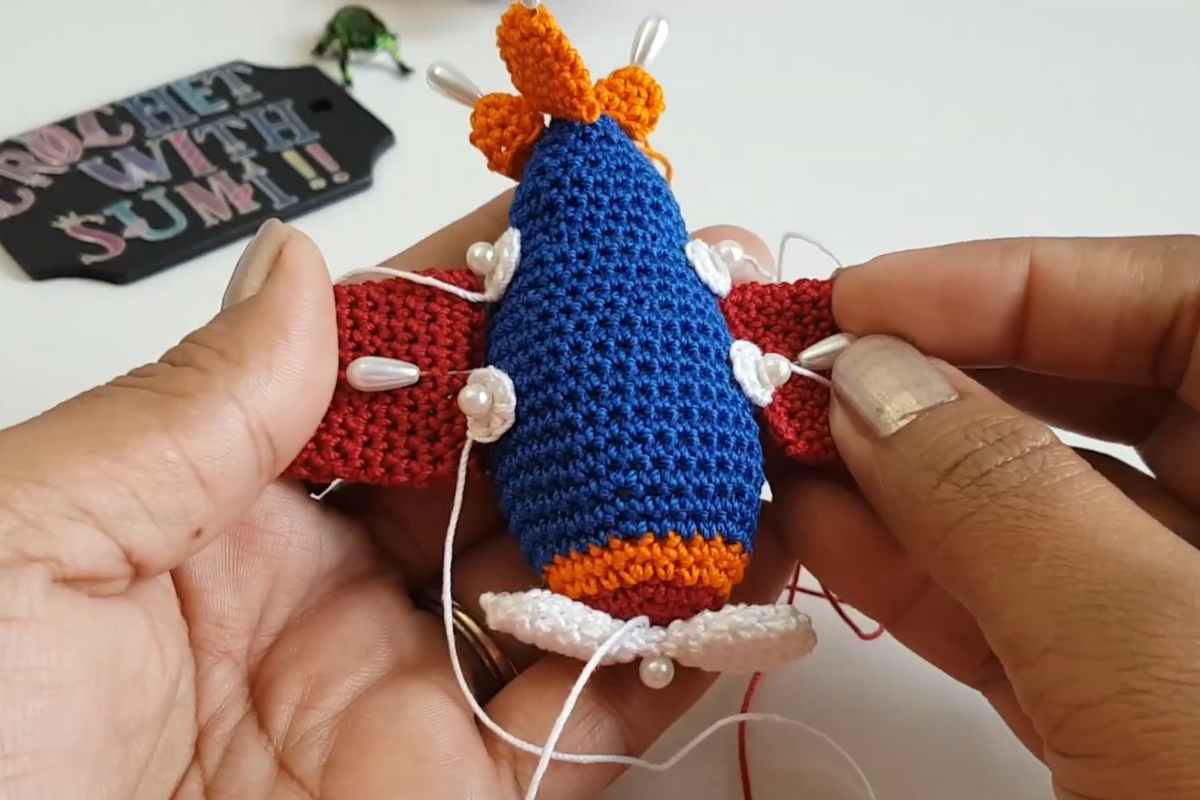
Crochet toys are all about structure, and an airplane is a perfect example of that. In the video, you’ll see how the airplane body is formed and how the details (like wings and smaller parts) create that classic airplane shape without needing complicated techniques.
Refill Your Creative Cup
Feeling stuck or out of ideas? Let us bring the spark back to your hook. Our weekly emails deliver patterns, tips, and inspiration to keep your creativity blooming.
😍 Bring Your Crochet Mojo Back – Sign Up Now! Click on the image 👆🏼
A couple of things to pay attention to as you follow along: consistent tension (so the toy looks smooth), clean shaping (especially where parts curve or taper), and secure joining (so everything stays sturdy once assembled). If you’ve ever made amigurumi before, you’ll recognize the rhythm—stitching, shaping, and assembling in a way that builds a firm, huggable toy.
As you watch, you can also pick up little finishing habits that make a big difference, like how pieces are positioned before attaching and how to keep the toy looking symmetrical.
Crochet airplane toy video tutorial (step by step)

Source: Crochetwithsumi
Tips for a neat, sturdy crochet toy finish
Images and patterns courtesy of Crochetwithsumi
For crochet plush and toy projects like this, tight, even stitches are your best friend—especially if you want the airplane to hold its shape. If the toy looks a little “gappy,” try sizing down your hook (if that’s an option for your yarn) and slowing down to keep your stitch height consistent.
When it’s time to assemble, take a moment to line everything up before you commit. Pinning or holding pieces in place as you attach can help you avoid crooked wings or uneven placement. And don’t rush the last step—careful sewing and tidy ends are what take a crochet airplane plush from “cute” to “wow, you made that?!”
Thanks for crocheting along with us today! If you try this crochet airplane toy, save the tutorial so you can come back anytime you want another handmade gift idea.
— Maggie
More crochet projects for you