
How To Crochet Interlock Ball

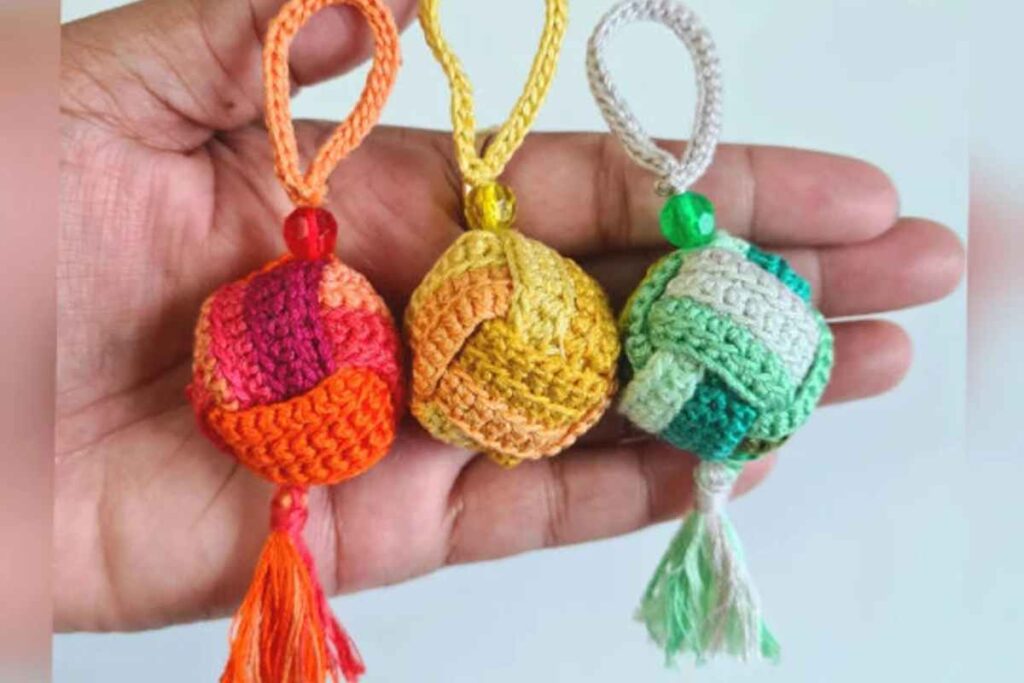
If you love quick crochet projects with a “wow” factor, this interlock ball is such a fun one to try. It’s a small 3D crochet piece that looks intricate, but the steps are totally doable when you follow along.
This is also a great idea when you want something that’s giftable, stash-busting, and easy to turn into a crochet keychain or bag charm.
How an Interlock Crochet Ball Gets Its 3D Shape
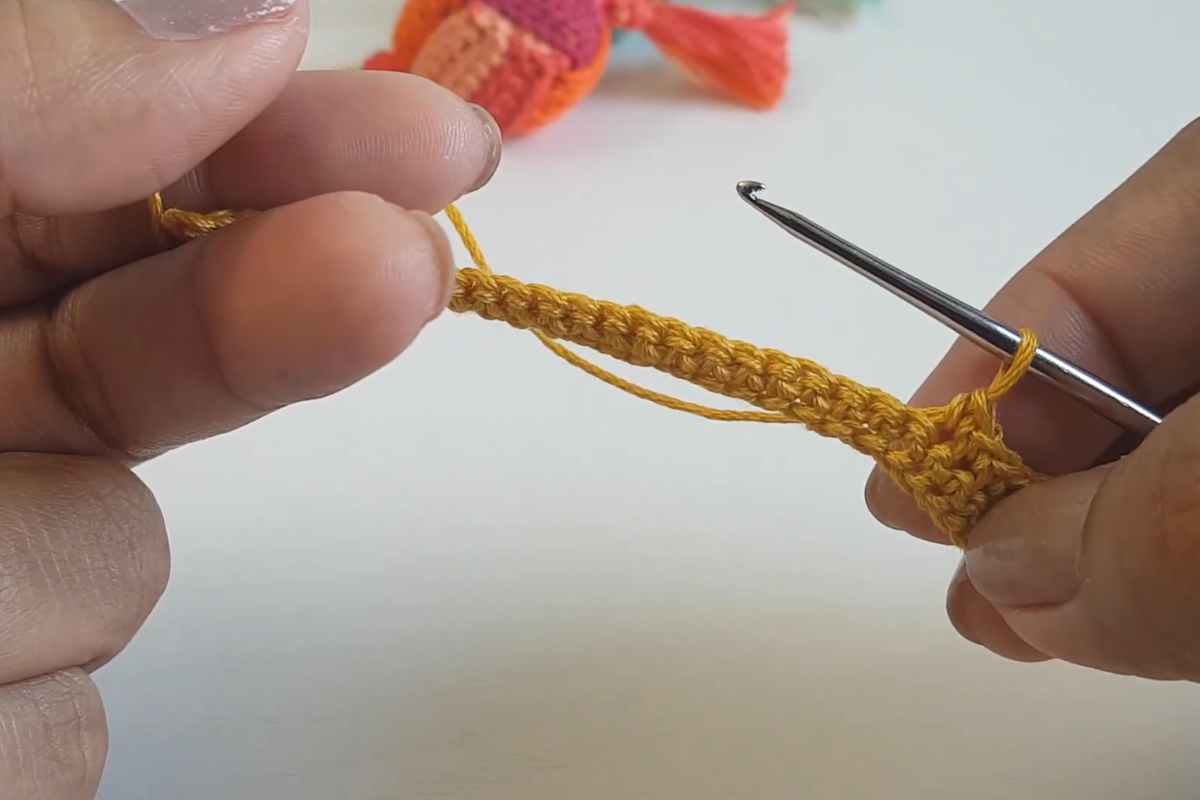
An interlock ball is all about building a tidy, rounded form that holds its shape once assembled. In the video, you’ll see how the sections come together so the finished ball looks woven and dimensional instead of flat.
Refill Your Creative Cup
Feeling stuck or out of ideas? Let us bring the spark back to your hook. Our weekly emails deliver patterns, tips, and inspiration to keep your creativity blooming.
😍 Bring Your Crochet Mojo Back – Sign Up Now! Click on the image 👆🏼
A few things that make a big difference in the final look:
- Keeping your stitches even and snug so the ball stays firm
- Shaping as you go so the pieces line up cleanly
- Paying attention to how you join/close the sections for a smooth, symmetrical sphere
If you’re newer to 3D crochet, don’t worry—this is the kind of project where watching the steps in real time helps everything click.
Crochet Interlock Ball Tutorial (3D Ball + Keychain Idea)
Use the video below to follow the full process from start to finish. You’ll be able to see exactly how the interlock sections are formed and assembled into the final 3D ball—then how it can be used as a keychain-style accessory.

Source: Crochetwithsumi
Tips for a Neater Crochet Ball (Without Overthinking It)
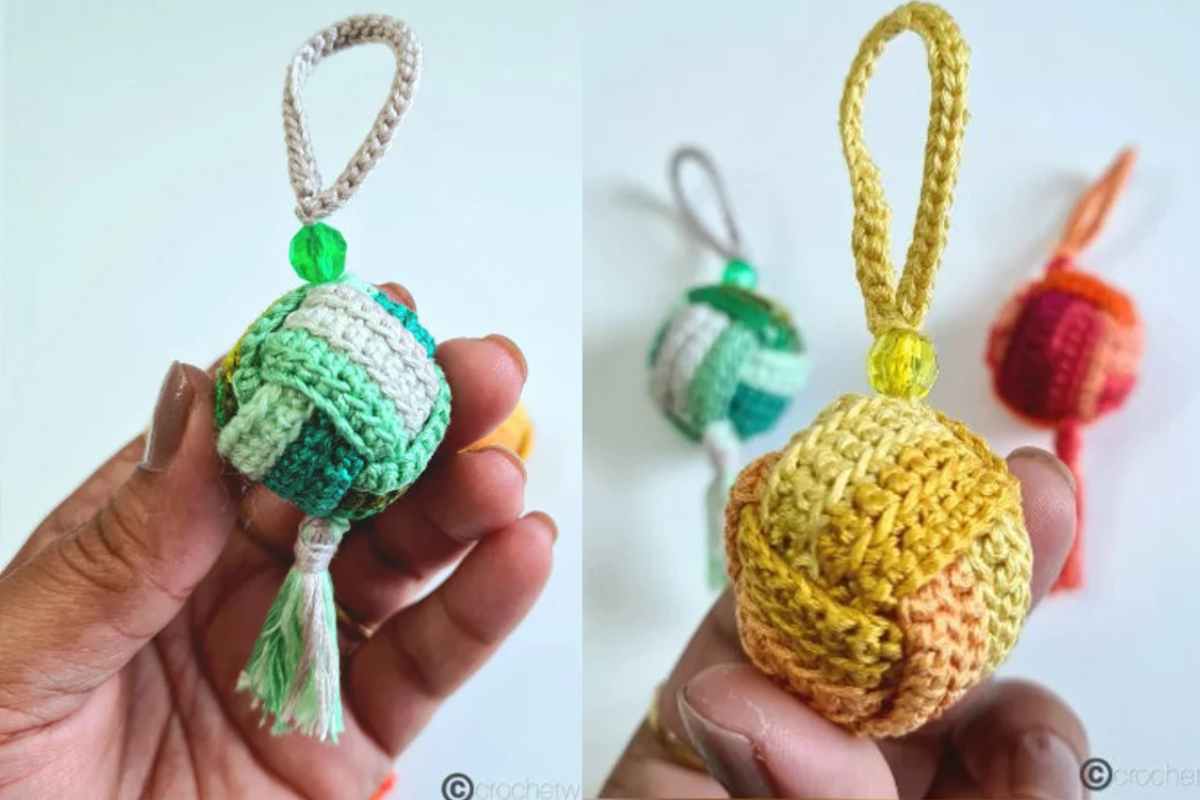
Images and patterns courtesy of Crochetwithsumi
For the cleanest finish, aim for consistent tension and take a second to align pieces before closing everything up. If your ball looks slightly lumpy at first, gentle reshaping with your hands after assembly can help it look more even.
And if you’re making this as a keychain, it’s worth making sure the top attachment point feels secure so it holds up to daily use.
Happy crocheting—and I hope this interlock ball becomes one of your go-to small makes for gifts and craft fairs!
—Maggie
More crochet projects for you