
How To Crochet The Daisy Day Throw C2C Pattern

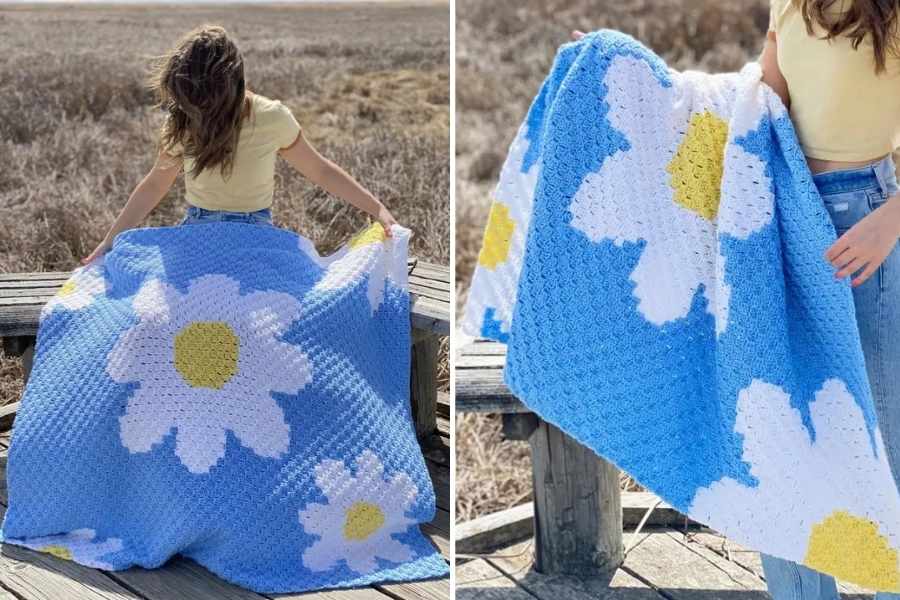
The Daisy Day Throw C2C Pattern is a bright, cheerful crochet project that brings the beauty of daisies into your home.
Crafted with the corner-to-corner (C2C) technique, this throw blanket combines the softness of crochet with a beautiful floral design, making it perfect for spring or any time of year when you want to add a pop of color and freshness to your decor.
How to Make a Daisy Day Throw Blanket Using Corner-to-Corner Crochet
The Daisy Day Throw is an enchanting and intricate project that's perfect for those who love flowers and blankets.
This project utilizes a corner-to-corner (C2C) technique that begins from the bottom right corner and works diagonally towards the top left corner.
Refill Your Creative Cup
Feeling stuck or out of ideas? Let us bring the spark back to your hook. Our weekly emails deliver patterns, tips, and inspiration to keep your creativity blooming.
😍 Bring Your Crochet Mojo Back – Sign Up Now! Click on the image 👆🏼
If you're new to C2C, it's recommended that you practice on a sample before diving into the project. This way, you can familiarize yourself with the technique and get comfortable with the movements before starting on the real thing.
One helpful tip for making the Daisy Day Throw is to wind separate balls of yarn for each color change. This can help you avoid the tedious process of cutting and splicing yarn each time you switch colors.
For instance, when you reach the petal sections, you'll need a separate skein of yarn for each petal and another for the blue sections in between.
However, there may be some points where you'll have to cut the thread regardless. In these instances, you'll need to weave in the ends to keep the blanket neat and tidy.

Don't worry, though; the author found that it wasn't too overwhelming and was able to complete this task in just an hour or so.
The Daisy Day Throw is a delightful and colorful project that's perfect for those cloudy spring days at home. So, grab your yarn and hook, and get ready to make a beautiful daisy blanket that you can treasure for years to come
Understanding the Corner-to-Corner (C2C) Technique
The C2C technique creates small squares, or blocks, that build up diagonally across your project, making it a great choice for creating images or patterns. For the Daisy Day Throw, each square represents a part of the daisy motif, with colors mapped out to form the flower design.
Basics of the C2C Technique
- Start from One Corner: Begin your project from a single corner, gradually increasing until you reach the widest part, then decrease to the opposite corner.
- Work in Diagonal Rows: With each row, you add blocks that gradually create a diagonal line across the blanket.
- Color Changes for Design: For the Daisy Day Throw, you’ll switch colors within rows to form the daisy shapes.
Tips for Smooth Color Changes
To ensure your color changes are clean and the design appears clear:
- Use Bobbins: Prepare small bobbins of each color to avoid tangling, especially where multiple colors appear in one row.
- Keep Yarn Tails Tidy: Weave in yarn tails as you go to maintain a smooth, neat back and reduce finishing work.
- Plan Ahead: Map out the color changes before you begin, following a chart if available, so you can anticipate upcoming color switches.
Images and patterns courtesy of eandpcrochet.com
Enjoy The Video Tutorial

Source: Evelyn And Peter Crochet
More crochet projects for you