
Step-by-Step Crochet Butterfly Guide


Want a cute little motif you can use on everything? In this tutorial, you’ll learn how to crochet a butterfly step by step, with help from a written pattern and a diagram. It’s a fun project for stash-busting, decorating, or adding a handmade touch to gifts.
Whether you’re newer to crochet or just want a quick, satisfying make, this butterfly is a great go-to. Follow along at your own pace, pause when you need to, and use the diagram to double-check your stitch placement.
How This Crochet Butterfly Is Built (So It’s Easy to Follow)
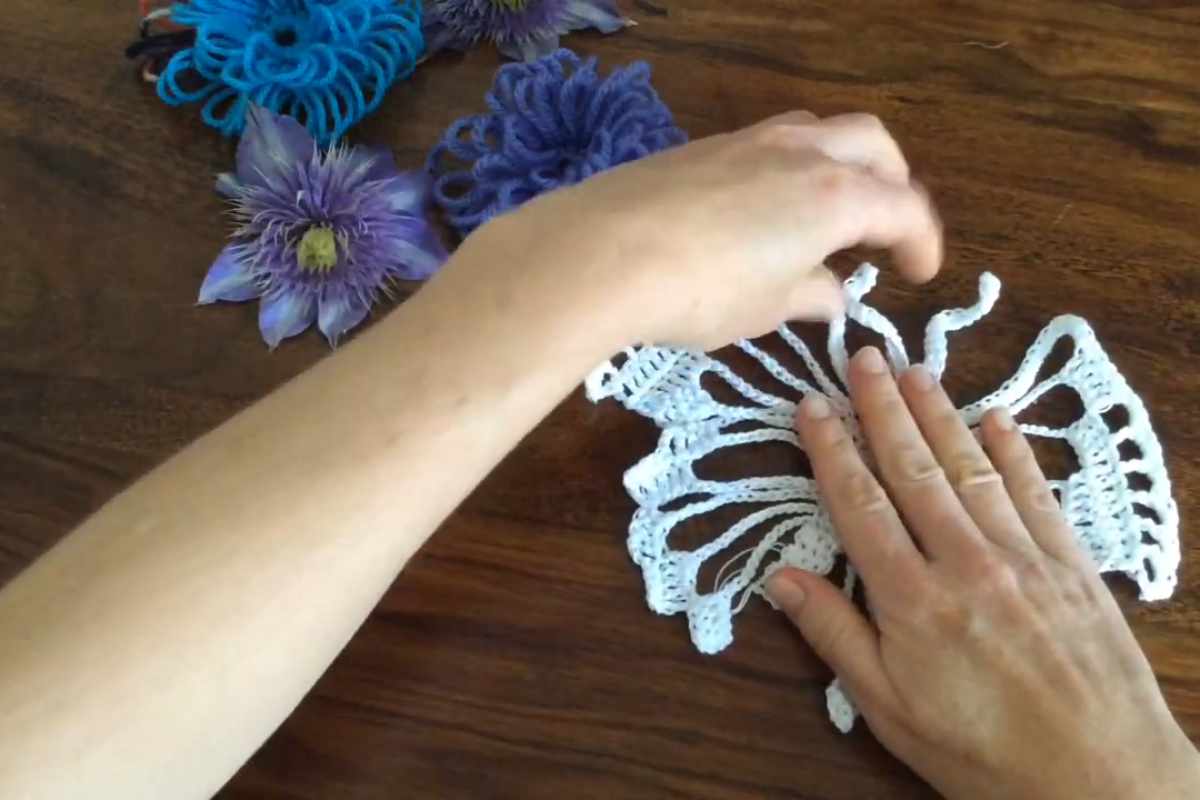
Images and patterns courtesy of Hobbi CROCHET
Refill Your Creative Cup
Feeling stuck or out of ideas? Let us bring the spark back to your hook. Our weekly emails deliver patterns, tips, and inspiration to keep your creativity blooming.
😍 Bring Your Crochet Mojo Back – Sign Up Now! Click on the image 👆🏼
Most crochet butterflies are made by working a small center section first, then shaping the wings with stitch combinations that create curves and points. In the video, you’ll see exactly how each section is formed and how the wings get their definition.
A few simple tips will make your butterfly look extra polished:
- Keep your tension consistent so both wings match in size.
- Use the diagram to confirm where each stitch group lands (super helpful if you’re a visual learner).
- If your wings want to curl, a quick light blocking can help them lay flatter.
Once you’ve finished, this crochet butterfly works beautifully as an appliqué for hats, bags, baby items, blankets, and even greeting cards. You can also experiment with different yarn weights to change the final size (the steps stay basically the same).
Step-by-Step Crochet Butterfly Tutorial (Pattern + Diagram in Video)
Follow the tutorial below for the full process. The creator walks you through each step clearly, and you’ll also have the written pattern and diagram to reference as you crochet.

Source: Hobbi CROCHET
If you’re making several butterflies, try changing colors for each one—this is a great way to use up small leftovers while still getting a finished project you’ll actually use.
Happy crocheting!
— Maggie
More crochet projects for you