
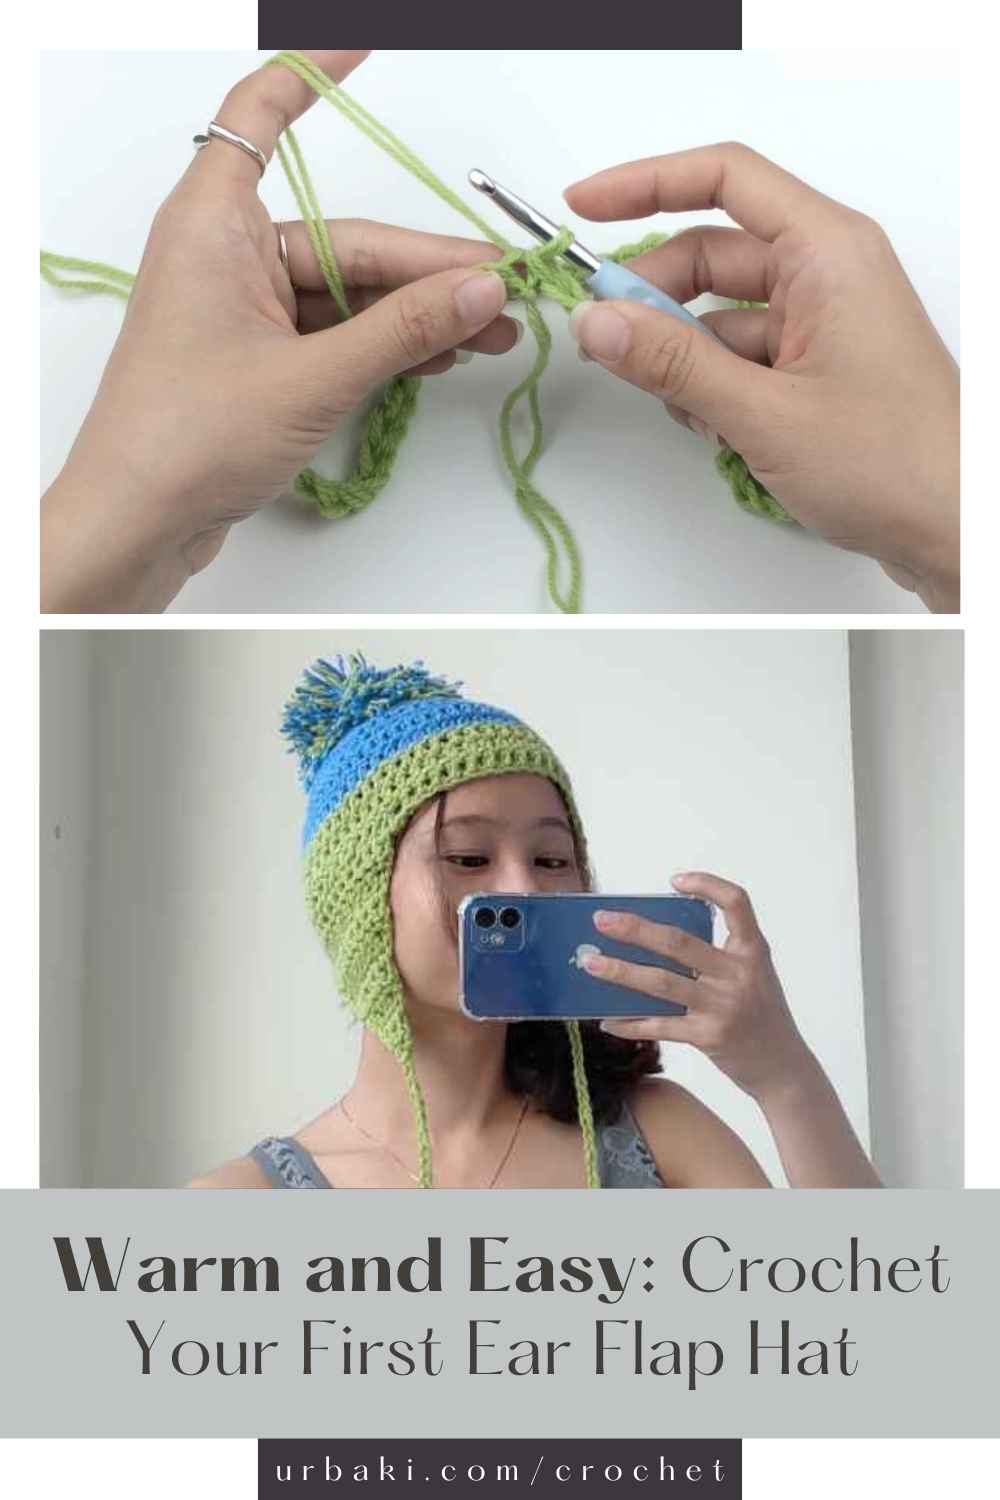
Warm and Easy: Crochet Your First Ear Flap Hat
Crocheting your first wearable project can be both exciting and fulfilling. If you're searching for something practical, stylish, and beginner-friendly, the crochet ear flap hat is a wonderful choice.
Not only does it keep you warm in chilly weather, but it also helps you learn essential crochet techniques like working in the round, shaping, and adding details such as ear flaps and ties.
This step-by-step guide walks you through the entire process, making it easy to follow and enjoyable even if you're picking up your crochet hook for the first time.
Getting Started: What You’ll Need
To make your own ear flap hat, gather the following materials:
Refill Your Creative Cup
Feeling stuck or out of ideas? Let us bring the spark back to your hook. Our weekly emails deliver patterns, tips, and inspiration to keep your creativity blooming.
😍 Bring Your Crochet Mojo Back – Sign Up Now! Click on the image 👆🏼
- Worsted weight yarn in the color of your choice. A medium-weight yarn works best for structure and warmth.
- A 5 mm crochet hook, or the size recommended for your yarn.
- A yarn needle for weaving in ends.
- Scissors.
- Stitch markers, optional but helpful.
Once you’ve prepared your tools, find a comfortable space to work and take your time. This pattern is designed to be approachable and manageable for beginners.

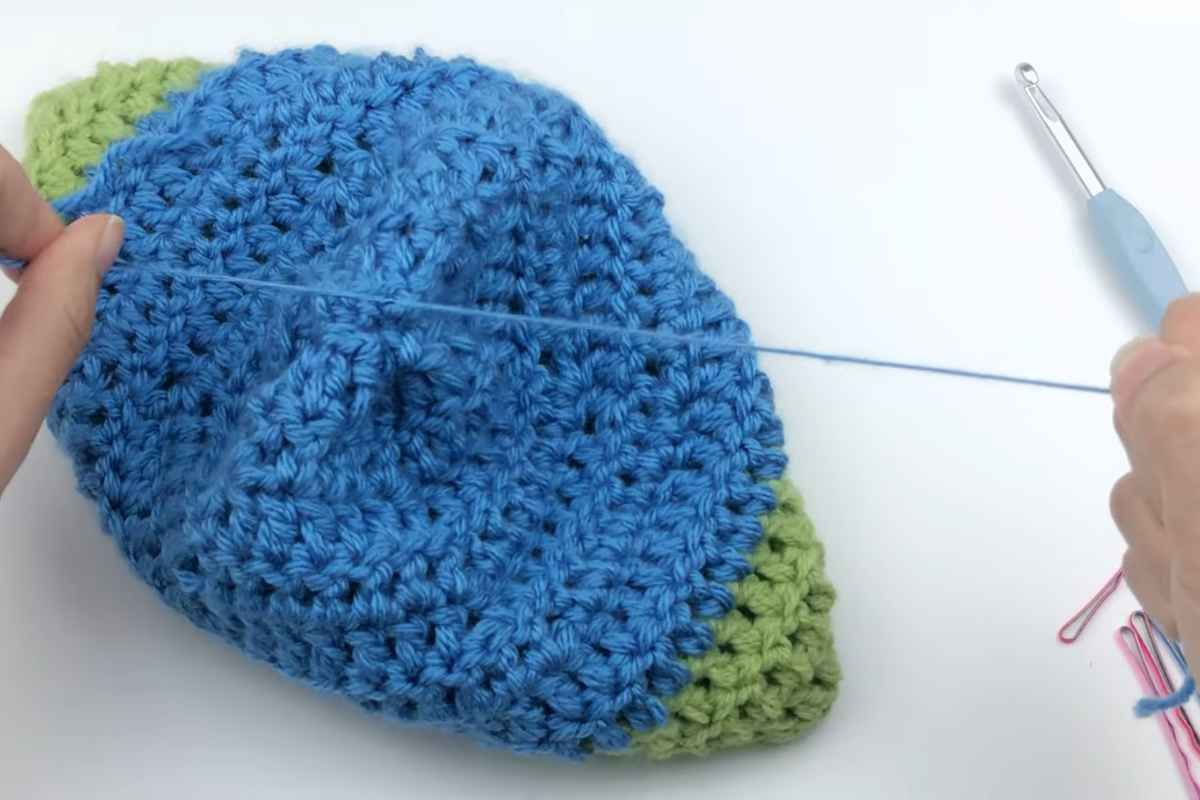
Step 1: Crocheting the Crown of the Hat
The hat begins at the very top, with a simple circular shape known as the crown. You’ll work in the round using basic stitches. Start with a magic ring or chain four and join with a slip stitch to form a ring.
Into this ring, work a series of double crochets. This first round will form the center of the crown.
From here, increase the number of stitches evenly with each round to create a flat circle. For example, in the second round, double each stitch by working two double crochets into each one.
In the next round, alternate between one double crochet and an increase. Continue this method of gradual increasing to expand the circle evenly.
It’s important to keep track of your stitch count and placement of increases so the circle stays symmetrical. Stitch markers can help you identify the beginning of each round if needed.
Step 2: Shaping the Body of the Hat
Once the crown is wide enough to fit the top of your head, you’ll stop increasing and continue working even rounds. This means one stitch per stitch all the way around. This section forms the body of the hat and gives it the length needed to cover the head comfortably.
Work as many rounds as necessary to reach just above the ears. The number of rounds will vary depending on your desired fit, but usually six to eight rounds are enough after the increasing phase.
Keep your tension consistent throughout to maintain an even fabric. You can pause occasionally and try the hat on or measure it to make sure you’re on the right track.
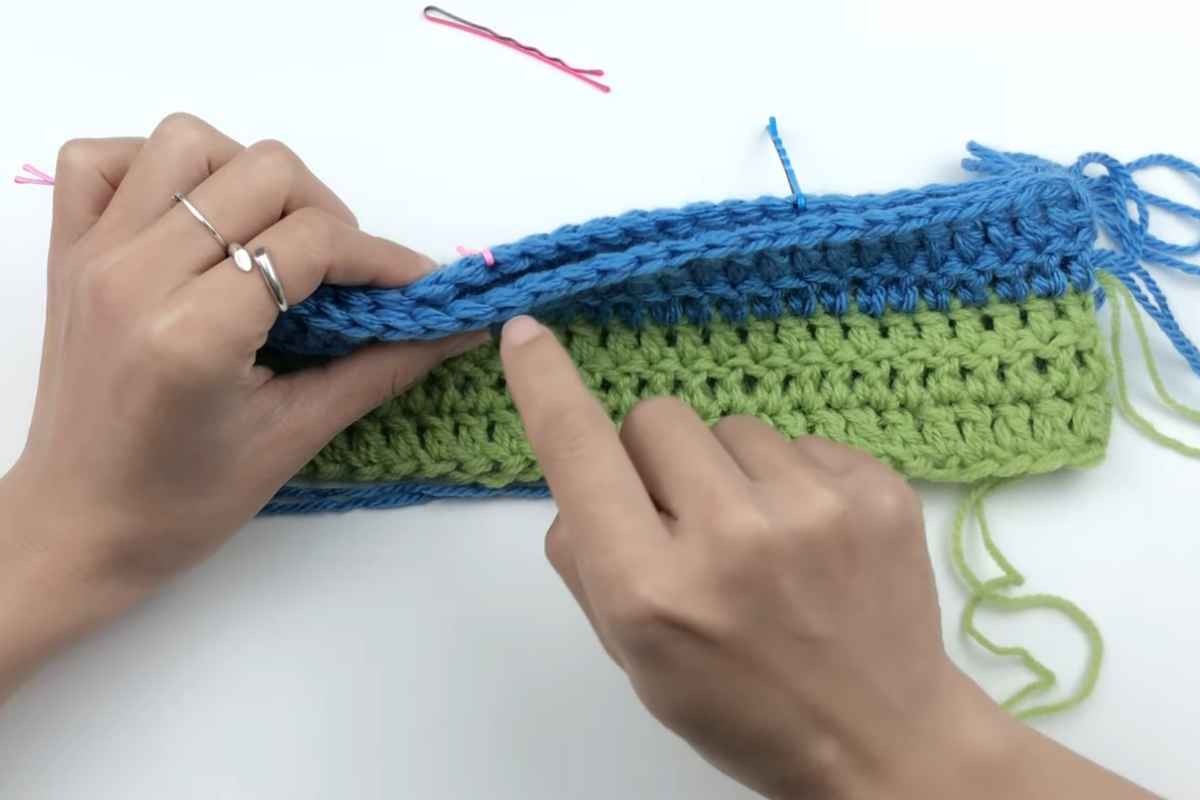
Step 3: Adding the Ear Flaps
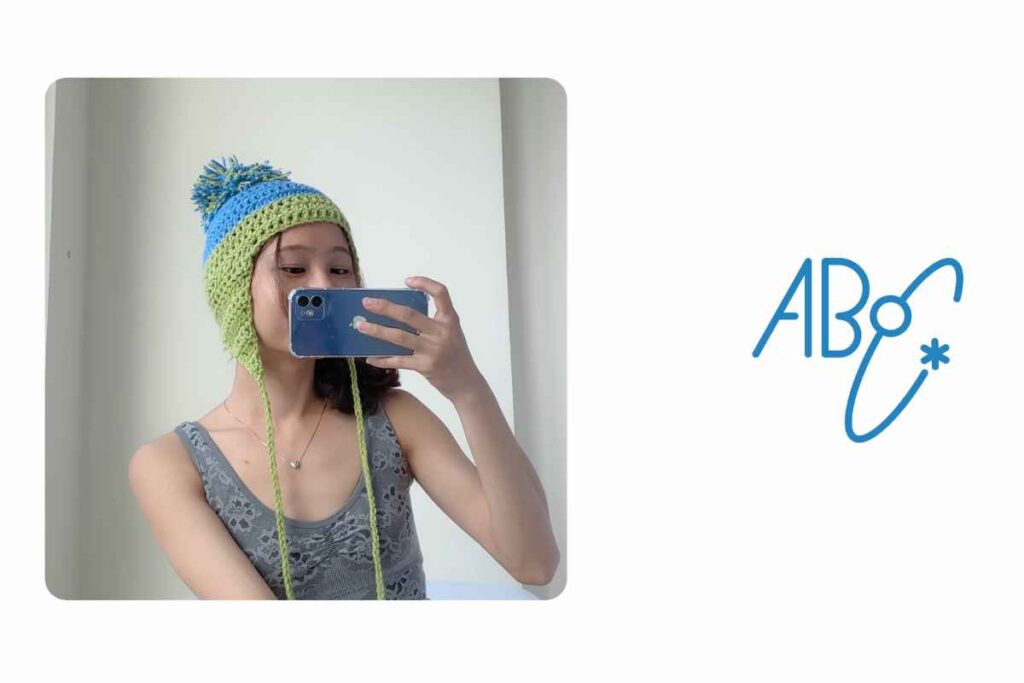
Now comes the part that makes this hat unique and extra cozy. You’ll be adding two ear flaps—one on each side of the hat.
To make the first flap, attach your yarn at the side of the hat and begin working in rows instead of rounds. Start with a set number of stitches, then decrease at the beginning and end of each row to form a gentle triangle shape.
The decreases help the flap taper naturally to a rounded point.
Work enough rows to reach the jawline or just below the ear, depending on your preference. Fasten off and repeat the same steps for the second flap, making sure it’s placed symmetrically on the opposite side.
It’s helpful to fold the hat in half and use stitch markers to identify matching points for flap placement. This way, your flaps will line up evenly when worn.
Step 4: Adding the Ties
Once both ear flaps are completed, you can choose to add braided or crocheted ties at the ends. These not only add a decorative touch but also allow the hat to be secured under the chin on especially cold days.
To make braided ties, cut three long strands of yarn for each side, loop them through the point of the flap, and braid them together. Tie a knot at the end to secure. You can trim the ends for a neat finish or leave them slightly frayed for a playful look.
If you prefer a crocheted tie, simply chain the desired length and fasten it to the tip of the flap.
Step 5: Optional Edging and Decoration
To give your hat a polished appearance, you can add a border around the entire edge. Single crochet around the base of the hat and both ear flaps, working evenly along the curves. This adds definition and gives the hat a cleaner finish.
For extra style, consider adding a pom-pom to the top of the hat. You can use a pom-pom maker or simply wrap yarn around your fingers, tie it in the center, and trim the ends. Attach it securely to the top of the hat with a yarn needle.
If you're feeling creative, you can also experiment with stripes, color blocking, or even embellishments like buttons or applique shapes.
Tips for Success
As you work through this project, remember that practice is key. Don’t worry if your stitches aren’t perfect. The most important thing is to enjoy the process and keep learning. Here are a few extra tips to help you:
- Keep your hands relaxed to avoid tight or uneven stitches.
- Count your stitches frequently to stay on track.
- Use stitch markers when working in rounds to know where each round begins.
- If you're unsure about sizing, measure your work or compare it to a hat you already own.
Crochet is meant to be a relaxing and creative activity. Take breaks when needed and revisit the project with fresh eyes if you get stuck.
A Satisfying Result
Once you’ve finished your hat, take a moment to admire what you’ve created. From the crown to the flaps, every stitch represents your effort and growing skill. It’s a cozy, functional item that you can proudly wear or gift to someone special.
This project not only introduces you to fundamental crochet techniques but also allows room for personal expression. With each new hat, you can try different colors, yarn textures, and finishing touches to make every piece unique.
Whether you're preparing for cold weather or simply want to try something new, the crochet ear flap hat is a perfect first step into the world of handmade accessories. Embrace the process, trust your hands, and enjoy every loop along the way.
Images and patterns courtesy of ABoC Studio
Enjoy The Video Tutorial

Source: ABoC Studio
Did you find this post useful or inspiring? Save THIS PIN to your Crochet Board on Pinterest!
More crochet projects for you