
- Urbaki Gardening
- Planting Flowers
- Orchids
- 15 Reasons why Orchids have Yellow Leaves & How to Fix them!
15 Reasons why Orchids have Yellow Leaves & How to Fix them!

Emily Brooks
12/03/2021 · Updated on: 04/02/2026

Orchids Yellow Leaves can be alarming, but most cases have simple explanations.
In this guide—built around a helpful YouTube tutorial (credit to the original creator)—you’ll learn what yellowing means, what’s normal for indoor orchids, and when you should intervene to protect your plant.
Orchids Yellow Leaves: What It Means
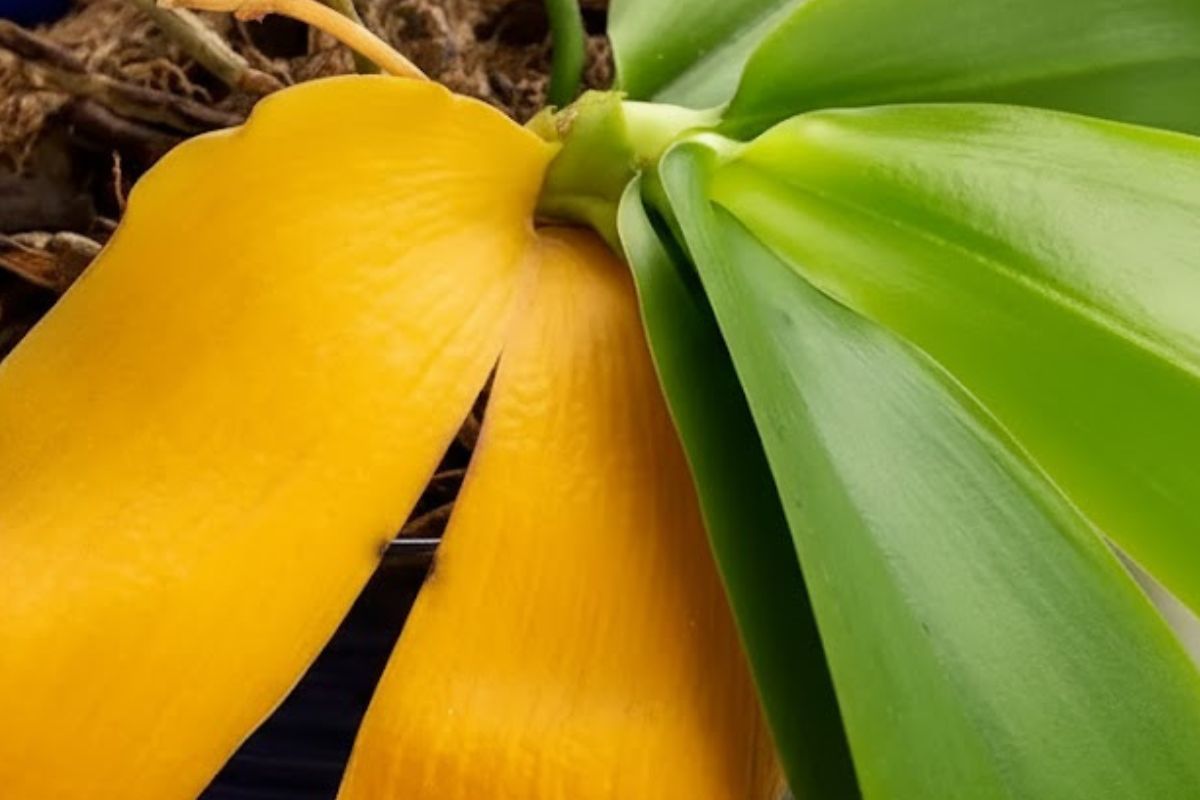 Yellow foliage can be part of a natural cycle, especially on the oldest orchid leaves. As the plant reallocates energy to new growth or a fresh flower spike, a bottom leaf may fade and drop.
That’s normal. Widespread yellowing, however, signals stress—from light, watering, nutrition, or pests.
If you’re wondering, why are my orchid leaves wilting as they turn pale, check the roots. Firm, green or silvery roots indicate hydration; mushy brown roots point to overwatering.
When plant leaves turning yellow appear with shriveling, you’re often dealing with water or root issues rather than a mysterious disease.
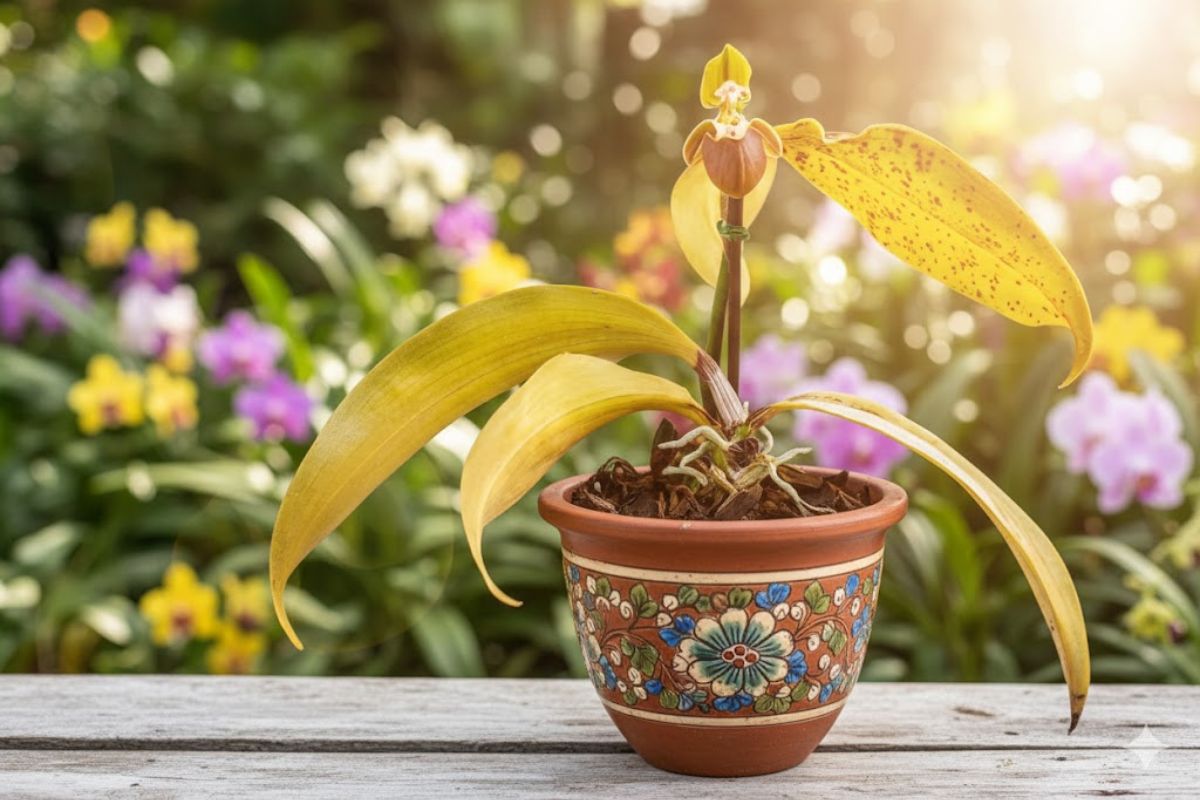
The video also emphasizes nuance: a yellow spotted orchid pattern on leaves can be sun speckling or cosmetic blemishes, but distinct dots or streaks that spread may indicate pests or fungal problems and deserve closer inspection.
Light, Water, and Nutrition
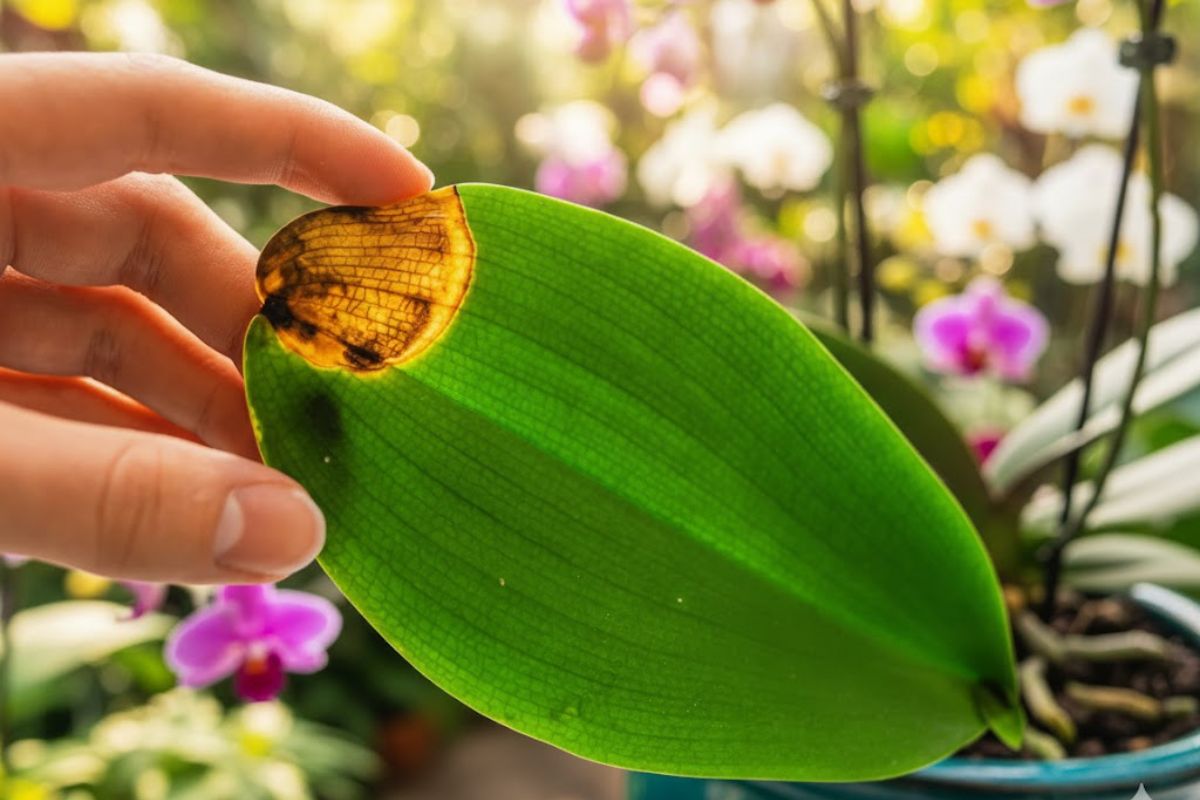 Light first. Most phalaenopsis thrive in bright, indirect light. Direct midday sun can bleach tissue, leading to orchid leaves turning yellow with a washed-out look, and eventually a crispy edge.
Move the plant back from a south window or add a sheer curtain.
Water next. Some growers experiment with orchids in water (water culture), but inconsistent practice can starve roots of oxygen. In bark or a chunky mix, water when roots turn silvery and the pot feels light.
If the medium stays soggy, roots suffocate and you’ll soon notice an orchid leaf turning brown from rot-related stress.
Nutrients matter too. Occasional magnesium or nitrogen shortfalls can fade leaves. A balanced fertilizer at quarter strength, applied regularly during active growth, supports overall orchid plant care without burning roots.
Quick Checks to Fix Yellowing
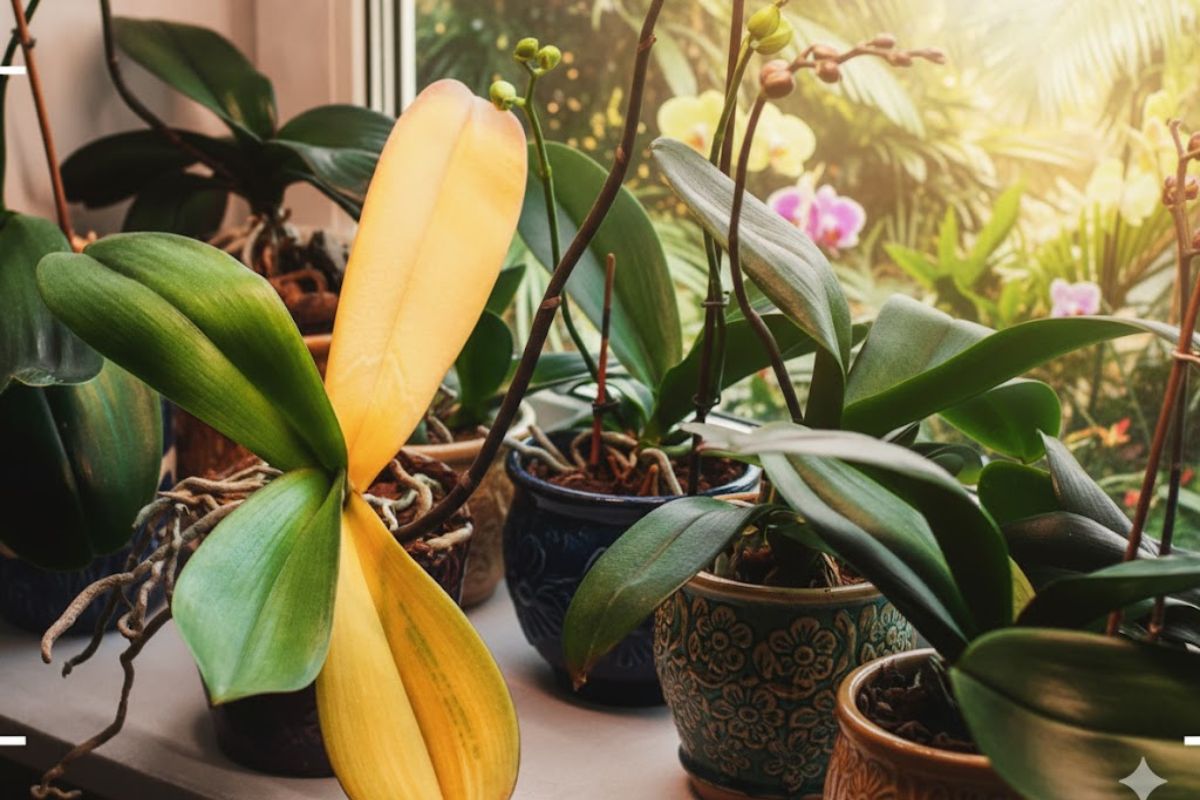 If you’re asking, “how to fix yellow orchid leaves?”, start simple. Gently slide the plant out and inspect roots. Trim dead roots and refresh compacted medium. Adjust the light: bright but indirect.
Improve airflow, and avoid cold drafts that make indoor orchids sulk.
Hydration should be rhythmic. Thoroughly soak, then let excess drain. Never leave the pot standing in water. A predictable routine alone resolves many cases of yellow orchid leaves within weeks as new, healthy foliage emerges.
Finally, isolate if you suspect pests. Mealybugs, mites, or scale can cause stippling and yellow patches. Treat promptly with your preferred, plant-safe method and monitor new growth.
Cleaning and Preventive Care
 Dust blocks light and encourages pests. If you’re wondering, how do you clean orchid leaves without harm, use a soft, barely damp cloth to wipe each surface and support the leaf with your other hand.
Avoid oily leaf-shine products; they can clog pores and attract dust.
Taking care of an orchid is about consistency. Keep temperature steady, water on schedule, and fertilize lightly. With routine maintenance, occasional yellowing—especially on the oldest leaf—is nothing to fear.
Remember, every plant has seasons. If the crown is firm, roots are healthy, and new leaves look bright, you’re on the right track—even if one aging leaf is fading.
When Yellow Isn’t Normal
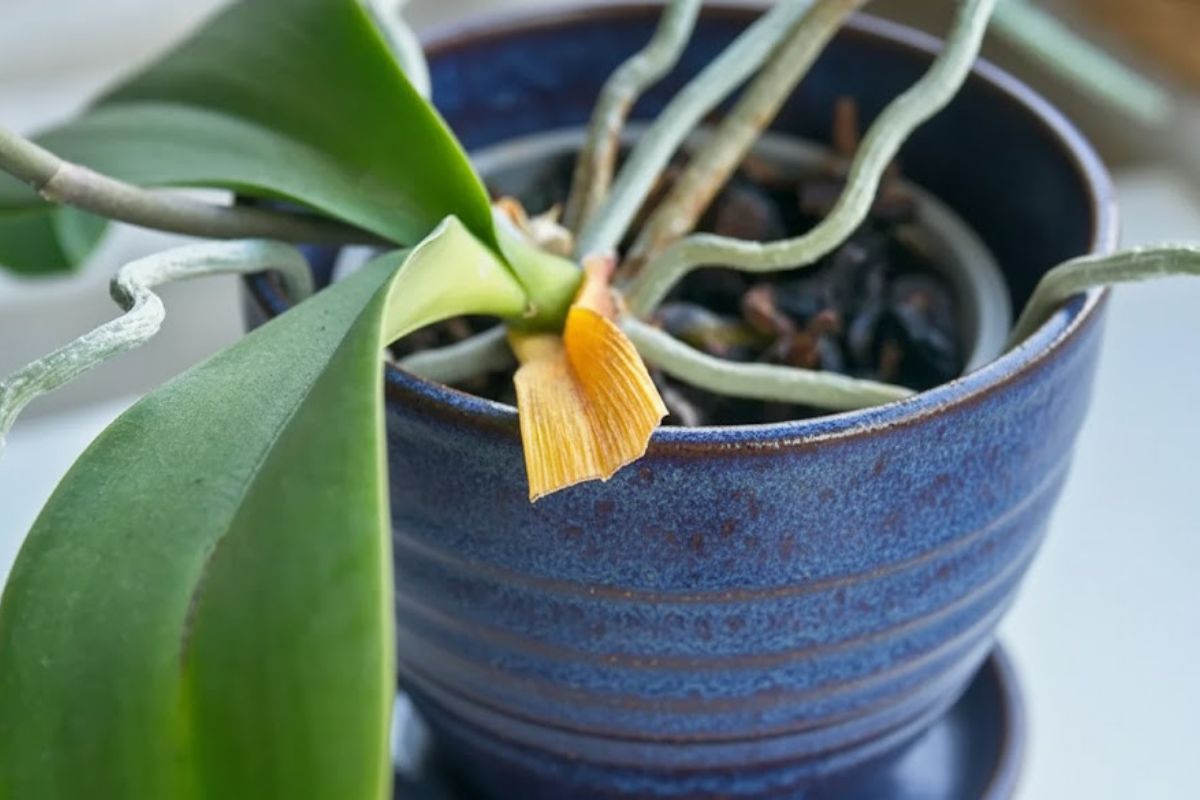 Rapid yellowing across multiple leaves, coupled with limp textures, points to root failure. Repot immediately into a breathable medium and reduce watering until recovery begins.
If only the top leaf yellows from intense sun, relocate the plant; if the crown stays wet and cold, dry it gently to prevent rot.
Patterned yellow with brown halos can indicate infection. Remove affected tissue with sterile tools and keep the plant quarantined while you observe new growth.
If you ever see streaks and pitting alongside deformed growth, escalate your hygiene and monitoring.
Watch the Video for Visual Clarity
This article summarizes the key ideas from a YouTube tutorial (credit: original creator).
The video shows real-life examples—normal aging vs. stress, proper watering, and light positioning—without overwhelming you with step-by-step instructions. Use it to compare your plant and make confident adjustments.
Enjoy The Video Tutorial

Source: MissOrchidGirl
Did you find this post Useful or Inspiring? Save THIS PIN to your GARDENING Board on Pinterest! 😊

Emily Brooks
I’m Emily, a lifelong nature lover with dirt on my boots and a passion for all things green. I don’t claim to be a botanist; I’m just an enthusiast who believes that every backyard—no matter how small—can become a sanctuary. After years of trial and error (and more than a few wilted ferns), I’m sharing my honest journey of growing flowers and veggies. Let's learn from the seasons and grow something beautiful together!
More Gardening Tips 👇🏼👇🏼