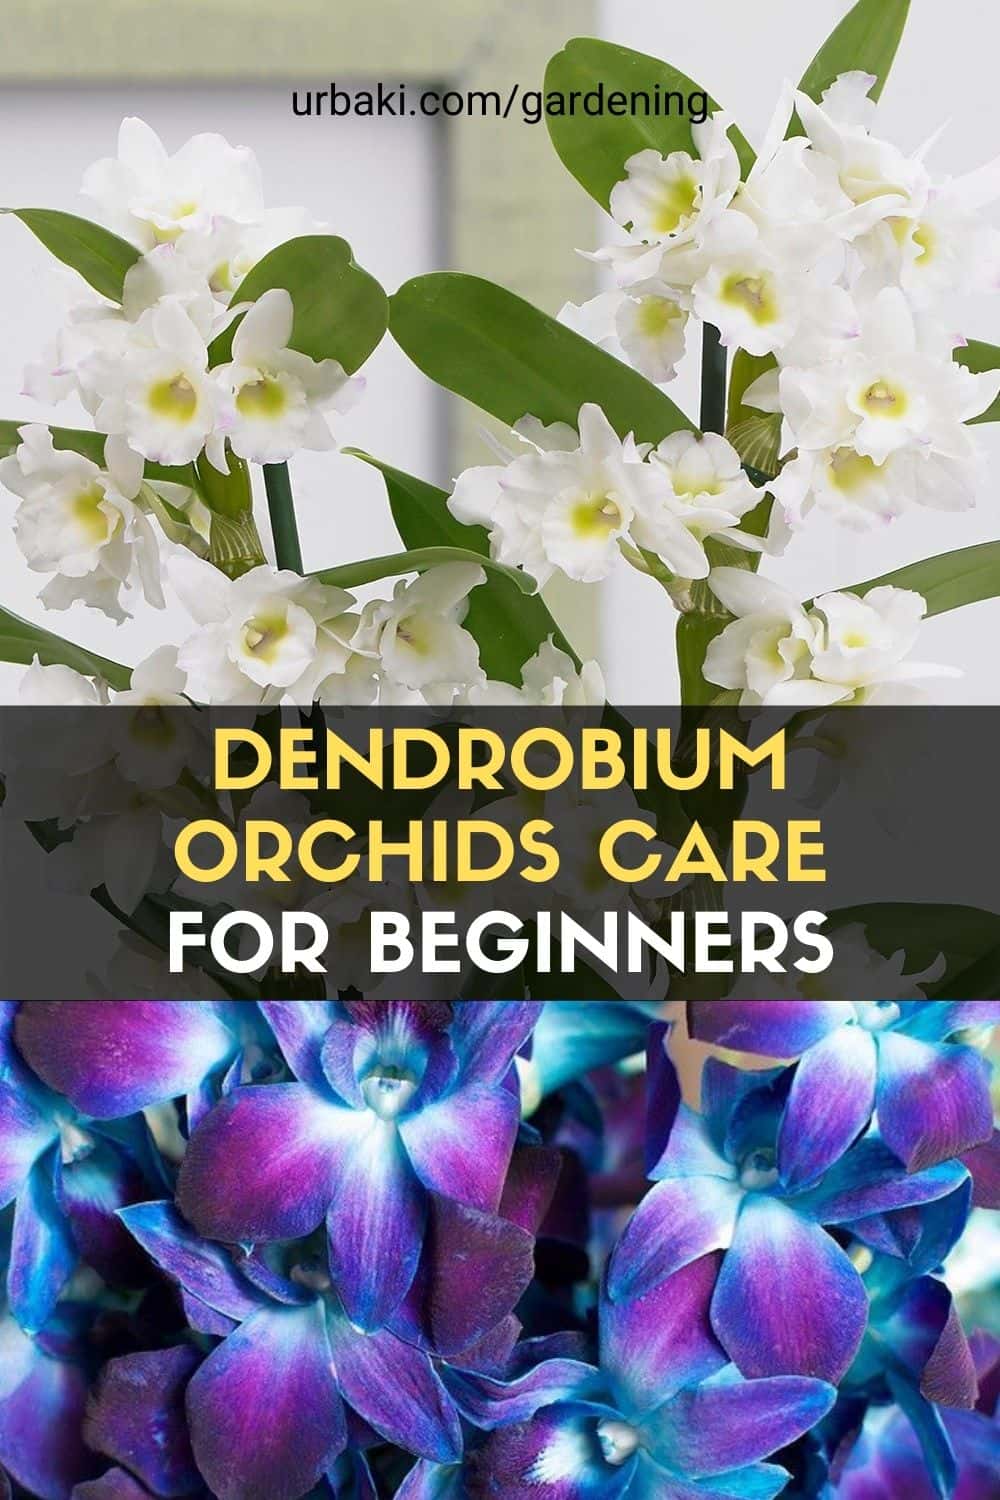
Dendrobium Orchids Care for Beginners

Growing Dendrobium orchids may look challenging at first, but with the right care, these tropical beauties can reward you with stunning blooms year after year.
This guide will help beginners understand their specific needs and how to keep them healthy indoors or outdoors.
Understanding Dendrobium Orchids
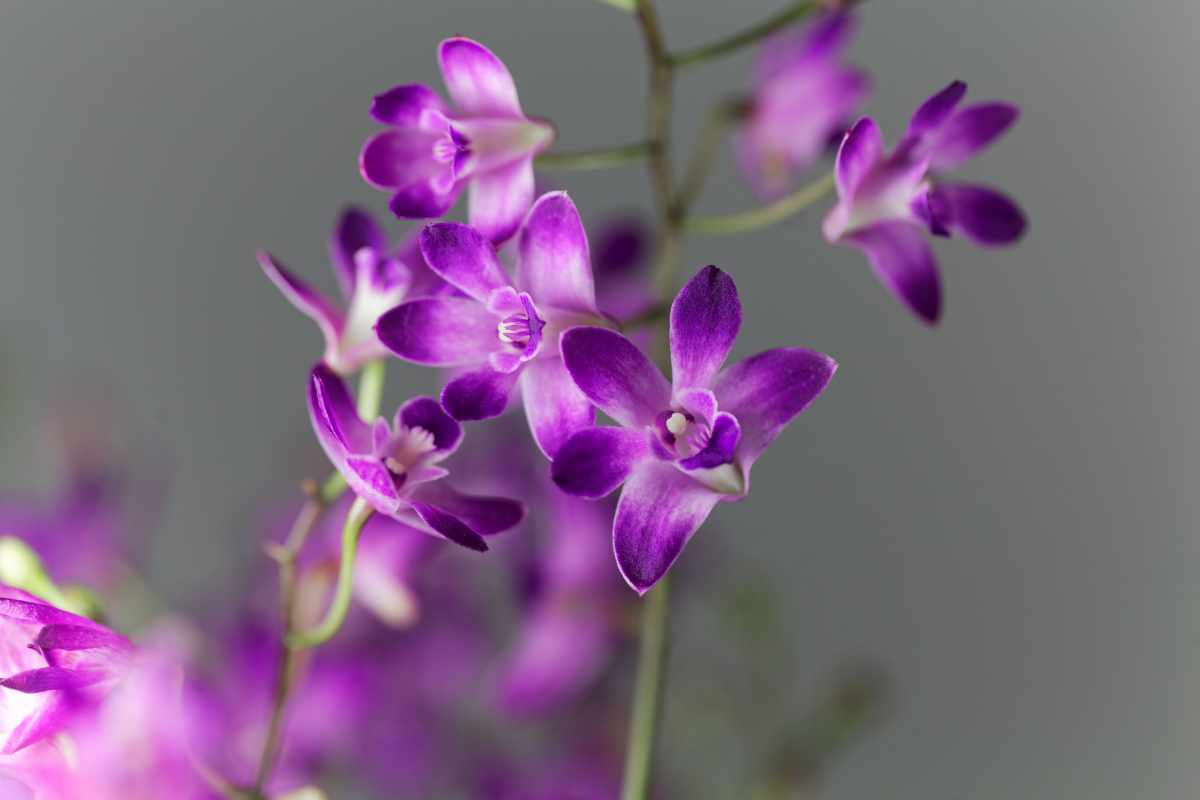
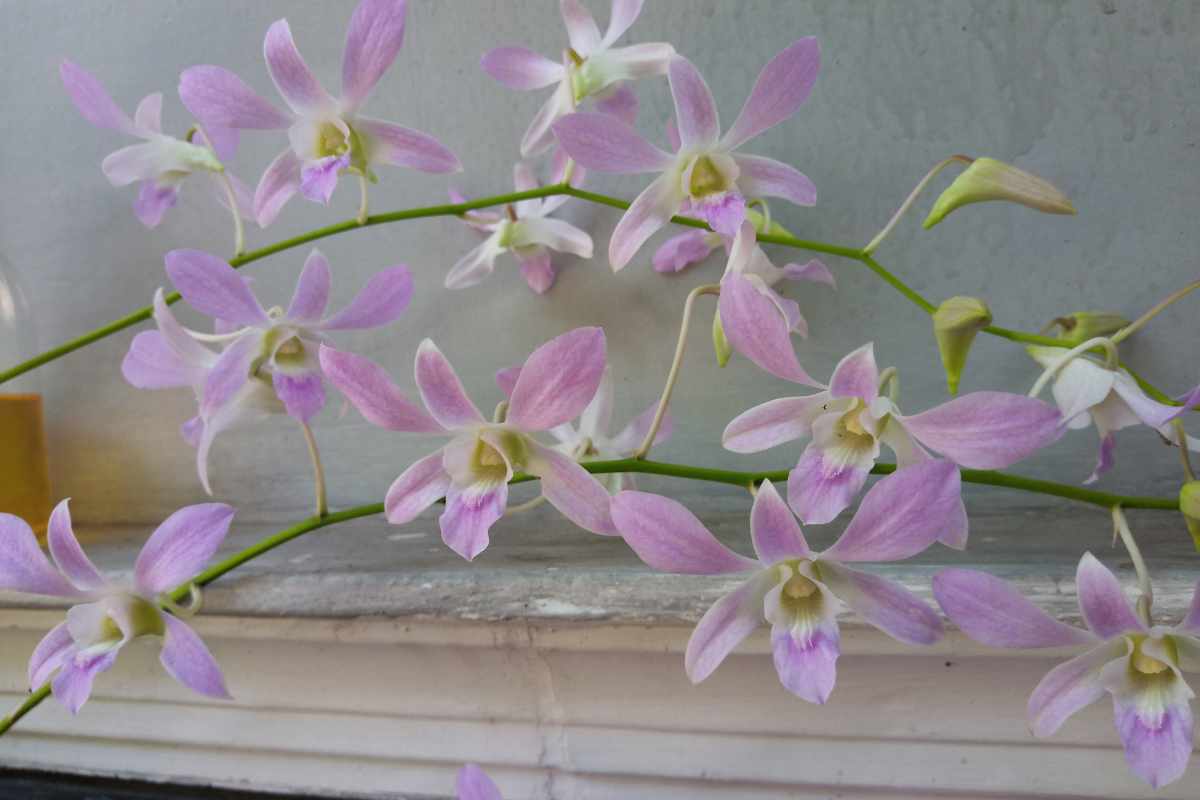
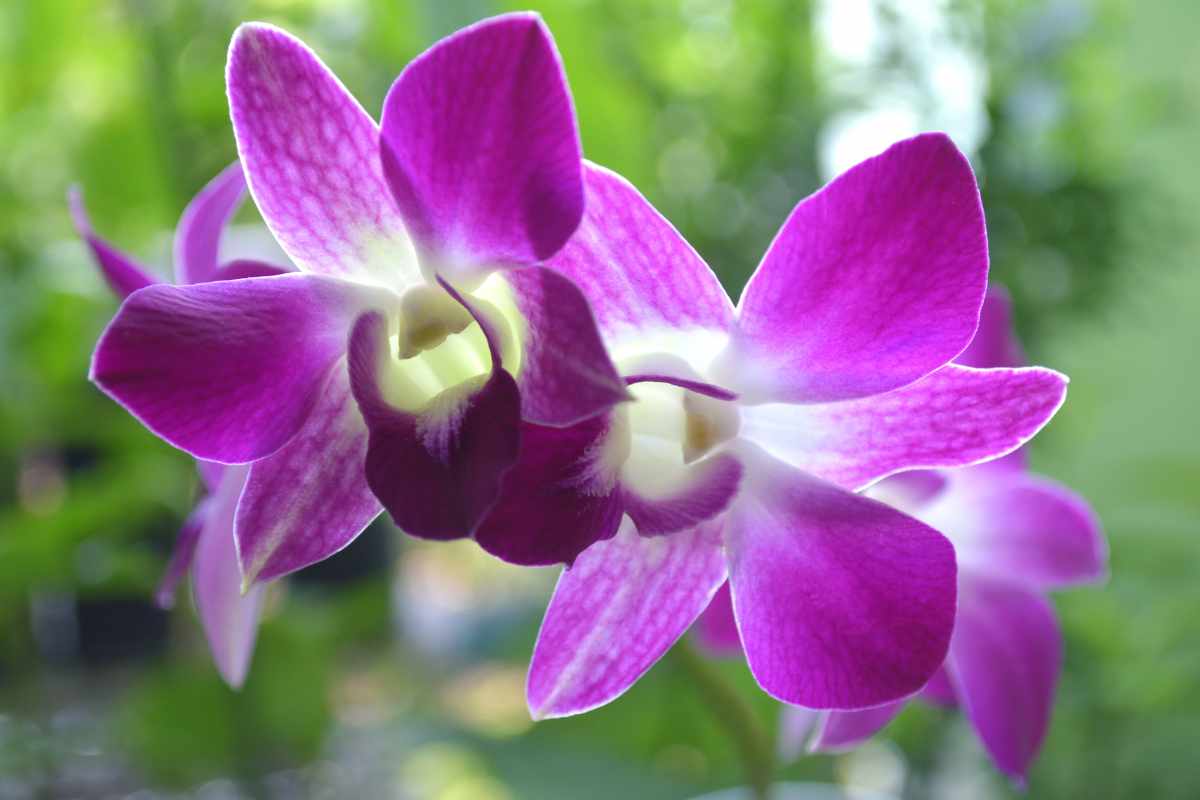
Dendrobium orchids belong to one of the largest orchid genera, with over a thousand species. The most common types for beginners are:
Dendrobium nobile – known for its tall canes and clusters of fragrant flowers.
Dendrobium phalaenopsis – features long-lasting blooms and easier maintenance.
Dendrobium spatulata – tropical and sun-loving, perfect for warm climates.
Each variety has its own preferences, but all thrive with bright light, good airflow, and proper watering habits.
Materials You’ll Need
Orchid pot with drainage holes
Loose orchid mix (bark, charcoal, perlite, or sphagnum moss)
Balanced orchid fertilizer (20-20-20)
Spray bottle or watering can
Pruning shears
Humidity tray (optional)
Step-by-Step Dendrobium Orchid Care
1. Light
Dendrobium orchids need bright, indirect sunlight. Place them near an east or south-facing window.
Leaves should be a medium green — dark green means not enough light, while yellow indicates too much sun.
2. Temperature and Humidity
They prefer temperatures between 18–30°C (65–85°F) during the day and around 15°C (60°F) at night.
Keep humidity between 50–70%. In dry environments, use a humidity tray or room humidifier.
3. Watering

Water only when the top layer of the mix feels dry. Avoid overwatering — roots should never sit in water.
In warm months, water every 5–7 days; in winter, reduce frequency. Always water in the morning so leaves dry by night.
4. Fertilizing
Feed with a balanced orchid fertilizer every two weeks during active growth (spring and summer).
Reduce to once a month in the fall and stop feeding during the resting period after flowering.
5. Repotting

Repot every 2–3 years or when the potting mix breaks down.
Gently remove old medium, trim dead roots, and place the orchid in fresh bark mix. Spring is the best time for repotting.
6. Resting Period
After blooming, Dendrobium orchids enter a rest phase. Reduce watering and stop fertilizing until new shoots appear.
Once you see fresh growth, resume your regular care routine.
Common Problems and How to Fix Them
Yellow Leaves – Often caused by too much sun or overwatering. Move the plant to filtered light and check root health.
No Blooms – Usually from low light or excess nitrogen fertilizer. Increase sunlight and adjust the feeding schedule.
Wrinkled Canes – Sign of underwatering or very dry air. Increase humidity and water more consistently.
Root Rot – Results from poor drainage. Remove damaged roots and repot in fresh medium.
Encouraging Reblooming
After flowering, cut back the flower spikes only if they turn brown.
Some species can bloom again from the same cane.
Place the plant in a slightly cooler location with less watering for about 6 weeks, then resume normal care to trigger new buds.
Final Thoughts on Dendrobium Orchid Care
Caring for Dendrobium orchids is all about balance — not too much water, not too little light, and attention to seasonal changes.
Once you understand their rhythm, these orchids become one of the most rewarding houseplants to grow.
With consistency and patience, you’ll enjoy colorful blooms and healthy canes for years to come.
Enjoy This Video Tutorial

Source: MissOrchidGirl
Don’t forget to Subscribe to our Newsletter to receive amazing tips and tricks about Gardening and the FREE Ebook Green Living Strategies!
Did you find this post Useful or Inspiring? Save THIS PIN to your GARDENING Board on Pinterest! 😊
Once again, thank you for visiting our website!
We hope you've enjoyed exploring the content we've created for you.
Give yourself the chance to learn, get inspired, and have even more fun, keep browsing...
More Gardening Tips 👇🏼👇🏼