Learn The Best Way to Transplant an Orchid

Orchids are admired for their exotic beauty, but even these resilient plants need a little extra care from time to time.
One of the most important tasks in orchid maintenance is transplanting or repotting.
Doing this correctly not only prevents root problems but also gives your plant the fresh environment it needs to thrive.
Master the Art of Orchid Care – Explore the Best Books on Growing Orchids!


If you’re unsure where to begin, this guide will walk you through the essentials, the signs that it’s time to repot, and the steps to make the process smooth and stress-free.
Why Transplanting Orchids Matters
![]()
Unlike many common houseplants, orchids grow in a special medium such as bark, moss, or coconut husk rather than regular soil.
Over time, this medium breaks down, compacting around the roots and blocking proper air circulation. Transplanting orchids ensures:
Better airflow and drainage
Protection from root rot
A chance to trim away dead or damaged roots
Fresh nutrients for renewed growth
When done correctly, repotting can extend your orchid’s life and help it produce healthier blooms.
When Is It Time to Repot?
![]()
Knowing the right moment to transplant is just as important as the process itself.
Look out for these clear signals:
The potting medium has decomposed or compacted.
Roots are circling the pot, pushing the plant upward.
Roots look brown, mushy, or overcrowded.
The orchid hasn’t been repotted in 1–2 years.
Water runs straight through the pot without being absorbed.
The ideal time to repot is right after your orchid finishes blooming, giving it time to adjust before producing new flower spikes.
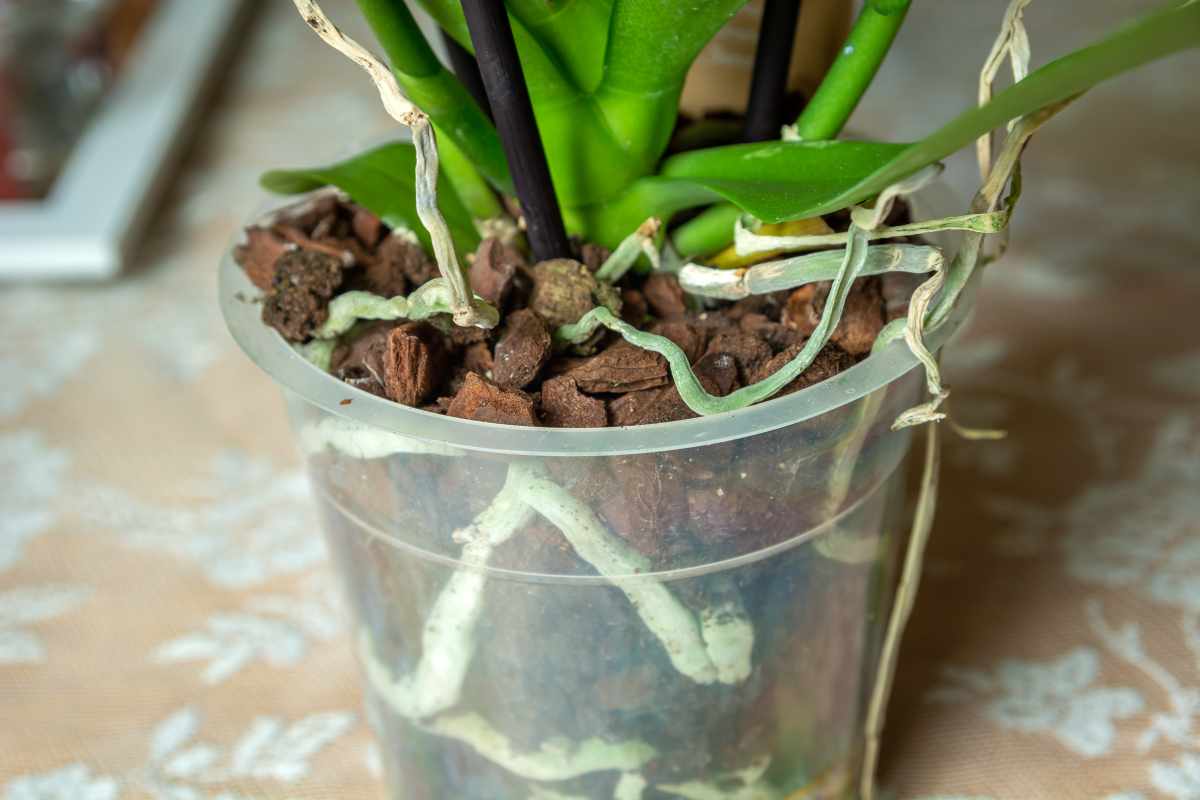
Tools and Materials You’ll Need
![]()
Before you begin, gather everything to make the process easier:
A sterilized pair of scissors or pruning shears
A new pot (transparent pots are best for orchids)
Fresh orchid potting mix (bark, sphagnum moss, or a blend)
Gloves to protect your hands
A clean work surface
Step-by-Step Guide to Transplanting an Orchid
Removing the Plant
Gently slide the orchid out of its old pot.
If the roots are stuck, carefully squeeze or tap the pot to loosen them without tearing.
Cleaning the Roots
Shake away the old potting mix and examine the roots. Trim away any that are soft, brown, or rotten using sterilized scissors.
Healthy roots should be firm and green or silvery.
![]()
Choosing the Right Pot
Select a pot that’s just slightly larger than the previous one.
Orchids prefer a snug fit, which helps them anchor and grow securely.
Adding Fresh Medium
Place a layer of orchid mix at the bottom, position the plant in the center, and gently spread the roots.
Fill in around them with fresh medium, tapping the pot lightly so it settles between the roots without crushing them.
First Watering
Wait a couple of days before watering. This gives trimmed roots time to heal and reduces the risk of rot.
When you do water, let the pot drain completely.

Aftercare: Helping Your Orchid Adjust
The first few weeks after transplanting are critical. Place the orchid in a bright, indirect light spot.
Avoid fertilizing for at least two weeks to let the plant settle. Keep humidity levels moderate, and watch closely for signs of stress such as yellowing leaves or shriveled roots.
With proper orchid aftercare, the plant should bounce back quickly.
Common Mistakes to Avoid
Using regular potting soil – orchids need a light, airy medium.
Overwatering immediately after repotting – this can suffocate healing roots.
Choosing a pot that’s too big – large pots encourage water buildup and rot.
Neglecting to sterilize tools – unclean shears can spread disease.
Avoiding these pitfalls will give your orchid the best chance at thriving in its new home.
Bringing Fresh Life to Your Orchid
Repotting may seem intimidating at first, but once you understand the process, it becomes a natural part of orchid care.
By recognizing the right time, preparing your tools, and following each step with patience, you’ll help your orchid thrive in a healthier environment.
With regular transplanting, your plant will reward you with stronger roots, lush foliage, and spectacular blooms year after year.
Enjoy This Video Tutorial

Source: Evelyn Perfect
Don’t forget to Subscribe to our Newsletter to receive amazing tips and tricks about Gardening and the FREE Ebook Green Living Strategies!
Did you find this post Useful or Inspiring? Save THIS PIN to your GARDENING Board on Pinterest! 😊

Once again, thank you for visiting our website!
We hope you've enjoyed exploring the content we've created for you.
Give yourself the chance to learn, get inspired, and have even more fun, keep browsing...
Last update on 2025-12-20 / Affiliate links / Images from Amazon Product Advertising API

More Gardening Tips 👇🏼👇🏼