Beginner’s Guide to Fixing Wall Cracks

Wall cracks are one of the most common issues homeowners face, but they don’t have to be a cause for worry.
Whether you’ve noticed small hairline cracks or larger fissures appearing on your walls, fixing them yourself can be a straightforward and rewarding project.
This beginner’s guide will walk you through everything you need to know to repair wall cracks effectively and restore your walls to their smooth, flawless condition.
Why Do Wall Cracks Appear?
Before diving into how to fix wall cracks, it’s helpful to understand why cracks form in the first place. Walls can develop cracks due to several reasons:
- Natural settling of the house: Over time, your home shifts slightly, causing stress on walls.
- Temperature and humidity changes: Expansion and contraction of materials can lead to cracks.
- Poor construction or drywall installation: Improper techniques can cause cracks to develop sooner.
- Water damage or leaks: Moisture weakens materials, leading to cracks.
- Structural issues: Foundation problems or heavy loads may cause serious cracks that require professional attention.
Knowing the cause helps you decide if it’s a simple fix or if you should call an expert.
Types of Wall Cracks to Know
Not all cracks are created equal. It’s important to recognize the different types of wall cracks because the repair method varies:
- Hairline cracks: Thin, superficial lines that rarely indicate structural damage.
- Vertical or horizontal cracks: Slightly wider than hairlines; often due to settling.
- Stair-step cracks: Jagged cracks following the pattern of bricks or blocks.
- Large or widening cracks: Could suggest structural problems and might need professional evaluation.
For beginners, most common cracks you’ll tackle are hairline or minor vertical/horizontal cracks.
Tools and Materials You’ll Need
Before starting your wall crack repair, gather the necessary tools and materials:
- Putty knife or scraper
- Sandpaper (medium and fine grit)
- Spackling compound or wall filler
- Primer and paint to match your wall
- Paintbrush or roller
- Clean cloth or sponge
- Safety goggles and mask (to protect from dust)
Having everything ready ensures a smooth, efficient repair process.

Step-by-Step Guide to Fixing Wall Cracks
1. Prepare the Area
Start by clearing the area around the crack. Remove any loose paint, dust, or debris using a scraper or putty knife.
This ensures the filler adheres properly. Use a damp cloth to wipe away any remaining dust and let the wall dry completely.
2. Widen the Crack Slightly (Optional)
For deeper cracks, gently widen the crack with the edge of your putty knife to create a slightly wider groove.
This allows the filler to penetrate and bond better inside the crack rather than just sitting on the surface.
3. Apply the Spackling Compound
Using the putty knife, apply a thin layer of spackling compound or wall filler directly into the crack.
Press firmly to fill it completely and smooth out the surface. Avoid overfilling — excess compound can be sanded down later.
4. Let It Dry
Allow the filler to dry thoroughly according to the manufacturer’s instructions. Drying time varies but usually takes a few hours.
5. Sand the Surface Smooth
Once dry, use medium-grit sandpaper to smooth the repaired area, blending it seamlessly into the surrounding wall.
Follow up with fine-grit sandpaper for a polished finish. Wipe away dust with a clean cloth.
6. Prime the Repaired Spot
To prevent uneven paint absorption, apply a primer over the repaired area. This step ensures the final paint matches the rest of the wall and adheres properly.
7. Paint to Match
Finally, paint over the primed area with your wall’s matching paint color. Use a brush or roller for an even finish. You may need two coats for complete coverage.

Tips for a Successful Wall Crack Repair
- Work in a well-ventilated space to avoid inhaling dust or fumes.
- Use light sanding to avoid damaging surrounding paint.
- For textured walls, you might need to replicate the texture using a sponge or special spray before painting.
- If cracks keep reappearing, consider inspecting for moisture issues or foundation problems.
- Keep your tools clean after use for longevity.
When to Call a Professional
While many wall cracks are harmless and easy to fix, some require expert attention. Contact a professional if:
- Cracks are wider than 1/4 inch.
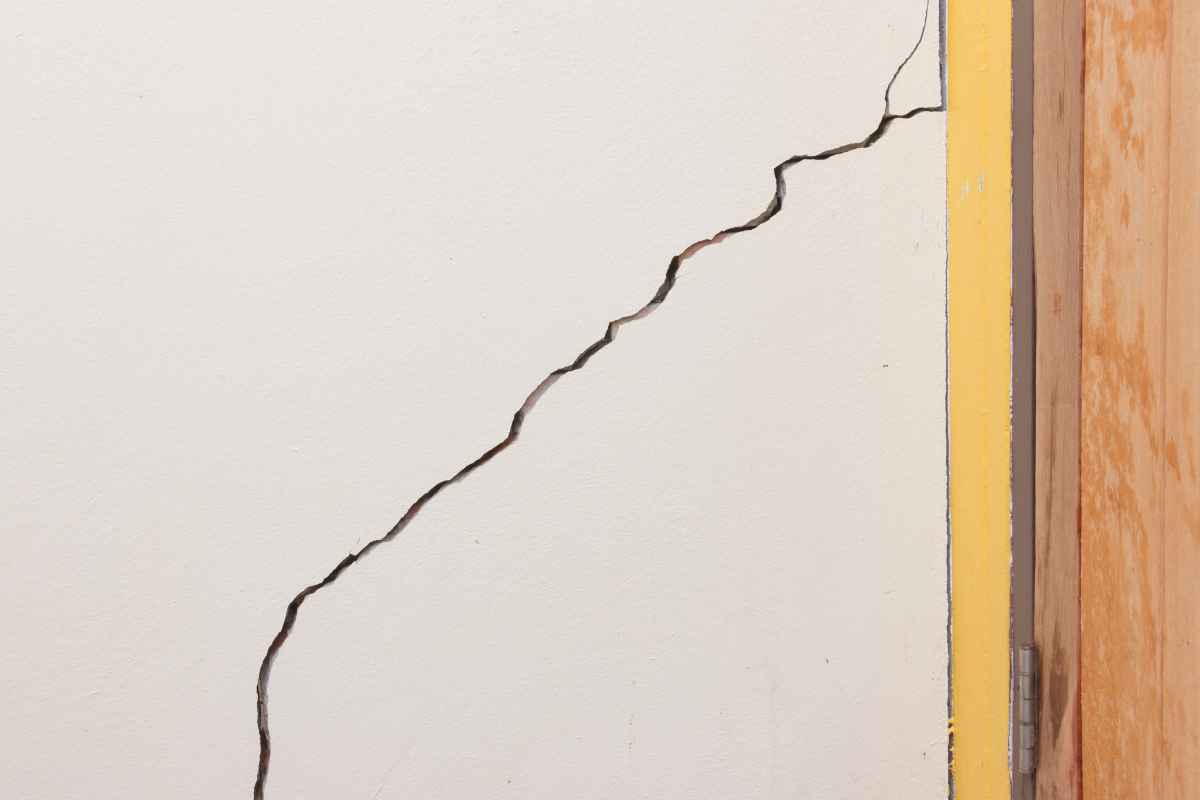
- Cracks appear suddenly or grow quickly.
- You notice doors or windows sticking or not closing properly.
- There’s visible water damage or mold near the crack.
- The wall bulges or feels unstable.
A professional can assess potential structural damage and recommend the best course of action.
Maintaining Your Walls After Repair
Once your cracks are repaired, proper maintenance helps prevent new ones from forming:
- Keep indoor humidity levels consistent with a humidifier or dehumidifier.
- Fix leaks or water damage promptly.
- Avoid extreme temperature swings by using insulation or window treatments.
- Regularly inspect walls for early signs of damage.

Beyond Aesthetics: The Importance of Crack Repair
Fixing wall cracks doesn’t have to be intimidating. With a little patience and the right materials, even beginners can achieve professional-looking results.
This project not only improves your home’s appearance but also helps protect it from further damage.
Remember, start small and take your time. If you’re ever in doubt about the severity of a crack, don’t hesitate to seek expert advice. Happy repairing!
Did you find this post Useful or Inspiring? Save THIS PIN to your HOME Board on Pinterest!

More Home Tips 👇🏼👇🏼