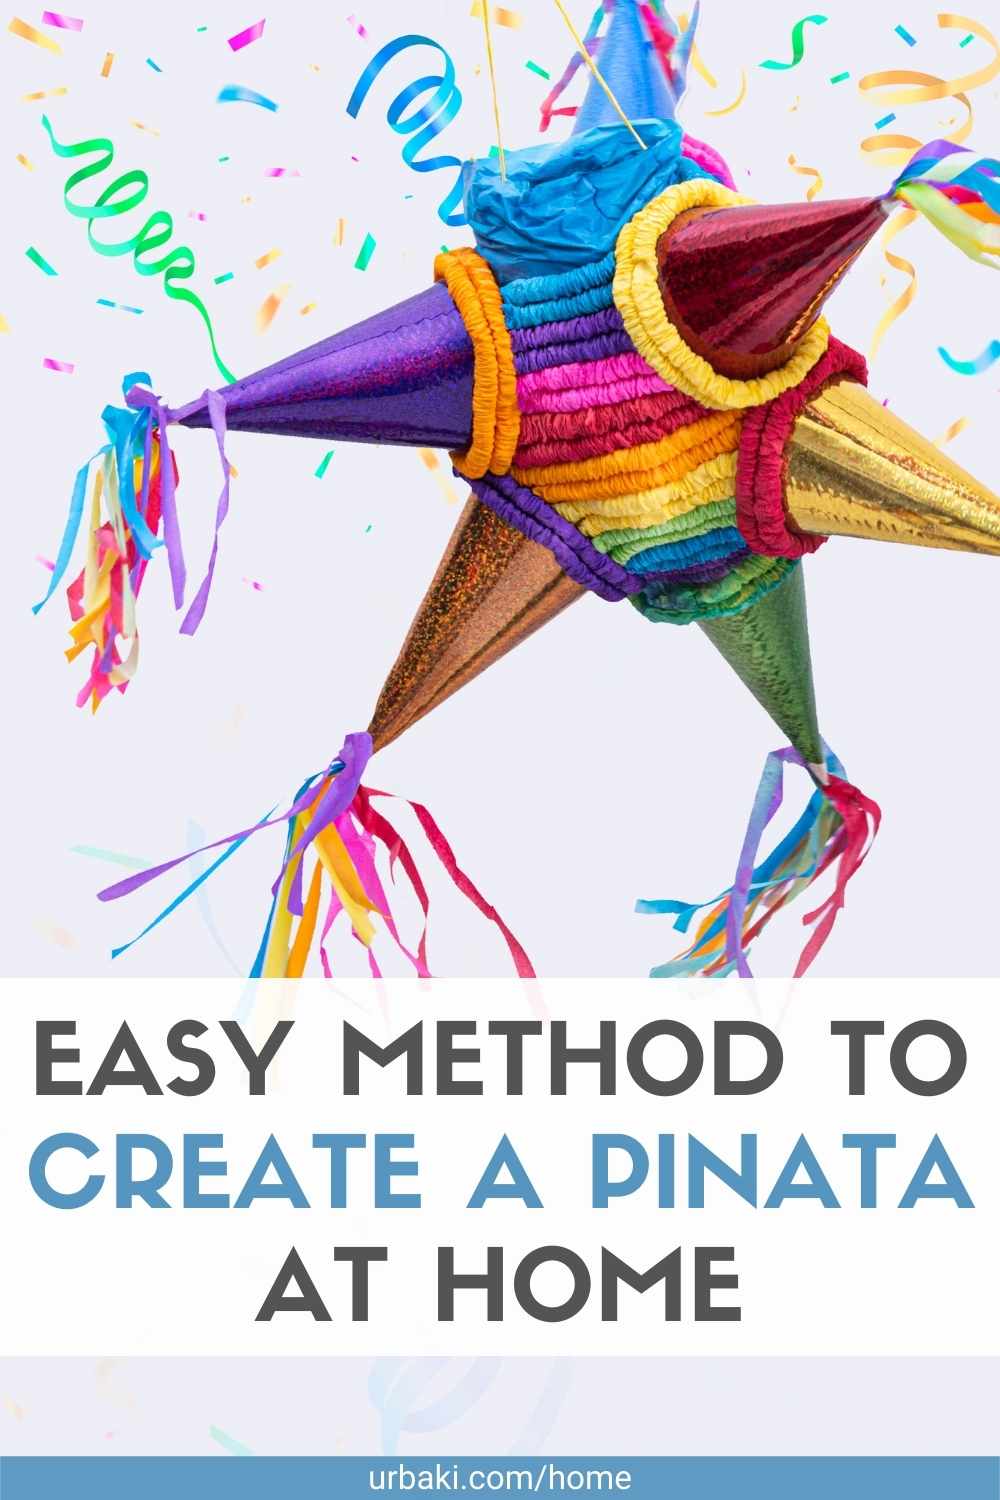
Easy Method to Create a Pinata at Home

You don't need to deal with messy paper-mâché goo to make a DIY piñata! We'll show you how to create a piñata from a cardboard box—a fun, clean, and simple alternative. And what's more exciting than opening a piñata? Let's put the pieces together!
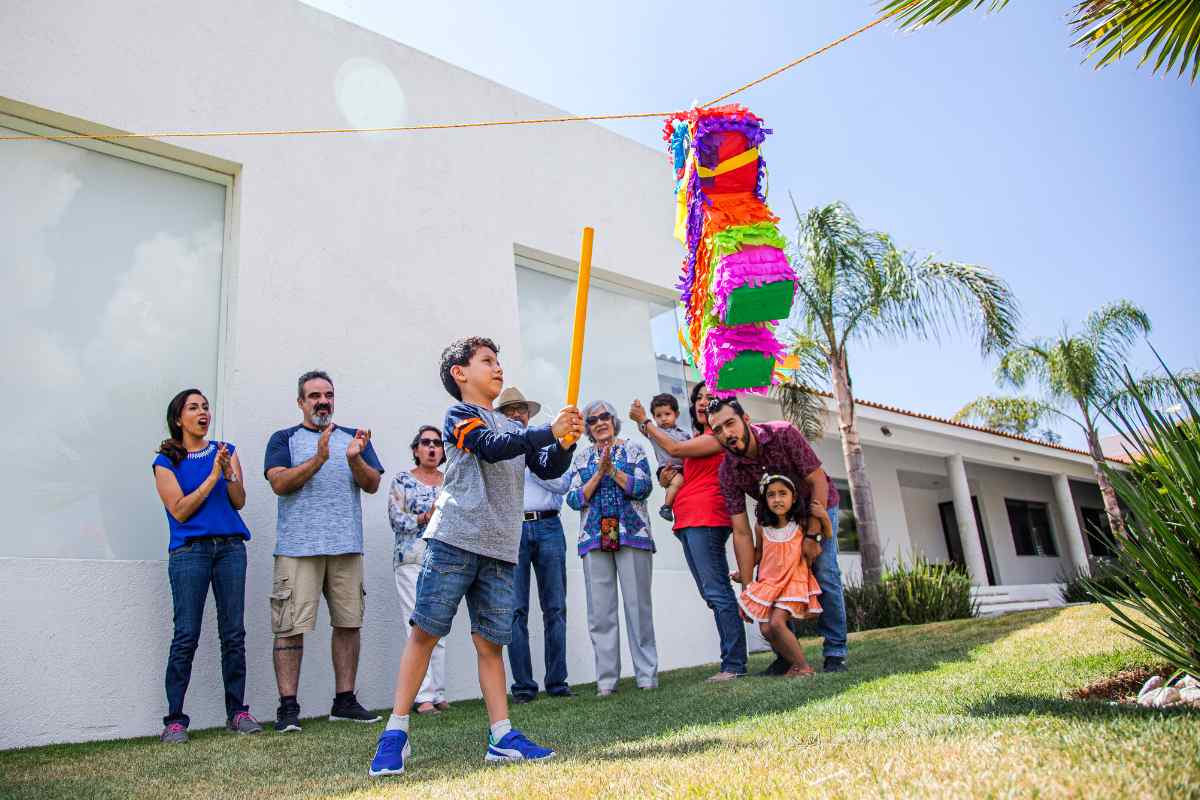
Learning how to make a piñata is a wonderful activity for both you and the kids. This cardboard method is easier and cleaner than the traditional approach, making it perfect for birthdays, summer gatherings, or backyard parties. Plus, a homemade piñata is a great excuse to fire up the grill and enjoy some outdoor fun.
These easy steps can be used to create piñatas in all kinds of shapes, from donuts to donkeys to dinosaurs—the only limit is your imagination!
Find the Perfect Decorations for Every Celebration!


How to Make a Piñata, Step by Step

You will need:
- 1 large flat cardboard box
- Crepe paper (choose your favorite colors)
- Pair of scissors
- Pencil
- Glue
- 1 roll of masking tape
- Candy
- Rope or twine
Instructions
Step 1: Outline the Shape
Remove the cardboard flaps. On the side of the box, draw a simple outline of your piñata's shape.
Step 2: Cut Out the Shape
Cut the shape carefully with scissors. Repeat on another piece of cardboard so you have two identical cutouts.
Step 3: Cut the Brackets
To create dimension and space for treats, cut support pieces from the remaining cardboard. These will determine the depth of your piñata.
Step 4: Build the Piñata
Glue the support pieces along the edges of one cutout, ensuring all sides are covered with cardboard. Leave a small section open for filling the piñata later. Glue the second cutout to the other edge of the support pieces, aligning them properly.
Step 5: Fill with Candies
Use the opening to fill the piñata with candy and treats. Seal the opening securely to avoid losing goodies before the fun begins.
Step 6: Secure the String
Attach a rope or twine to the top of the piñata for hanging. Make small holes in the cardboard, thread the rope through, and secure it with tape for extra durability.
Step 7: Prepare the Tissue Paper
Fold the tissue paper and cut it into strips. To make fringe, cut about two-thirds of the way up the strips, leaving a seam at the top. This seam will be used to glue the paper onto the piñata.
Step 8: Decorate the Piñata
Apply glue to the seam of the tissue paper strips and carefully attach them to the piñata, starting at the bottom and working upward. Ensure no cardboard is visible. This step may take time, but the result will be worth it!
Step 9: Add the Final Touches
Cover all parts of the piñata with tissue paper, using different colors to create a vibrant and fun design.
A Fun and Rewarding DIY Project
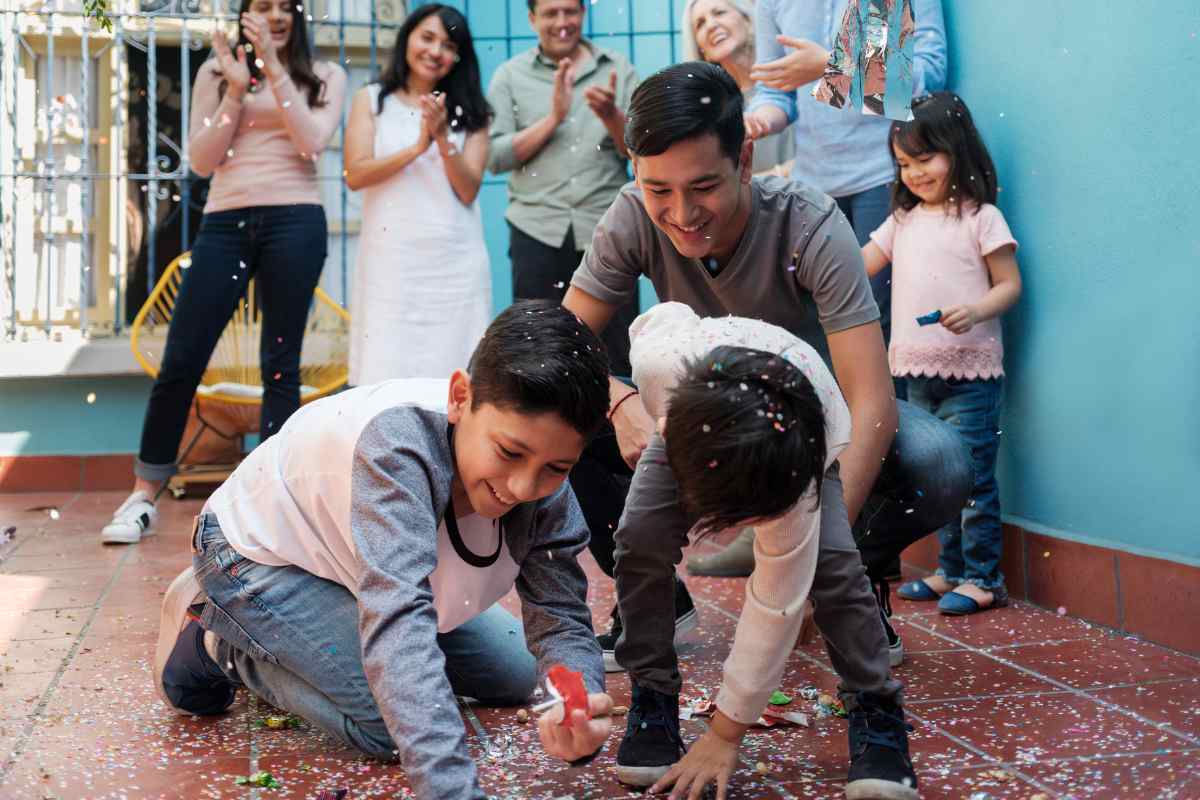
Making a piñata at home is not only a fun craft but also a great way to bond with family and friends.
From shaping the cardboard to decorating with colorful tissue paper, every step adds a personal touch. Now, your beautiful piñata is ready to take center stage at your next celebration.
Whether you choose to admire your creation or dive straight into the candy-filled fun, your efforts are sure to make the event unforgettable!
We hope you enjoy watching this video about how to make a pinata:

Source: BeforeAndAfterTV
Did you find this post useful or inspiring? Save THIS PIN to your HOME Board on Pinterest! 
Once again, thank you for visiting our website!
We hope you've enjoyed exploring the content we've created for you.
Give yourself the chance to learn, get inspired, and have even more fun, keep browsing...
Last update on 2025-03-10 / Affiliate links / Images from Amazon Product Advertising API

More Home Tips 👇🏼👇🏼