
From Yarn to Wall: 9 Creative Ways to Display Your Craft Projects at Home

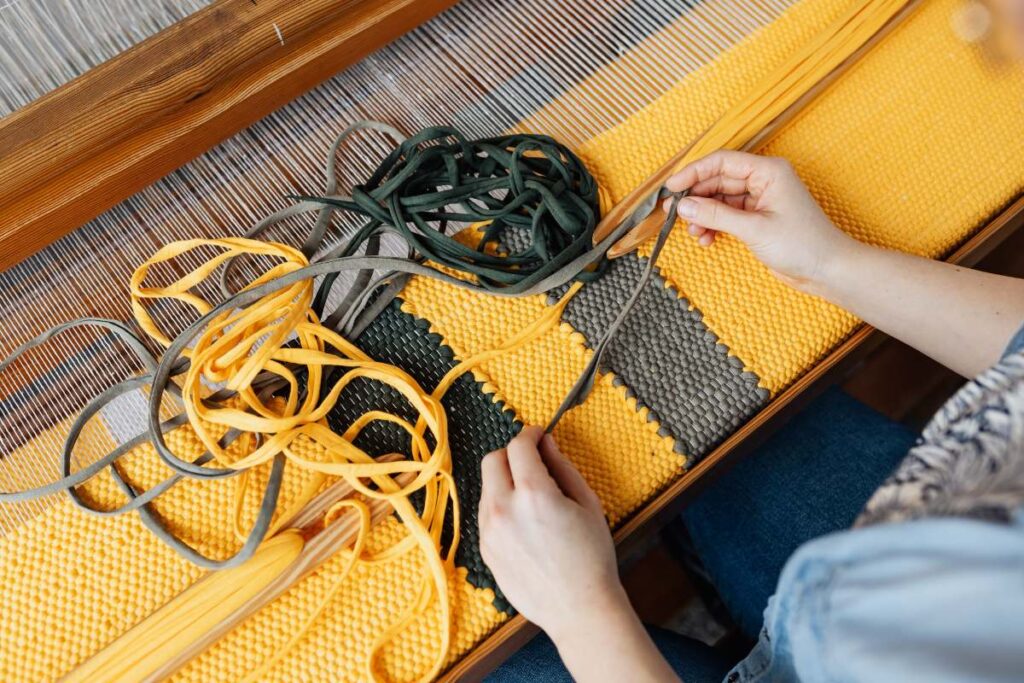
If you love knitting, crochet, embroidery or sewing, chances are you’ve got a quiet pile of finished projects somewhere: folded in drawers, tucked in boxes, or carefully stored “for later”.
That’s a shame, because handmade pieces make incredible wall decor.
You don’t need to be an interior designer to pull this off. With a few simple ideas, you can turn your craft projects into a gallery that looks intentional – not cluttered.
Here are nine ways to take your yarn, thread and fabric from the workbasket to the wall.
1. Frame Your Favourite Swatches
If you’re like most crafters, you have practice swatches everywhere – little squares where you tried a new stitch or colour combo.
Instead of tossing them, trim them neatly and pop them into small frames:
- Use a neutral background card to make the stitch pattern stand out
- Group 3–6 swatches in a vertical line for a narrow wall
- Mix different textures (lace, cables, bobbles) in one frame for a “stitch sampler” look
This is a low-effort way to decorate and a nice reminder of techniques you’ve learned.
2. Turn Doilies and Mandalas into Wall Medallions
Crochet mandalas and lace doilies look incredible when displayed flat against the wall.
A few easy options:
- Stretch them over wooden embroidery hoops
- Mount them on round cardboard or MDF discs covered in fabric
- Spray-paint hoops in gold, black or a colour that fits your room
Cluster several different sizes together and you’ll have a soft, boho-style focal point with real depth and texture.
3. Create a Soft Banner or Bunting
If you enjoy making small motifs – hearts, stars, granny squares – string them into a banner.
- Join motifs with a narrow crochet chain or ribbon
- Hang the bunting above a bed, across a doorway, or over a shelf
- Mix solid-colour motifs with patterned ones to avoid visual overload
This is especially cute in nurseries, craft rooms or as a seasonal decoration you can swap out through the year.
4. Crochet (or Knit) a Wall Hanging on Purpose
Instead of making another scarf, design your next project as a wall hanging.
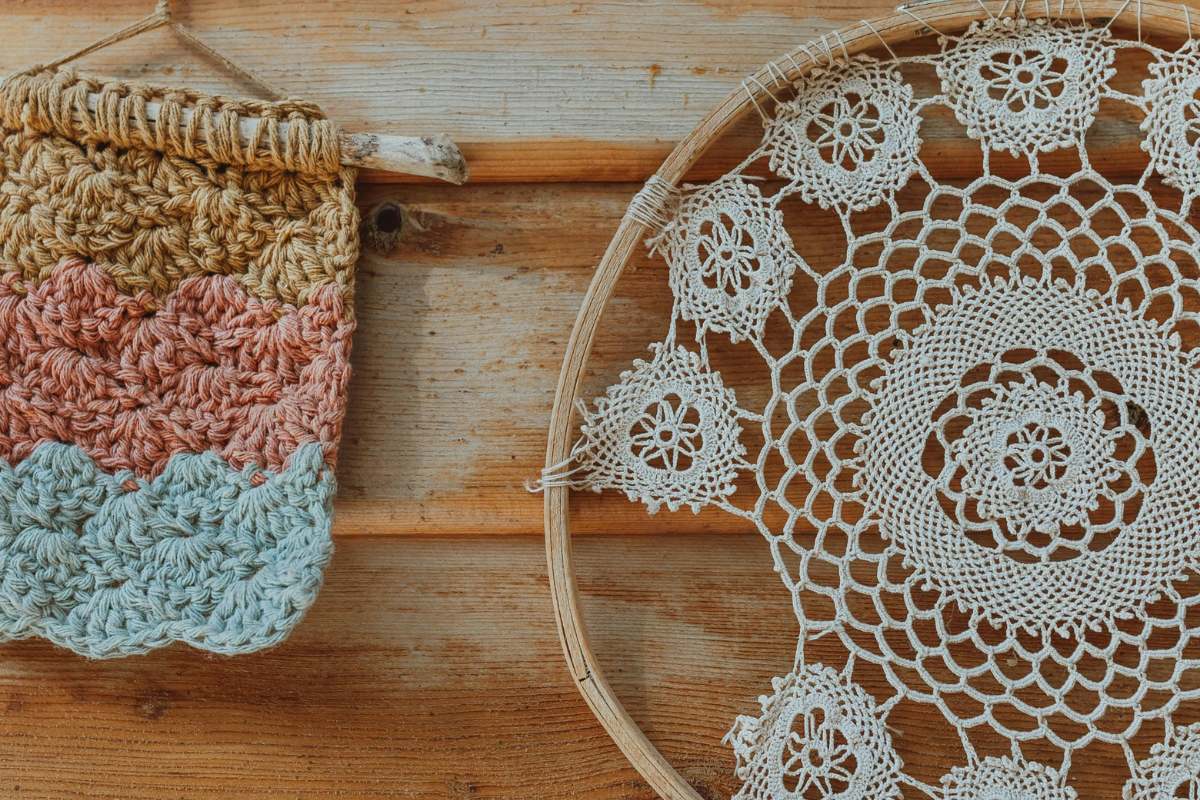
A simple formula:
- Choose a sturdy stick, branch or wooden dowel as a hanger
- Work a panel using textured stitches, stripes or colour blocks
- Add fringe, tassels or small pom-poms along the bottom edge
Keep the palette consistent with your existing decor – or let the wall hanging be the “statement piece” that adds contrast.
5. Use Shadow Boxes for 3D Projects
Not all handmade pieces want to be flattened.
For small amigurumi, tiny knitted garments, or your very first pair of crochet baby booties, use deep shadow box frames:
- Attach items with invisible thread or tiny stitches to the backing
- Add a small label or handwritten note with the date or occasion
- Group several boxes in a grid for a clean, gallery-style layout
This works beautifully for memory pieces you don’t want touched all the time.
6. Photograph Your Work and Print It as Wall Art
Some projects are too delicate, too seasonal, or already gifted away. In those cases, a high-quality photograph can become wall art in its own right.
Here’s a simple approach:
- Lay your project on a clean surface with natural light.
- Add a few props – yarn, hooks, scissors, maybe a cup of coffee.
- Take several photos from different angles.
- Edit them lightly for brightness and colour.
You can then print these photos as posters, framed prints or canvas art. If you’re comfortable using online services, a specialist wall art print-on-demand partner like Printseekers can turn your images into ready-to-hang decor, so you don’t need a local print shop or special equipment.
This is also a clever way to decorate a craft room: photos of your own work on the walls around you.
7. Make a Seasonal Wall Rotation
Crafters often have “winter colours” and “summer colours” phases. Use that to your advantage.
- Display warm, chunky textures and deeper tones in colder months
- Swap to lighter, airy pieces – lacy doilies, pastel banners – in spring and summer
- Store off-season pieces rolled in tissue paper to avoid creasing
If you’ve photographed and printed some pieces as posters or canvases, you can rotate printed wall art too, without worrying about dust or direct sunlight on the original textiles.
8. Combine Handmade and Printed Pieces in One Gallery Wall
A wall doesn’t have to be all one thing.
Some of the most interesting displays mix:
- One or two framed crochet or embroidery pieces
- A couple of posters or art prints (for example, a close-up photo of your knitting, or a graphic stitch chart)
- A small shelf with a plant and a jar of hooks or needles
Print-on-demand wall art is handy here because you can create prints that match your handmade work exactly – same colours, same patterns – and fill gaps in your layout without making more physical items.
9. Celebrate Your Progress, Not Just Perfection
Finally, remember that your walls don’t have to showcase only your “best ever” projects.
Framing an early, slightly wonky piece next to a newer, more polished one is a powerful reminder of how far you’ve come. Photographing and printing an imperfect project can be just as meaningful as hanging the real thing.
Your home is the one place where the story behind each piece matters more than whether the tension was perfect.
So open that drawer. Pull out the forgotten swatches and experiments. With a few frames, a couple of hoops – and maybe a printed photo or two – you can build a wall that looks like you live there, not a showroom.

More Home Tips 👇🏼👇🏼