Here is Your Step-by-Step Guide to Hanging Curtains

Hanging curtains is one of the quickest ways to make a room feel finished—more privacy, better light control, and instant style.
This guide keeps things practical with exact measurements, a small toolkit you’ll actually use, and pro tips for different walls, window types, and renter-friendly setups.
By the end, you’ll know how to hang curtains that look custom, not improvised.
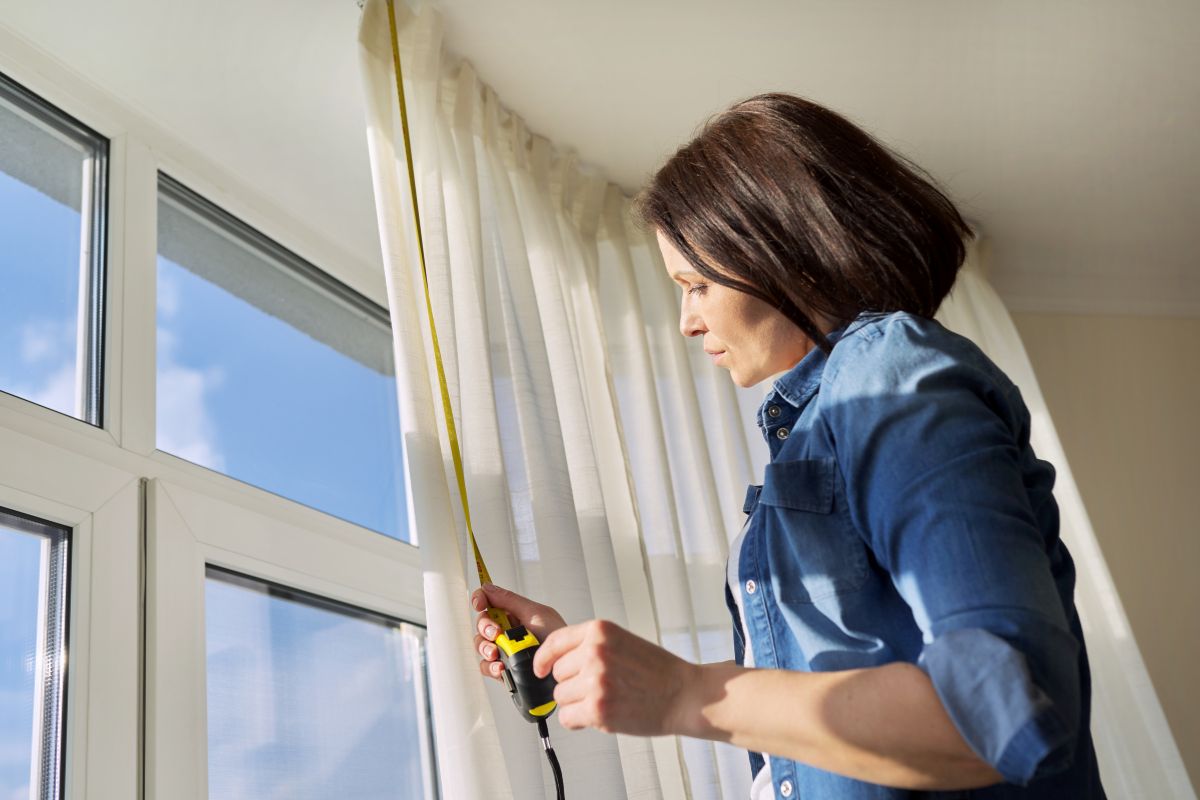
The Measurements That Make the Difference
Getting the math right is half the job. Follow these three rules and your windows will look taller and wider:
Rod height: Mount the rod 4–6 inches above the window frame to lift the eye line and “raise” the ceiling.
Rod width: Extend the rod 3–6 inches past each side so panels clear the glass when open and the window looks wider.
Panel fullness: Aim for curtains totaling about 2× the window width (1.5× minimum for tailored or blackout fabrics; 2.5× for airy sheers).
Quick check: If your window is 50" wide, target 100" of total panel width. Two 50" panels? Perfect.
Tools & Materials (a short, realistic checklist)
You do not need a workshop—just this:
Measuring tape, pencil, level
Drill/driver, appropriate wall anchors and screws
Stud finder (or a small test hole if needed)
Brackets, rod, rings or clips (if using), step ladder, safety glasses
 Choose Panels and Rods With Function First
Think about light, privacy, and cleaning before style:
Blackout curtains for bedrooms and media rooms
Sheers to soften light in living and dining areas
Linen-look or cotton blends for a casual, breathable feel
Double rods or wraparound rods if you want layering or better side-light blocking
On wide spans (usually over 60–72"), plan a center support bracket to prevent sagging.
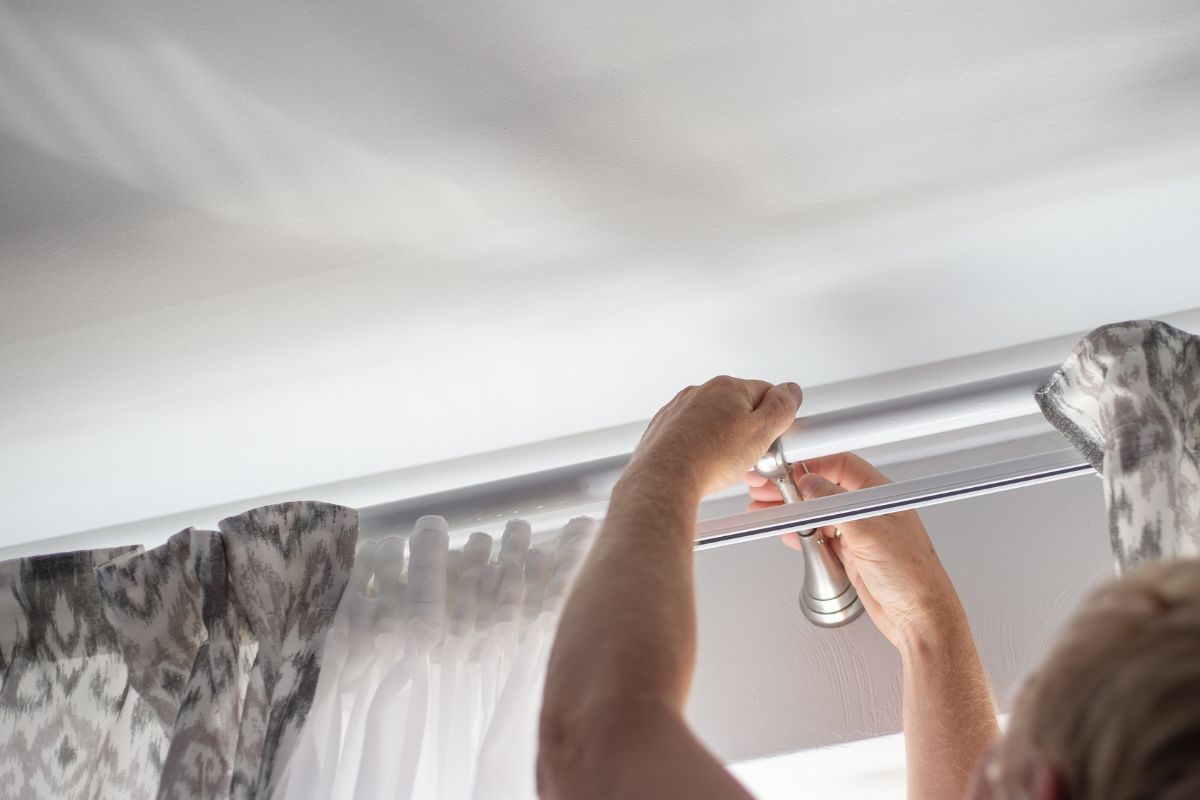
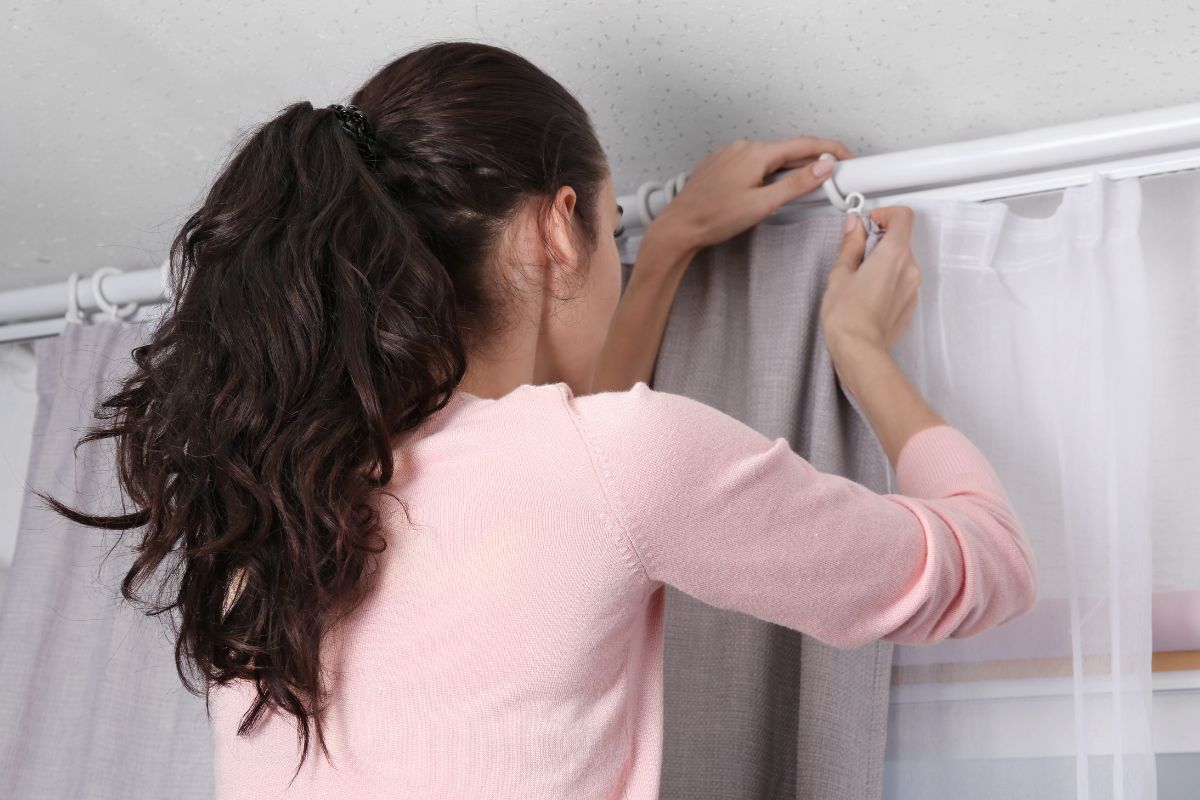
Installing Brackets: Secure, Level, and Built to Last
Mark bracket height using the 4–6" rule.
Measure rod extension on both sides (3–6").
Use a level to draw a light guideline.
Whenever possible, screw into studs. If a stud isn’t available, select the right anchors for your wall type (more below).
Dry-fit the rod and check clearances before final tightening.
 Wall Types & Anchors (what to use where)
Drywall/Plaster: Use quality toggle or expansion anchors sized for your bracket screws and the expected load.
Masonry (brick/concrete): Use masonry anchors and a masonry bit; vacuum dust from the hole for a tight fit.
Wood framing: Pre-drill and drive wood screws directly into the stud.
If you have heavy blackout drapes or long spans, check your rod’s weight rating and add a center support.
Hem Options: Float, Kiss, or Puddle
Your hem length sets the mood and maintenance level:
Float (~1") above the floor for a crisp, modern line and easy cleaning.
Kiss (just touching) the floor for a soft, tailored look.
Puddle (1–6"+ extra) for romantic or formal rooms—best with heavier fabrics and low traffic.
Tip: Measure once with the rod up and rings/clips attached, then pin and press your hem for the exact finish.
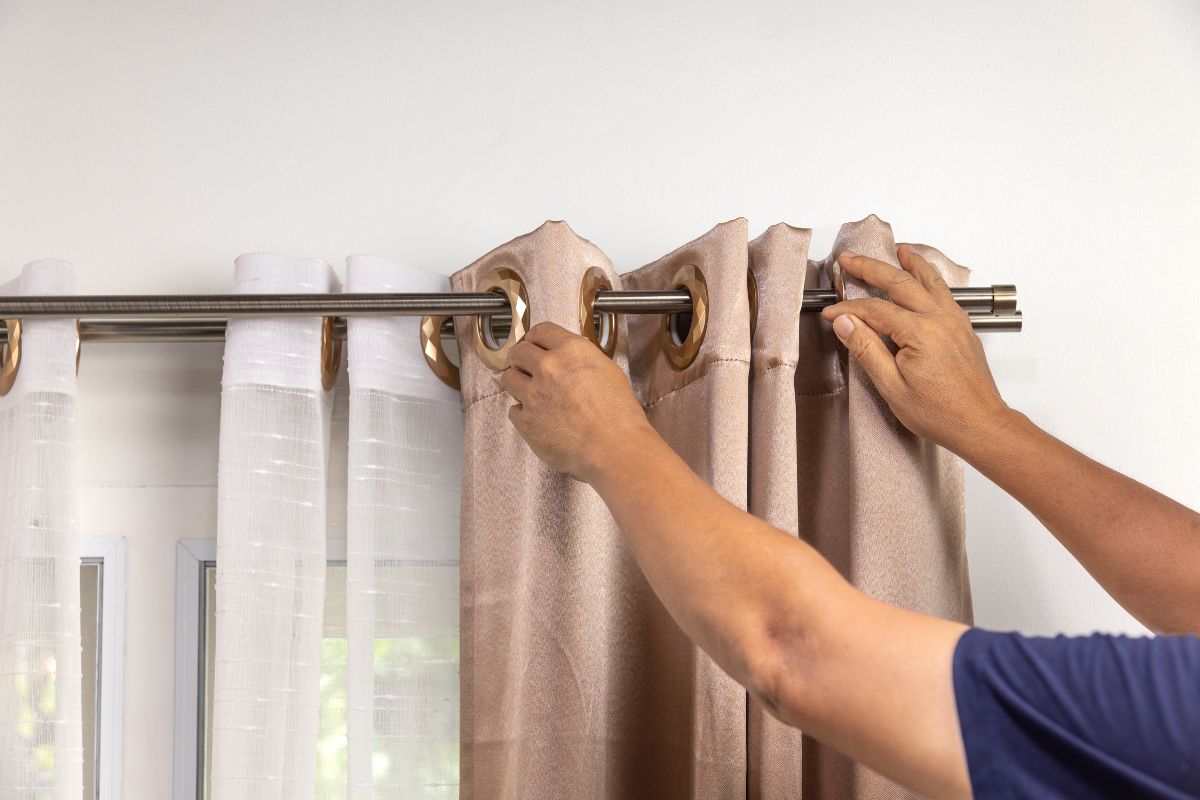
 Hang, Steam, and Style
Thread panels (rod pocket, grommets, or rings with clips) and hang the rod on its brackets. Steam or iron to remove creases—this single step makes budget panels look premium.
“Train” the pleats by hand so the fabric falls in even, vertical folds. If layering, hang sheer + blackout in that order for daytime glow and nighttime privacy.
Renter-Friendly (No-Drill) Options
No holes allowed? You still have options:
Tension rods inside the window frame for lightweight panels or café curtains
Adhesive hooks paired with lightweight rings/clips (check weight limits)
Wire systems for sheers where minimal hardware is preferred
These solutions work best on smooth, clean surfaces and with lighter fabrics.
 Special Window Cases (and how to handle them)
Wide or tall windows: Add a center bracket; consider a thicker rod to avoid deflection.
Bay windows: Use adjustable corner connectors or multiple short rods aligned in height.
Corner windows: Mount both rods at the same height; leave just enough clearance for finials.
Patio doors/sliders: Choose longer rods so panels stack completely off the glass; consider thermal or blackout to control heat and glare.
Common Mistakes to Avoid
Mounting too low. It visually “shrinks” the room.
Panels too narrow. Without 2× fullness, curtains look skimpy.
Skipping anchors in drywall. Brackets loosen and tilt over time.
No leveling. Even a small slope is very noticeable over a wide span.
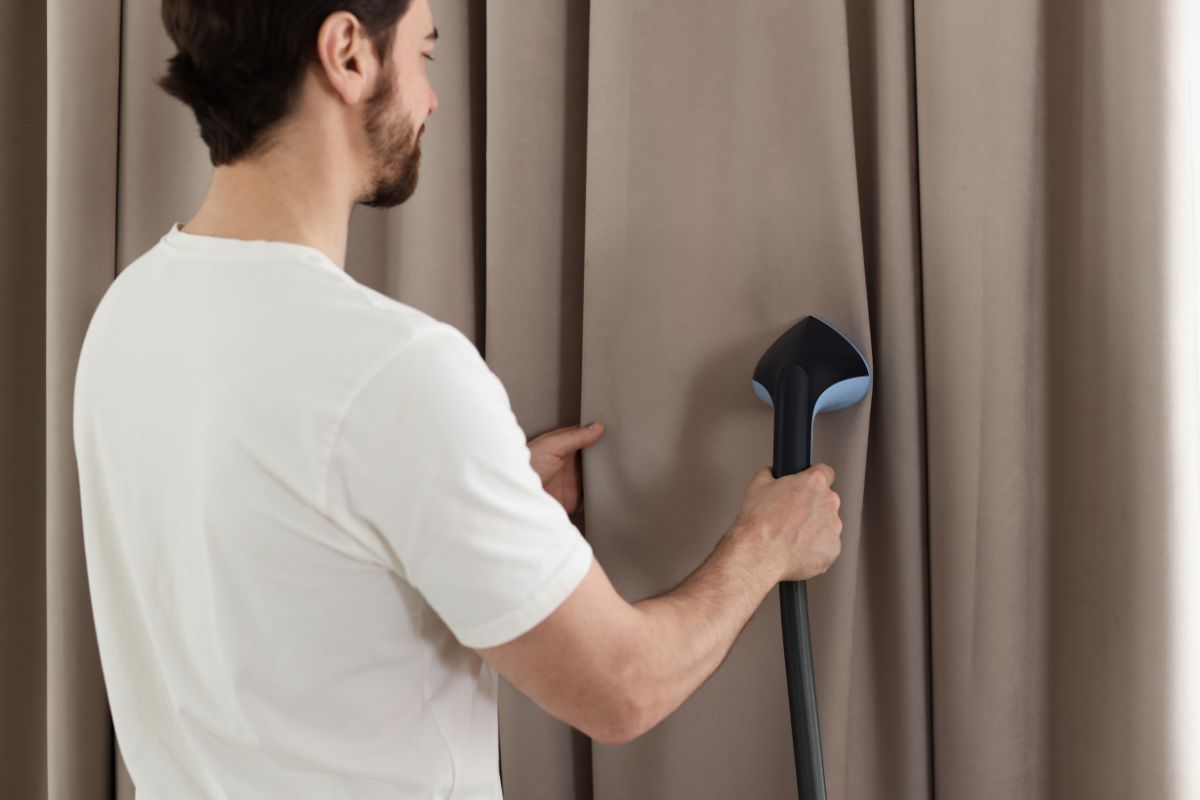
Hanging wrinkled fabric. A quick steam transforms the look.
 Safety & Maintenance Essentials
Keep cords, pull wands, and tiebacks out of reach of children and pets. Confirm weight ratings for rods, anchors, and brackets—especially with lined or velvet panels.
For care, vacuum with a brush attachment, spot-clean per fabric instructions, and give panels a light steam after washing or seasonally to retrain pleats.
A Smart Shopping List (with quantity cues)
Rod (consider diameter and finish), finials, brackets + center support if needed
Rings/clips or grommet panels
Anchors matched to your wall type
Panels totaling ~2× window width (add more for sheers)
Optional liner or blackout layer for light control and insulation
 Your Windows, Upgraded: Style With Confidence
With a tape measure, a level, and a few curtain-hanging basics, you can make any window feel taller, wider, and more polished.
Use the 4–6" height rule, extend the rod past the frame, and choose panels with the right fullness.
From renter-friendly tricks to layered blackout and sheer setups, you now have everything you need to create a clean, designer finish—every time.
If you want, I can tailor this guide to a specific room (nursery, rental, bay window, or patio door) and add a quick printable checklist.
We hope you enjoy watching this video about How to Hang Curtains
")
Source: By Sophia Lee
Did you find this post useful or inspiring? Save THIS PIN to your HOME Board on Pinterest! 😊
Once again, thank you for visiting our website!
We hope you've enjoyed exploring the content we've created for you.
Give yourself the chance to learn, get inspired, and have even more fun, keep browsing...
More Home Tips 👇🏼👇🏼