
How to Create a DIY Escape Room


Have you ever wondered how it would feel to create a thrilling escape room experience right in your living room?
It’s easier than you think, and today, we’ll show you exactly how to turn your home into an immersive adventure that’s perfect for friends or family. Let’s dive in!
Step 1: Pick a Theme and Craft Your Story
 The first step in designing your DIY escape room is choosing a theme. Think about the kind of adventure you want to create.
Do you want to unravel a spooky mystery in an old mansion?
Or maybe you’d prefer a high-stakes spy mission? The possibilities are endless! Choose a storyline that excites you and will pull your participants into the game.
Remember, the more engaging the narrative, the more fun the escape room will be.
Step 2: Plan Your Puzzles and Challenges
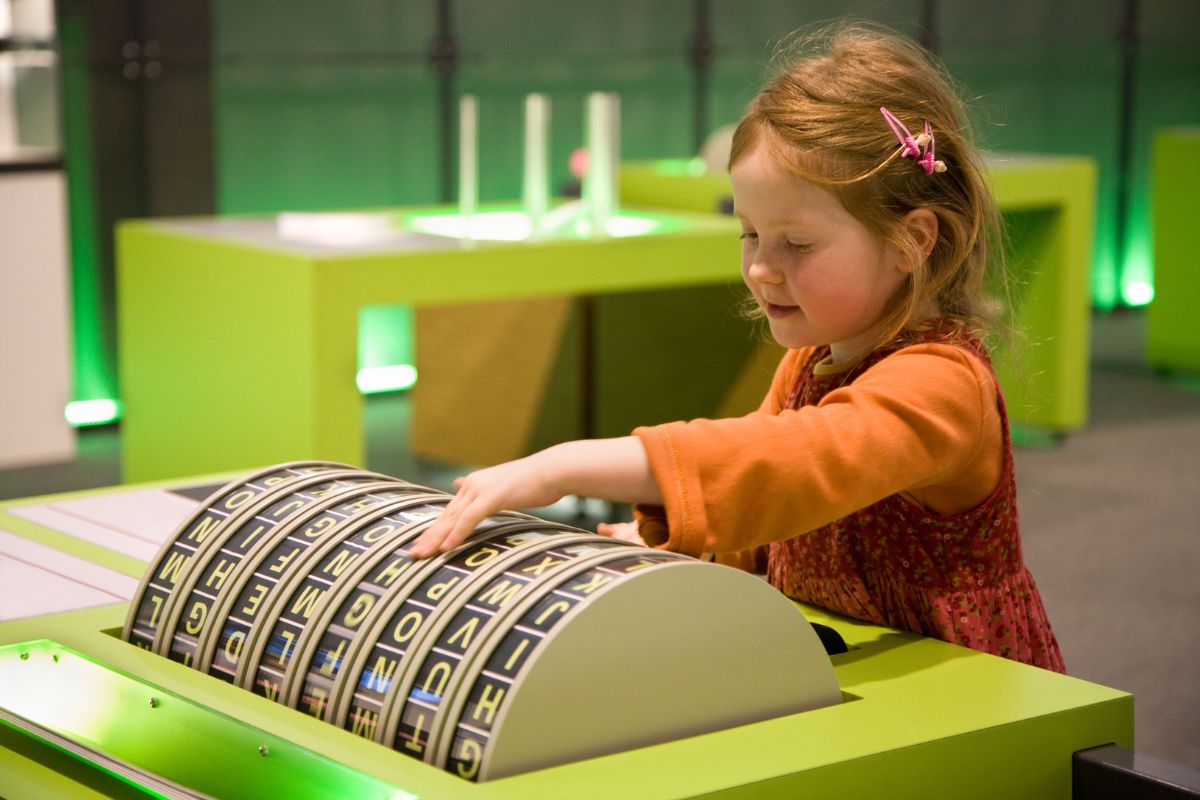 At the heart of any escape room are its puzzles. These are the challenges that will test the players' wits and creativity. Mix things up with a variety of puzzles:
Secret Codes: Create encrypted messages with letters, numbers, or symbols that need decoding.
Physical Puzzles: Use locks, hidden compartments, or objects that need to be assembled.
Visual Clues: Place objects, photos, or paintings that reveal hidden messages or hints when looked at carefully.
The key is to have a variety of difficulty levels. Start with easier puzzles to build confidence, then gradually introduce more complex challenges.
Step 3: Design the Space and Set the Scene
 Next, transform your chosen space into a real-life adventure. Don’t worry—you don’t need to remodel your house!
Simply rearrange furniture, use curtains to divide areas, and place boxes or old trunks to create separate "rooms."
If your escape room involves multiple stages or rooms, this setup adds to the mystery and excitement.
Step 4: Build Your Puzzles and Clues
 Now for the fun part—creating the puzzles. You don’t need fancy equipment or expensive materials; everything can be done with everyday items. Here are a few simple yet effective ideas:
Invisible Ink Codes: Use lemon juice or milk to write secret messages on paper. Reveal the hidden text by gently heating it.
Puzzle Pieces: Print out an image, cut it into puzzle pieces, and make participants assemble it to reveal a clue.
Combination Locks: Use a simple lock and give the players hints to figure out the combination.
Keep the puzzles challenging but solvable. You don’t want them to be too difficult, or your players might lose interest.
Step 5: Set the Mood with Atmosphere and Decor
 The atmosphere of your escape room is what will truly make it stand out. Lights, sounds, and props play a huge role in immersing your players in the experience.
Lighting: Dim the lights or use colored LEDs to give the room an eerie vibe.
Music: Choose a playlist that fits your theme—suspenseful music for a thriller or whimsical tunes for a fairy-tale adventure.
Themed Decorations: Scatter props around the room that tie into your story—old books, maps, or even spooky objects to add authenticity.
Creating the right environment will make your players feel like they’ve stepped into another world.
Step 6: Get Your Friends Involved
 Now it’s time to invite your friends or family to take part in the adventure.
Before they enter, explain the rules clearly, and let them know if there’s a time limit.
You might even give them a small hint to get them started, but from there, let the puzzles unfold.
Remember to keep the experience exciting and let the players discover clues and puzzles on their own.
The more interactive and immersive the experience, the better.
Ready to Bring the Escape Room to Life?
Now that you know how to create your own DIY escape room, it’s time to get started.
Gather your materials, plan your puzzles, and create an unforgettable experience for your friends.
Whether you’re a first-timer or a seasoned escape room enthusiast, the thrill of the challenge is sure to bring everyone closer together.
Don’t wait—start planning your adventure today!
Enjoy Watching the Video Tutorial

Source: HandyUncle
Did you find this post useful or inspiring? Save THIS PIN to your HOME Board on Pinterest! 😊

Once again, thank you for visiting our website!
We hope you've enjoyed exploring the content we've created for you.
Give yourself the chance to learn, get inspired, and have even more fun, keep browsing...
More Home Tips 👇🏼👇🏼