
How to Divide Your Outdoor Living Space


Want an outdoor area that’s beautiful, comfortable, and easy to use? The secret is to zone your space into simple “rooms” for dining, lounging, cooking, playing, and gardening—without building heavy walls.
Use this guide to plan your layout, choose dividers that breathe, and add the finishing touches that make everything feel cohesive.
Plan Your Zones
Start with what you’ll really do outside: dining, lounging, grilling, firepit nights, kids’ play, small garden, or WFH on the deck. Pick two or three priorities and place them where they naturally fit:
Dining near the kitchen door for quick food runs.
Lounging in the best shade or breeze.
Play where you can see it from indoors.
Pro tip: Keep circulation obvious. Aim for a clear path of ~36 in / 90 cm that lets people move between areas without bumping chairs.
Sketch, Measure, and Right-Size
Grab paper and draw a quick plan. Mark:
Main walkway (~36 in / 90 cm) that links door → dining → lounge.
Zone footprints:
Dining for 4: 8 × 8 ft (2.4 × 2.4 m) minimum.
Lounge set (sofa + 2 chairs): 10 × 10 ft (3 × 3 m).
Grill + prep: 6 × 4 ft (1.8 × 1.2 m) with 30 in / 75 cm clearance behind.
Sightlines you want to frame (plants, water feature) and those to soften (bins, neighbors).
Rule of thumb: If your patio is small, prioritize two great zones instead of many tiny ones.
 Smart Dividers That Breathe
You don’t need walls to create rooms—use permeable dividers that suggest boundaries while keeping light and airflow.
Living Green Screens
Use tall planters (24–30 in / 60–75 cm high) planted with bamboo, boxwood, bay laurel, or grasses to separate dining from lounge. They add soft privacy, absorb sound, and move with the breeze.
Trellis, Lattice, and Decorative Panels
A trellis or laser-cut screen marks a new zone instantly. Train jasmine or honeysuckle to create a light, fragrant partition. Place panels where they filter views, not block them.
Pergolas and Shade Frames
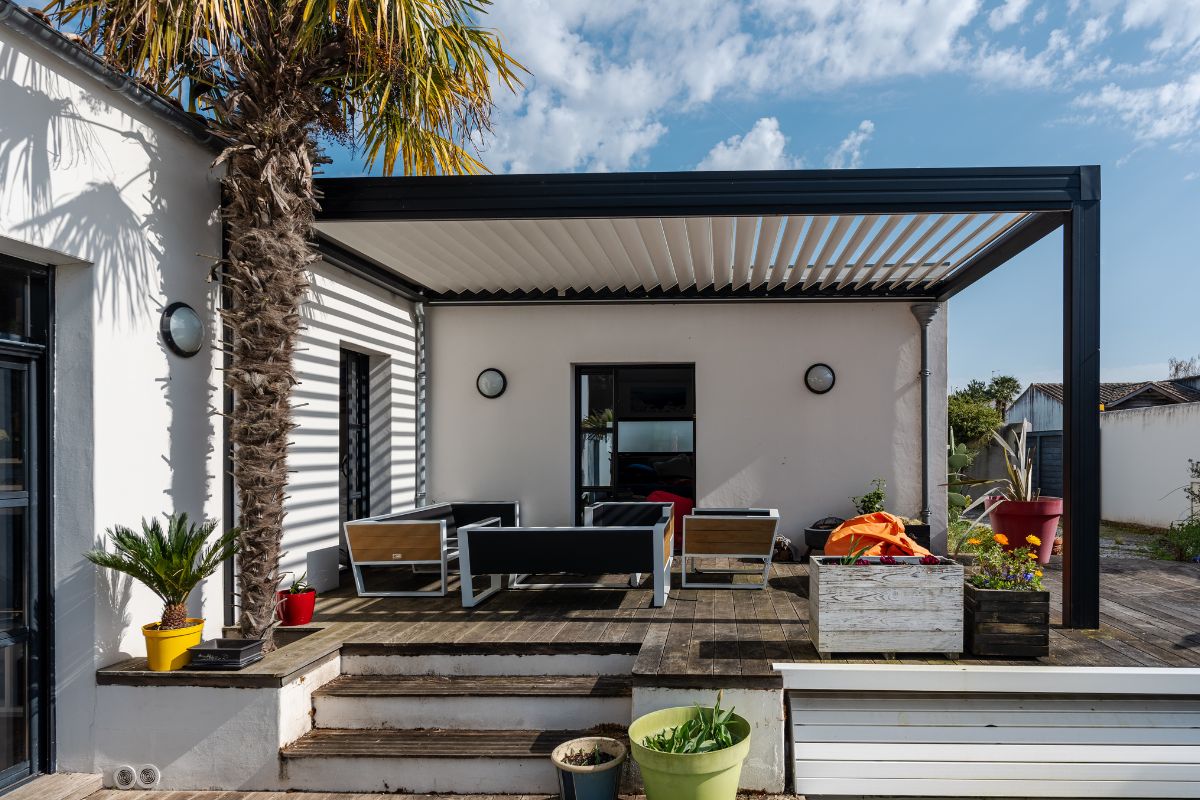
A pergola is an instant “ceiling” for your outdoor room. Add sheer curtains or slatted sides for shade and wind control. Perfect above a dining table or daybed.
 Flooring & Outdoor Rugs to “Draw” Rooms
Change the ground plane to signal a new purpose:
Deck boards → lounge, pavers → dining, fine gravel → firepit.
Outdoor rugs (8 × 10 ft under lounge, 6 × 9 ft under dining) anchor furniture, add color, and protect surfaces.
Use low edging (timber or metal) to keep gravel in place and outline zones neatly.
Keep it cohesive: Repeat 2–3 materials throughout (for example, warm wood + matte black metal + gray stone).
Furniture Layouts That Flow
Group seating in an L or U to encourage conversation; keep 30–36 in / 75–90 cm behind chairs so people can pass.
Choose round or oval tables for tight patios; they save corners and improve movement.
In small spaces, go for light frames, slim arms, and multifunction pieces (storage benches, nesting tables).
Place the grill downwind from seating and at least 10 ft / 3 m from soft furnishings.
 Light Each Zone for Evening Magic
Think in three layers:
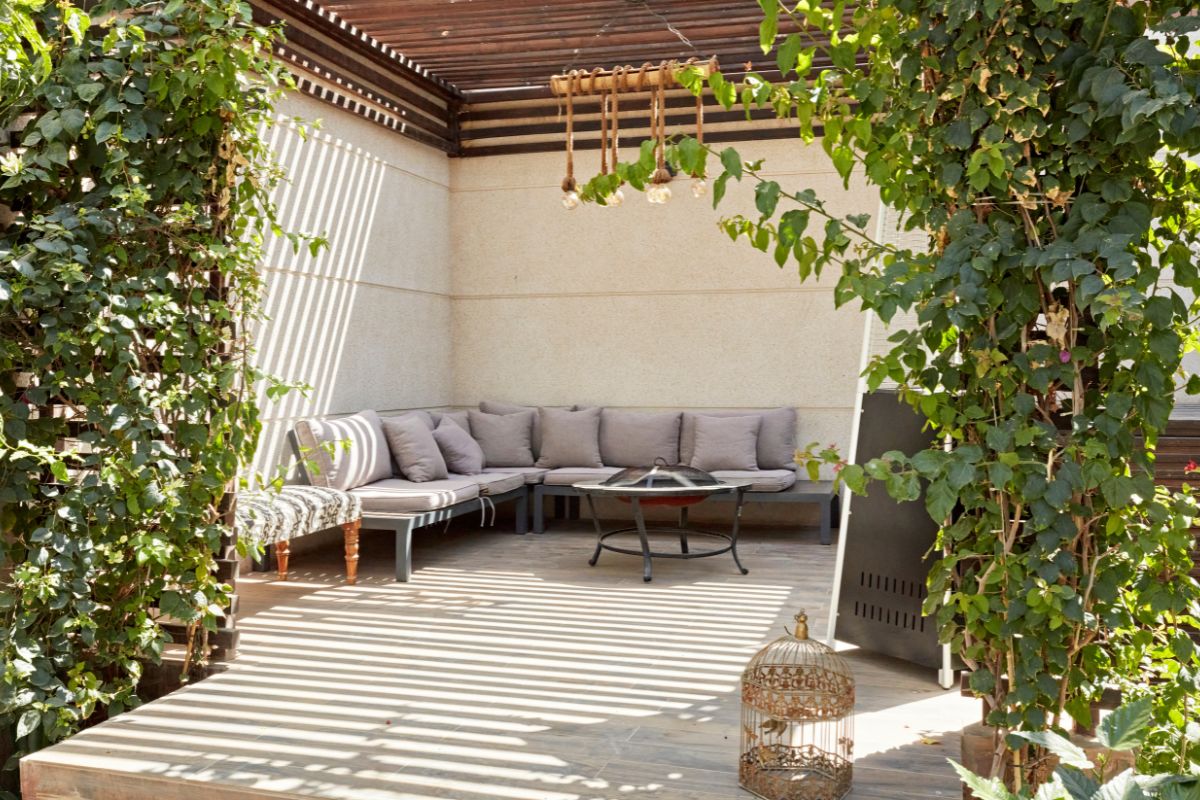
Ambient: string lights or lanterns for a soft glow over dining and lounge.
Task: focused light above the grill or prep cart; rechargeable lamps on the table.
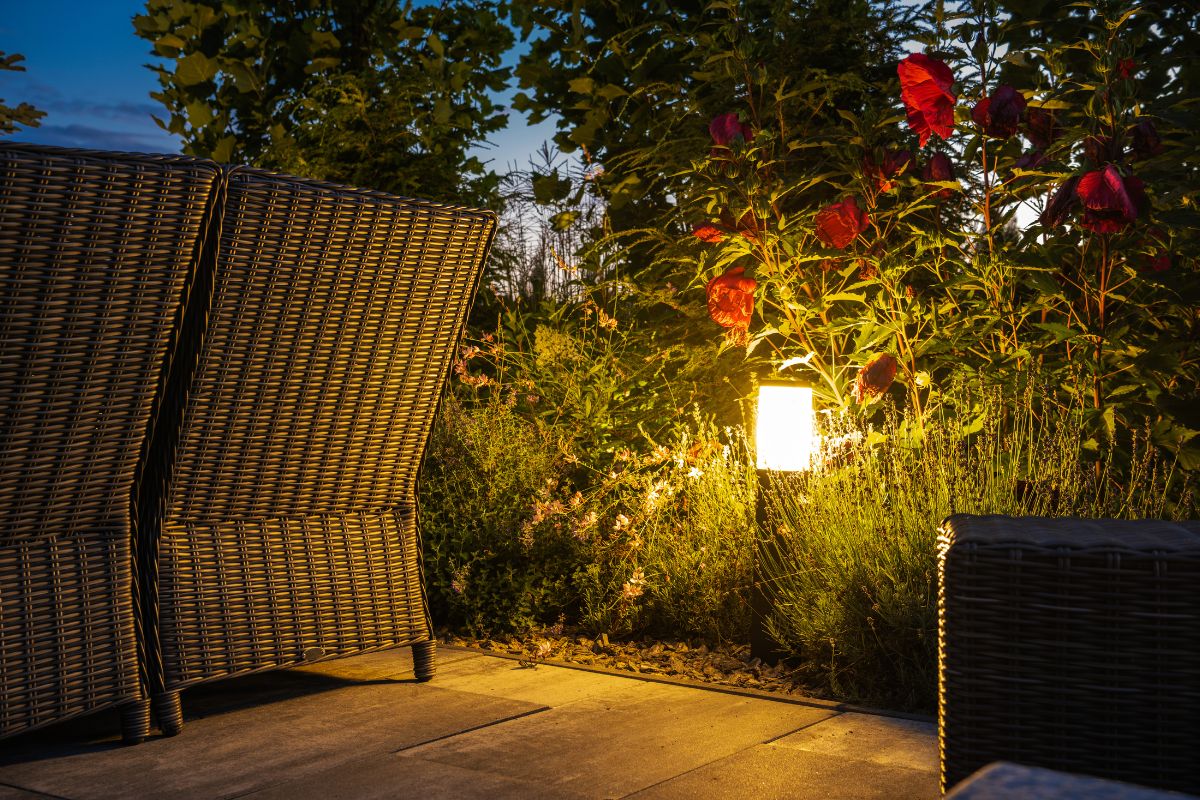
Accent: stake lights on paths, uplights at trees/trellis to add depth and drama.
Warm light (2700–3000K) feels welcoming and keeps colors flattering at night.
Privacy Without Closing In
Match the solution to the need:
Mild privacy: tall planters, grasses, or a single screen panel.
Moderate privacy: pergola with curtains or lattice side walls.
High privacy: layered approach—panel + planter + vine—so it looks lush, not heavy.
If wind is an issue, choose slatted or perforated panels to relieve pressure and protect plants.
 Color Palette and Material Harmony
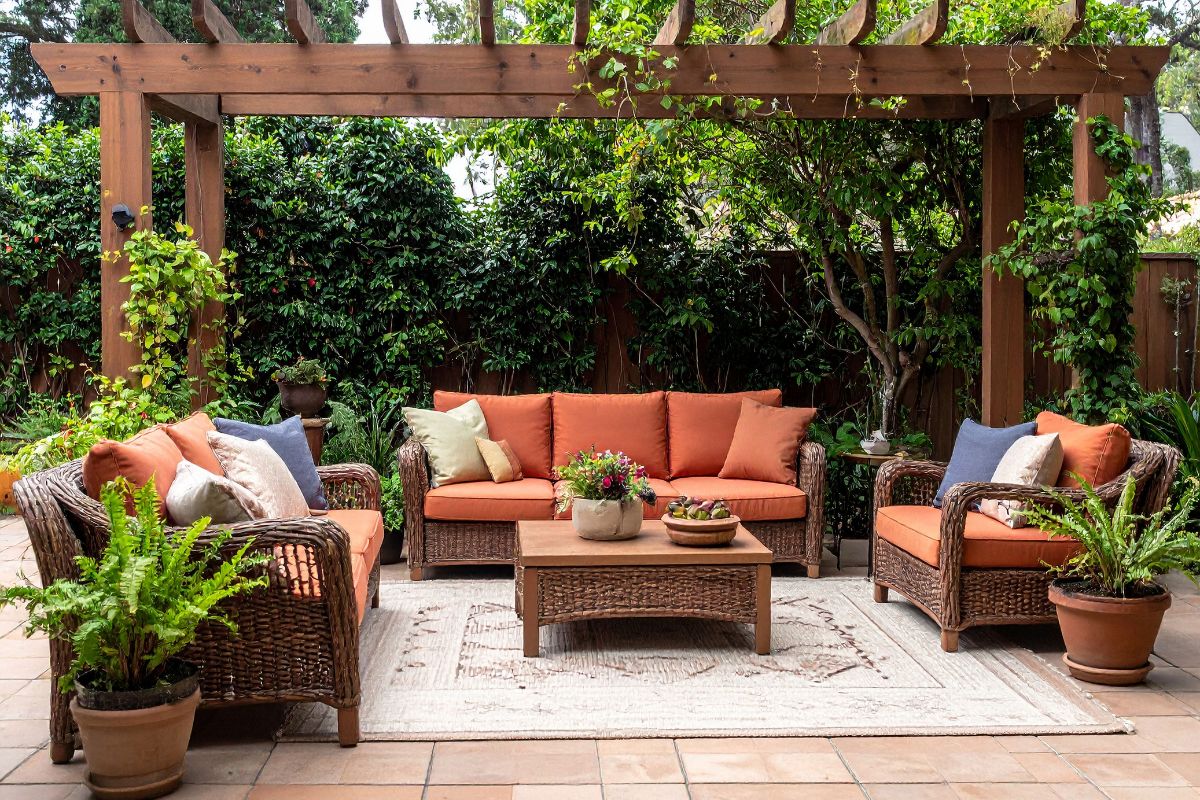
Pick a 3–4 color palette and repeat it: one base neutral (stone/wood), one anchor (black/charcoal), and one accent (terracotta, sage, or navy).
Echo the palette in planters, textiles, and rugs. Repetition creates a calm, connected look across zones.
Small Spaces, Big Payoff
Limit to two zones (for example, dining + mini lounge).
Use vertical elements (trellis, tall planters) to suggest separation without stealing floor space.
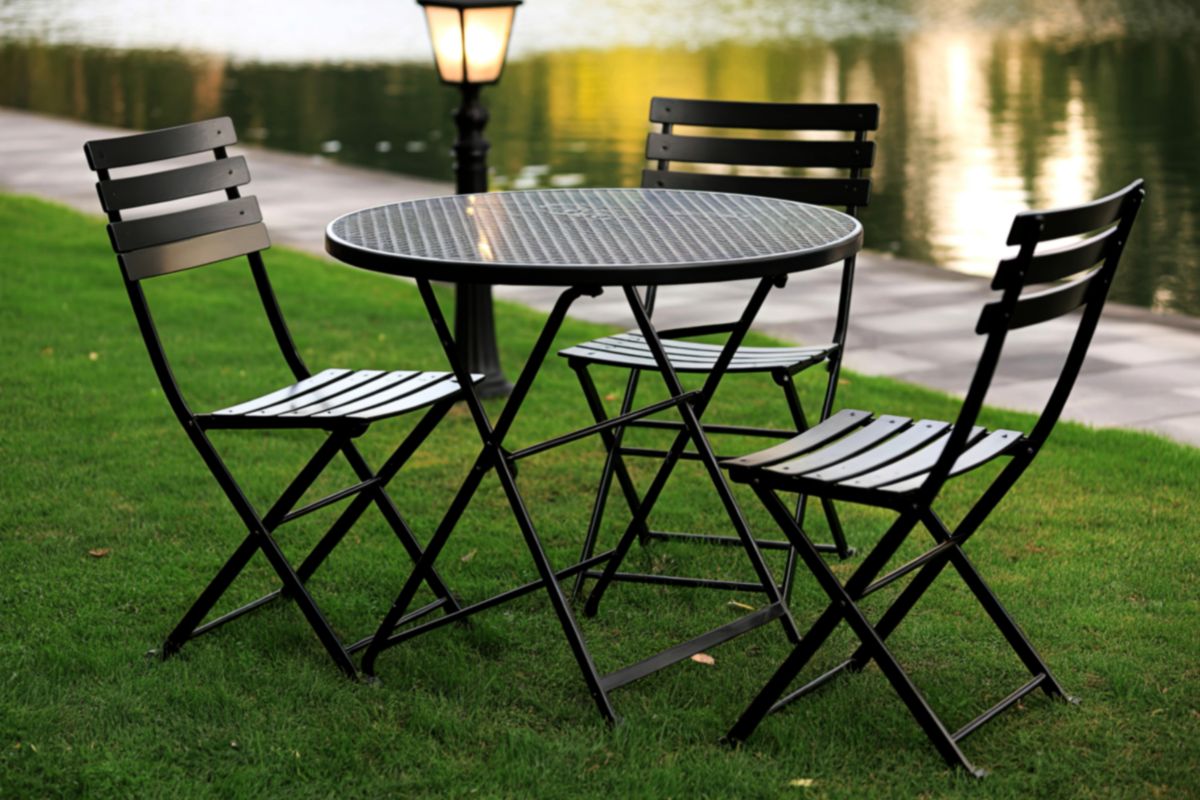
Choose folding or stackable chairs, slim benches, and a round bistro table.
Mount lighting and shelves on walls/fences to free the floor.
If You Have Room to Spare
Separate dining and firepit with a flooring change or a low green screen.
Add a path (gravel or stepping stones) to lead guests across zones.
Consider a secondary perch (two chairs and a side table) for morning coffee or sunset views.
 Budget & Maintenance Guide
Low budget: outdoor rug, string lights, two tall planters, gravel to define a path.
Mid: prefabricated lattice screens, modular planters, solar stake lights, a compact pergola kit.
High: custom pergola, new pavers/decking, integrated lighting, drip irrigation.
Care notes: seal wood annually (if required by your climate), clean screens and trellis each season, and prune hedges 2–3 times per year to keep sightlines tidy.
Common Mistakes to Avoid
Over-segmenting the patio. Too many dividers make it feel cramped. Keep visual permeability.
Ignoring shade and wind. A gorgeous lounge without shade won’t get used at midday.
Tight walkways. Protect that ~36 in / 90 cm path everywhere guests need to pass.
Too many materials. Limit yourself to two or three for a polished, unified look.
 Quick Printable Checklist
Define 2–3 main activities.
Draw zones and a clear circulation path.
Pick permeable dividers (planters, trellis, panels, pergola).
Mark zones with flooring changes or outdoor rugs.
Layer ambient, task, and accent lighting.
Repeat materials and colors for cohesion.
Add privacy where you need it—without boxing yourself in.
Bring It All Together: A Backyard That Works
Dividing your outdoor space is really about giving each activity a home.
With breathable dividers, right-sized furniture, smart lighting, and a consistent palette, your patio reads like a series of welcoming rooms—each with a clear purpose, all connected by easy flow.
Start with two zones, protect your pathways, and repeat what works. The result is a cozy, functional, and stylish retreat you’ll actually use every day.
We Hope You Enjoy Watching this Video
Source: Rocky Mountain Gardens
Did you find this post useful or inspiring? Save THIS PIN to your HOME Board on Pinterest! 😊
More Home Tips 👇🏼👇🏼