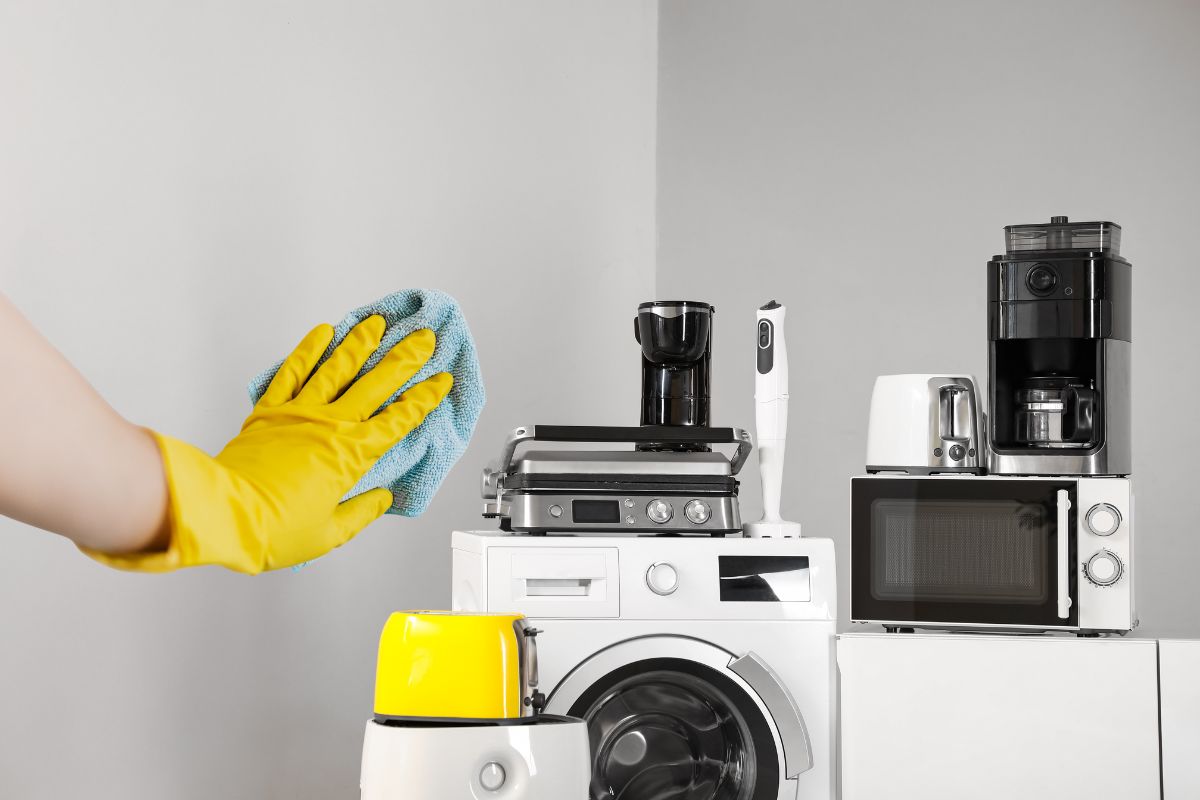
How to Easily Clean Stainless Steel Appliances

Stainless steel gives your kitchen that modern, professional look—but it also loves to show fingerprints, water spots, and the odd grease splatter.
The goal isn’t perfection; it’s a quick, reliable routine that helps you clean stainless steel appliances without creating new problems like haze or micro-scratches.
Below you’ll find a friendly, practical guide you can use every day, with clear steps, safe products, and small tweaks that make a big difference.
Make Cleaning Easy with These Top Picks!

- 【POWERFUL &CONVENIENT】: Say goodbye to traditional...
- 【3 ADJUSTABLE SIZES & CORDLESS】: We've updated the brush...
- 【PROTECTION DESIGN】: Electric spin scrubber adopts a...
What You Really Need (And What to Skip)
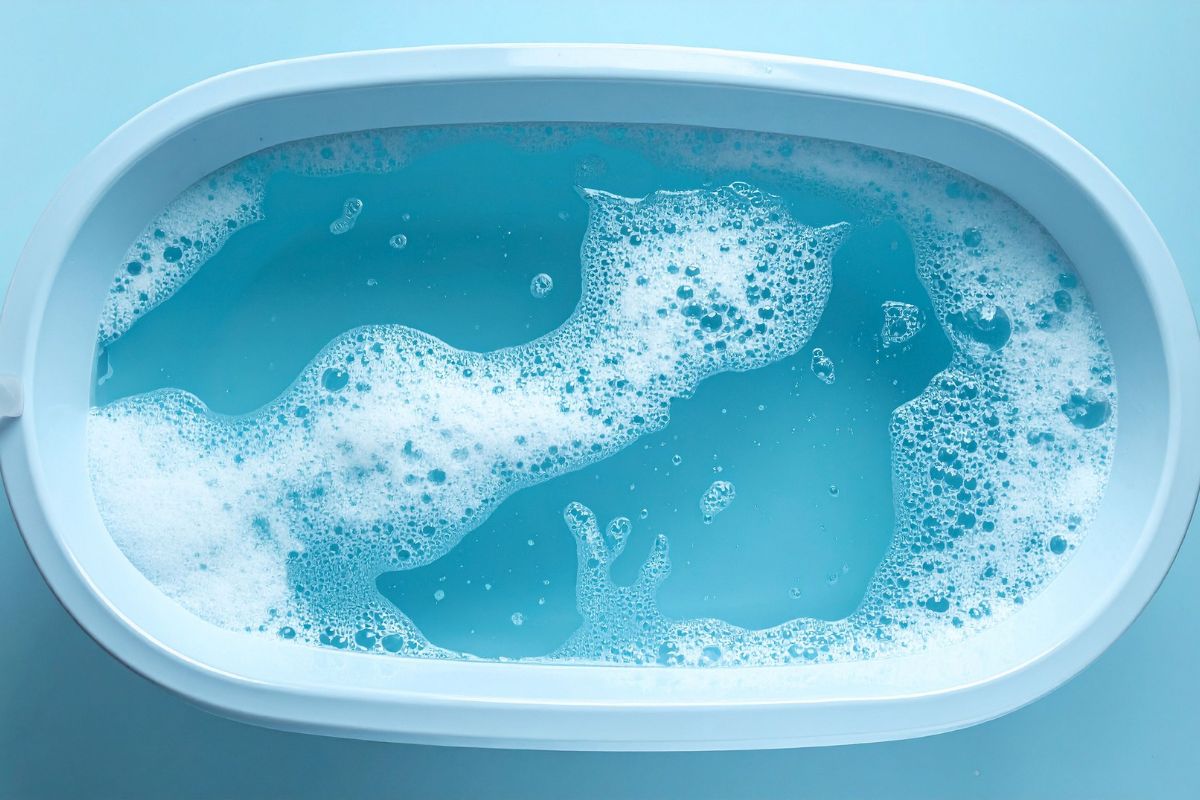
For everyday care, keep it simple: a microfiber cloth, warm water, and a drop of dish soap.
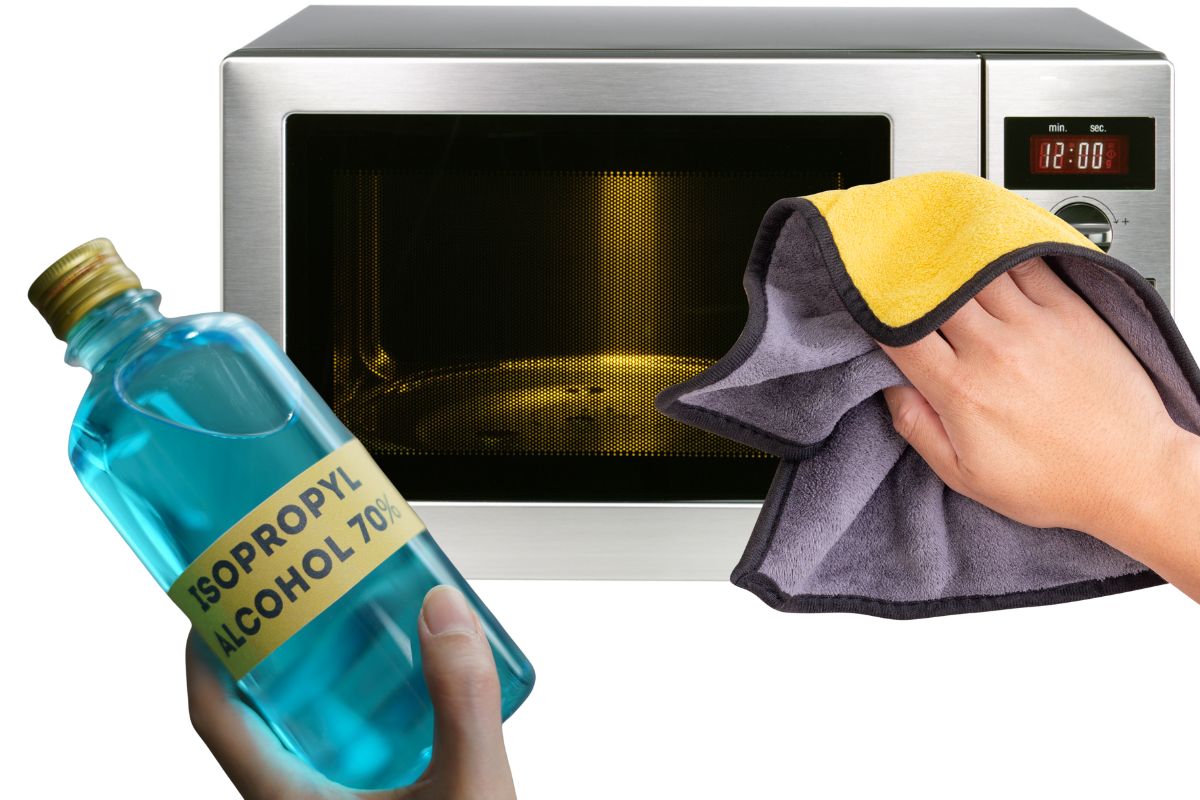
When you need extra help to remove fingerprints, a 50/50 mix of isopropyl alcohol and water on the cloth (not sprayed directly) works fast and leaves fewer residues than oils.
For a polished, uniform finish, choose a stainless steel cleaner made for appliances and follow the label.
What to avoid: metal scouring pads, gritty powders, and harsh bleach or ammonia.
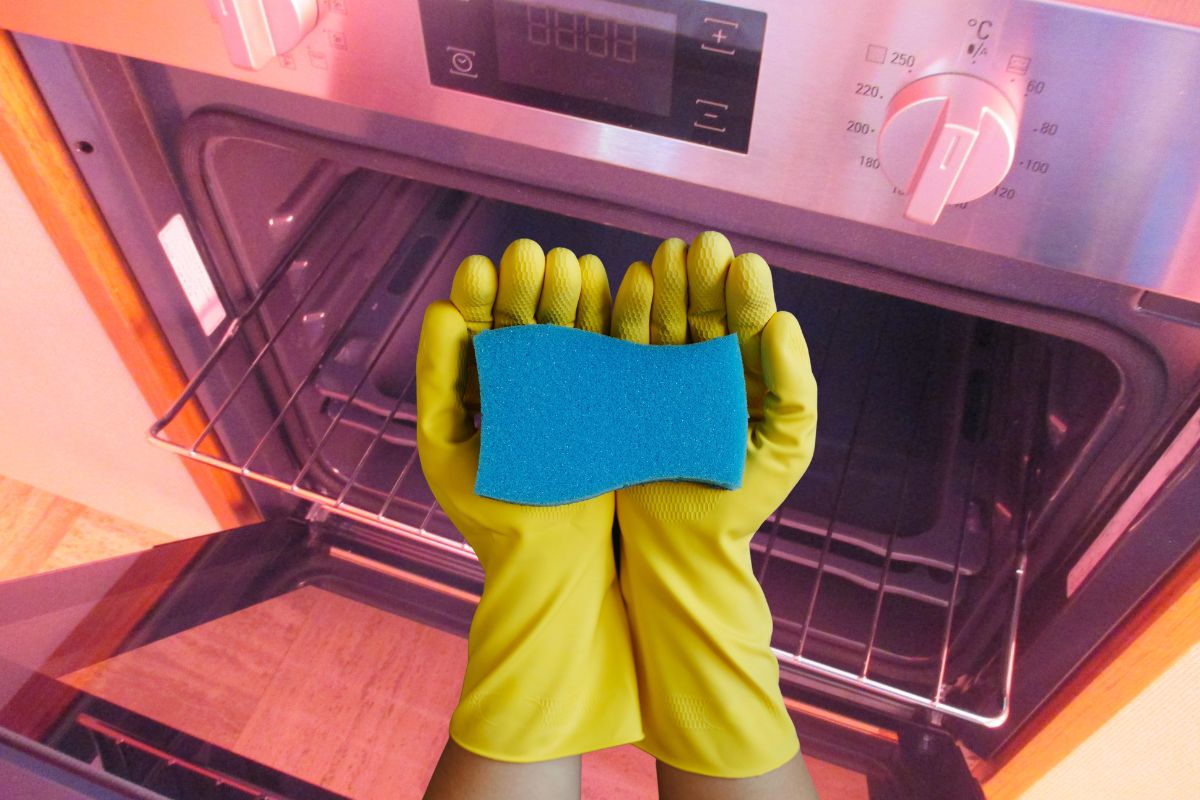
If you ever need a touch more bite, use a non-abrasive pad and light pressure. Whatever you use, work in the direction of the grain to avoid scratches.
 Daily 60-Second Refresh
 Daily 60-Second Refresh
After cooking or prepping, lightly dampen a microfiber cloth with warm, soapy water and wipe with the grain.
Rinse the cloth, wipe again to lift any leftover soap, then dry immediately with a clean cloth. That quick dry step prevents hard-water marks and keeps your finish streak-free.
Weekly Shine That Actually Lasts
Once a week, use a dedicated stainless steel cleaner. Apply it to your cloth (not the appliance), work in small sections, and buff dry with a second cloth.
Prefer an oil finish? Use it sparingly—one pea-sized drop on the cloth is enough for a full door. Too much oil can leave a film that attracts dust.
Targeted Fixes: Fingerprints, Grease, and Water Spots
 Targeted Fixes: Fingerprints, Grease, and Water Spots
Fingerprints: A light pass with diluted isopropyl alcohol lifts skin oils without residue. Wipe with the grain and dry right away.
Grease splatters: Warm water with dish soap does the heavy lifting. Let it sit a minute, then wipe with long, gentle strokes in the grain. Rinse and dry.
Hard-water marks: Finish with distilled water when you can, then dry immediately. For stubborn spots, wipe with a cloth dampened in a 1:1 mix of white vinegar and water, follow with plain water, then dry.
Light scuffs: Try a non-abrasive pad and the gentlest pressure, always in the grain. If the scuff remains, check your manufacturer’s care guide before trying anything stronger.
The Grain Rule (Why It Matters)
Stainless steel has a visible direction of the grain—fine lines running horizontally or vertically.
Working with those lines is the easiest way to avoid scratches and reduce streaking. Take two seconds to spot the grain before you start, and keep every wipe and buff aligned with it.
About Steam and Viral “Hacks”
 About Steam and Viral “Hacks”
Steam can soften baked-on grease, but it’s not a universal hero. Avoid directing steam toward control panels, seams, or gaskets.
As for the popular oil “hack” (baby oil, olive oil): it can add temporary shine, but it may leave a residue that attracts dust.
Prioritize products that don’t leave buildup, and save oils for the occasional finishing pass—used very lightly.
Safe, Sensible Practices
Apply new products to the cloth, not directly to the appliance. Patch-test in a low-visibility area the first time you try something different. Skip bleach, strong ammonia, and gritty powders—they’re tough on protective finishes and can void warranties.
If your model has a special coating (e.g., black stainless or fingerprint-resistant film), consult the manufacturer’s care instructions and follow those first.
Troubleshooting: When Results Look “Off”
 Troubleshooting: When Results Look “Off”
If the surface looks cloudy or streaky, you likely have leftover residue. Wipe with a cloth dampened in distilled water, then dry and buff. If you notice new fine lines, stop scrubbing, switch to a softer tool, and reduce pressure.
For lingering food odors inside stainless appliances, a quick heat cycle with a bowl of water and lemon slices (for microwaves or ovens that permit it) followed by a microfiber wipe can refresh without perfumes.
Easy Routines You’ll Stick To
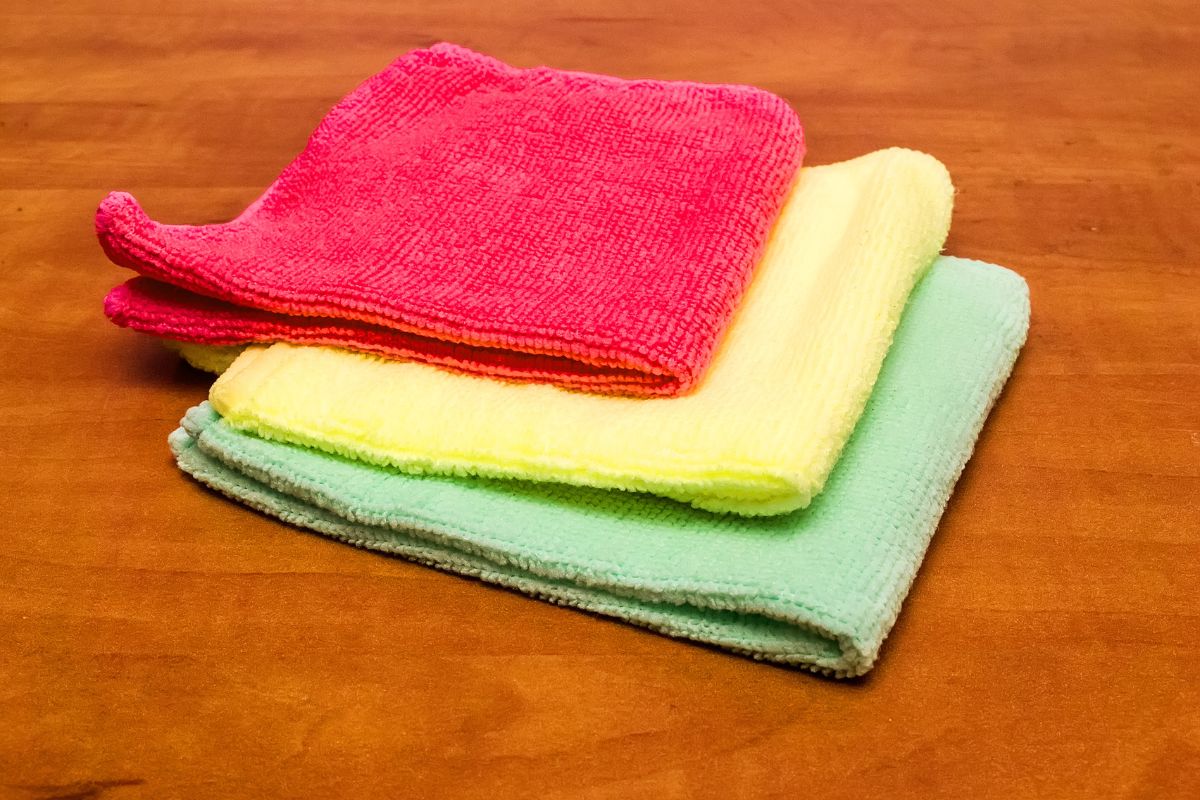
Keep two microfiber cloths in the kitchen: one for washing, one for drying and buffing. Use warm, soapy water for daily care and a stainless steel cleaner for weekly maintenance.
Reach for diluted isopropyl alcohol on fingerprint-heavy areas like handles. These small habits add up to a reliably clean, low-effort shine.
When Baking Soda Makes Sense
 When Baking Soda Makes Sense
Baking soda isn’t for daily wiping, but it can help with isolated, stubborn spots.
Make a thin paste with water, apply gently with a soft cloth in the direction of the grain, then remove completely with water and dry thoroughly. If the surface is coated or specialty finished, check your manual first.
Family- and Pet-Friendly Choices
If you have little hands or paws around, opt for fragrance-free, non-toxic daily cleaners and reserve stronger products for occasional deep cleans. Ventilate the area and store cleaners safely out of reach.
Last Little Touches Pros Swear By
 Last Little Touches Pros Swear By
Switch to distilled water for the final pass if your tap water is hard. Buff handles and edges last (they pick up the most prints).
And don’t forget the lower door edge and kick-area trim—these spots quietly collect floor cleaners and kitchen dust.
Effortless Glow, Every Day
The easiest way to clean stainless steel appliances is to keep things simple: a microfiber cloth, gentle soap, a no-residue approach, and consistent passes in the direction of the grain.
Remove fingerprints with diluted alcohol when needed, use a stainless steel cleaner for a weekly reset, and avoid scratches by skipping abrasives and working with the grain.
Do that, and your appliances will keep their crisp, modern look—without turning cleaning into a project.
We hope you enjoy watching this video about The Best Stainless Steel Cleaner

Source: Basilchic
Did you find this post useful or inspiring? Save THIS PIN to your HOME Board on Pinterest! 😊

Once again, thank you for visiting our website!
We hope you've enjoyed exploring the content we've created for you.
Give yourself the chance to learn, get inspired, and have even more fun, keep browsing...
More Home Tips 👇🏼👇🏼