How to Fix Paint Drips

Paint drips usually appear when we apply too much paint in one pass, overload the brush or roller, or work in poor lighting that hides runs until they’ve formed.
In this guide you’ll learn how to correct drips while wet, how to repair them once they’ve dried.
The small differences between latex and oil-based paints, when priming is essential, and simple habits to prevent drips the next time you paint.
What You Need (Short List)
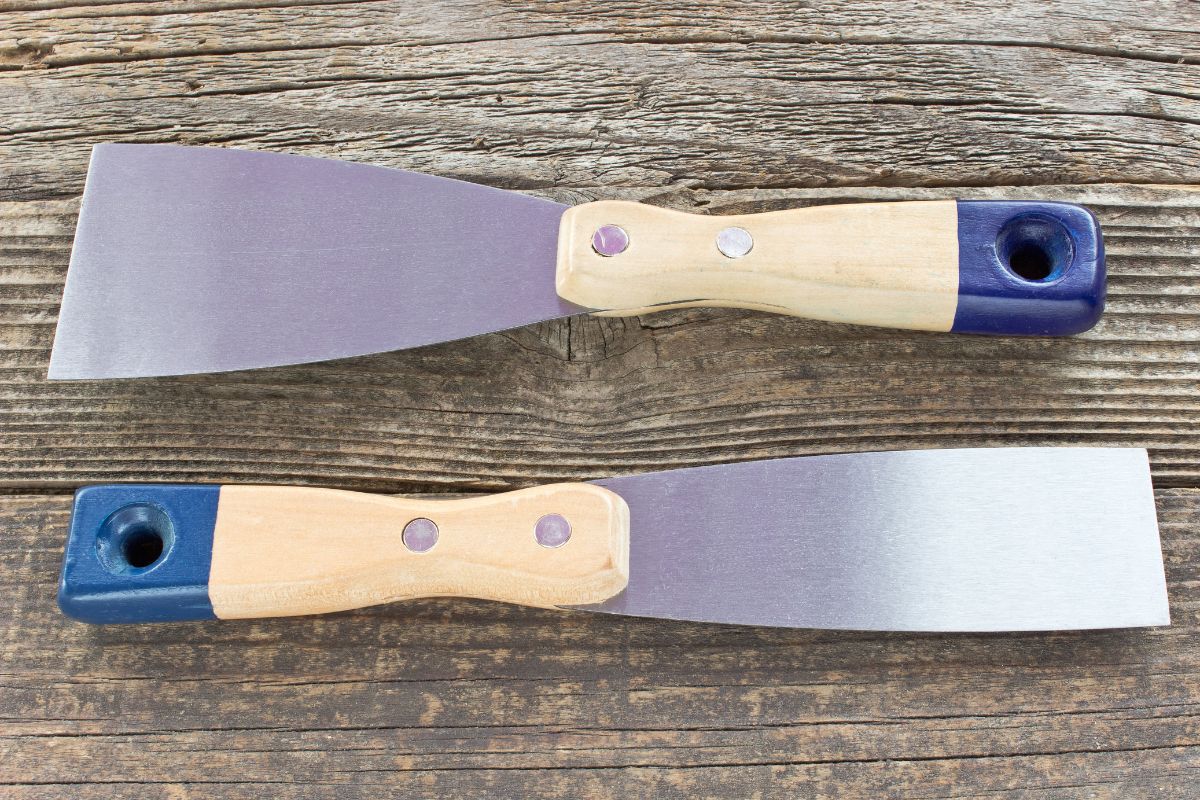
Razor scraper or clean utility blade
Sanding block or sponge, grits 220 and 320–400
Microfiber cloth to remove dust
Primer for spot repairs when needed
Finish paint for touch-ups
Optional but helpful: flow/leveling additive, good side lighting, and a simple tack cloth for final dust removal.
 If the Paint Is Still Wet
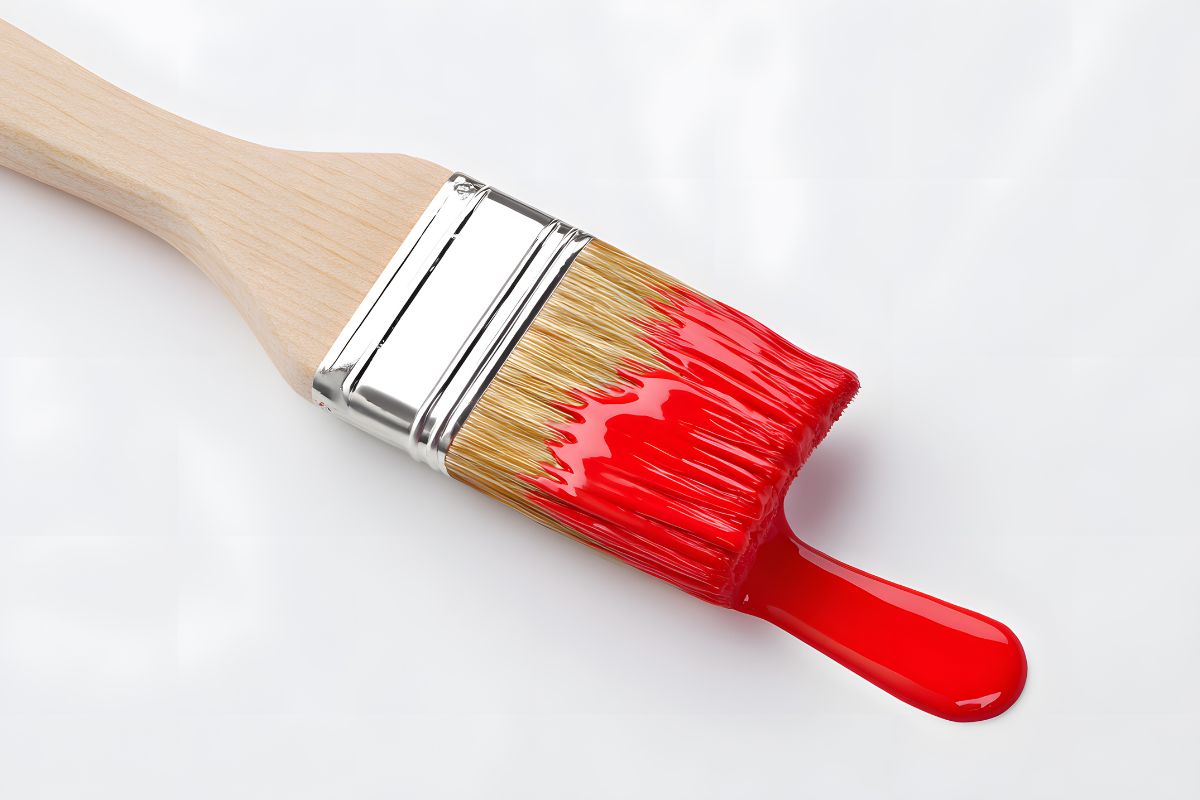
Level it immediately. With a clean, slightly loaded brush, feather the drip in the same direction as your last stroke. Use light, confident passes—just enough to move paint from the ridge back into the flat field.
Know when to stop. If the surface starts to feel tacky and the brush drags, stop. Overworking semi-dry paint often creates texture you’ll need to sand later.
Let it settle. After leveling, allow the paint to self-level and dry. If a faint ridge remains, you’ll remove it with a quick, ultra-light sand once cured.
If the Paint Has Already Dried
Reduce the ridge first. Hold a razor scraper at a low angle and skim off only the high crest of the drip. Avoid gouging the surrounding area—the goal is to reduce volume, not to carve a crater.
Level with 220 grit. Using a sanding block, sand just the repaired spot until it feels flush under your fingertips. Keep strokes short and controlled.
Feather with 320–400 grit. Soften the transition beyond the repair so the edge disappears. This feather-sanding is what makes the patch invisible from most angles.
Dust-off and inspect with side light. Wipe with a microfiber cloth, then shine light from the side. If you see a shallow depression, move to spot priming (below).
Blend the sheen with thin coats. Apply thin, even touch-up coats, extending slightly past the repair so the sheen blends with the existing finish. Satin and semi-gloss often need two light coats to become seamless.
 Latex vs. Oil-Based: Fixing Subtle Differences
Latex (water-based): Sands easily and accepts flow additives designed for latex. Dry times are shorter, so be careful not to scrub semi-cured paint.
Oil-based (alkyd/enamel): Harder film, typically longer cure. Sand gently and patiently; scraping aggressively can create sharp edges. Oil-compatible additives can extend open time and help prevent future runs.
When You Must Prime
Spot-priming isn’t optional in these cases:
You exposed bare substrate (wood, joint compound, earlier layers) while scraping or sanding.
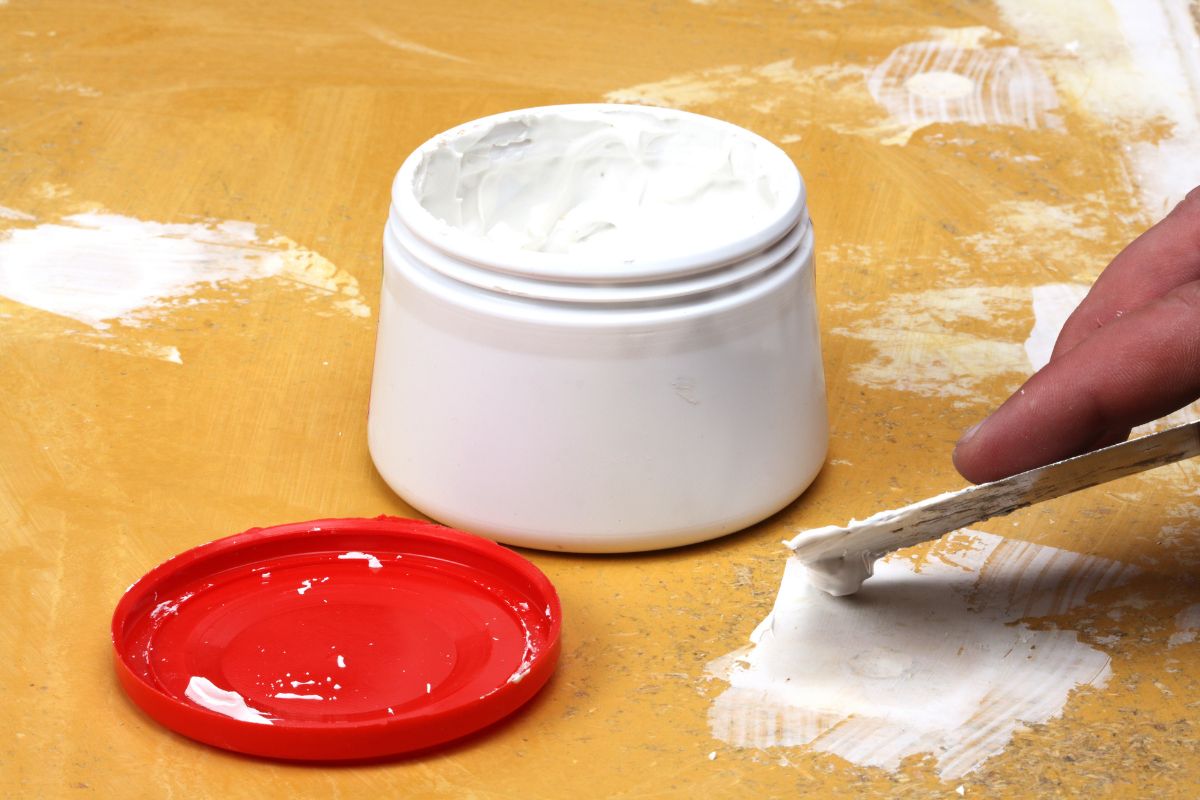
You used filler or wood putty to correct a notch or low spot.
You see flashing—a change in sheen where the repair took place—even after feather-sanding.
A quick, thin coat of primer seals the area, evens absorption, and prevents telegraphing through the finish coats.
 Pro Tips to Prevent Drips Next Time
Load smart. Tap off excess on both sides of the brush; with a roller, fully charge then offload in the tray so the nap isn’t dripping.
Work in thin, repeatable coats. Multiple light coats beat one heavy one for both leveling and durability.
Use side lighting. A lamp aimed across the surface instantly reveals sags and runs you’d miss head-on.
Mind temperature and humidity. High humidity slows drying and can encourage sags; extreme heat can make paint tacky too fast. Aim for the manufacturer’s recommended range.
Ease up on edges and profiles. Crown moldings, door edges, and routed details collect paint thanks to gravity. Apply lighter pressure and do a quick inspection pass a minute later.
Consider a flow additive. Leveling additives extend open time so brush marks and minor ridges lay down before drying.
Quick Troubleshooting
A halo of dull or shiny sheen remains after touch-up: Do another feather-sand with 320–400, then apply a slightly wider, thinner coat to blend sheen.
You created a shallow dip while scraping: Apply a thin skim of filler, let dry, sand level, spot-prime, then touch up.
Edges keep catching when you sand: The film may still be green (not fully cured). Give it more time, then sand lightly with a fresh sheet.
 Safety and Cleanup Essentials
Wear eye protection when scraping.
If you’re sanding overhead or for more than a few minutes, use a dust mask/respirator.
Vacuum or tack the area before touch-up coats—dust under paint causes bumps that read like new defects.
30-Second Pre-Paint Checklist
Brush/roller properly offloaded? Check
Side light ready? Check
Plan for thin coats, not heavy passes? Check
Room within temp/humidity range? Check
Primer and fine grit on hand—just in case? Check
 Smooth Finishes, Every Time
A flawless repair comes down to reducing the ridge, feather-sanding the transition, and blending the sheen with thin, controlled touch-ups.
Add good lighting, smart loading, and thin coats to your routine, and paint drips turn from a headache into a five-minute fix—with results that look clean, even, and confidently professional.
We hope you enjoy watching this video about how to fix paint drips:

Source: Paint Life TV


Once again, thank you for visiting our website!
We hope you've enjoyed exploring the content we've created for you.
Give yourself the chance to learn, get inspired, and have even more fun, keep browsing...
More Home Tips 👇🏼👇🏼