How to Get Rid of Black Mold Anywhere in Your Shower

See dark spots on your tile, grout, or caulk? Don’t panic. Bathrooms are warm, steamy spaces, so a bit of growth can show up even in tidy homes.
The good news is that with a few simple habits and the right safety steps, you can clean the affected areas and—more importantly—stop the problem from returning.
This guide keeps things friendly, practical, and calm so you feel confident tackling small patches and knowing when it’s smarter to call a pro.
Make Home Repairs a Breeze with These Reliable Tools!

- [Toolbox Included] - Includes 1-Drawer storage box with...
- [High Quality Material] - Made of high-quality steel and...
- [Muti-purpose Tools Kit] - 325Pcs tools set for most small...

- Material: Made of quality steel, sturdy construction,...
- Function: Specifically designed to clamp the square bolt...
- Angled Head: Angled plier head is easier to clamp terminal...

- 1:The laser level meter is equipped with 2 batteries,...
- 2: The laser level instrument has an automatic leveling...
- 3: To use the slash mode, please hold down the middle button...
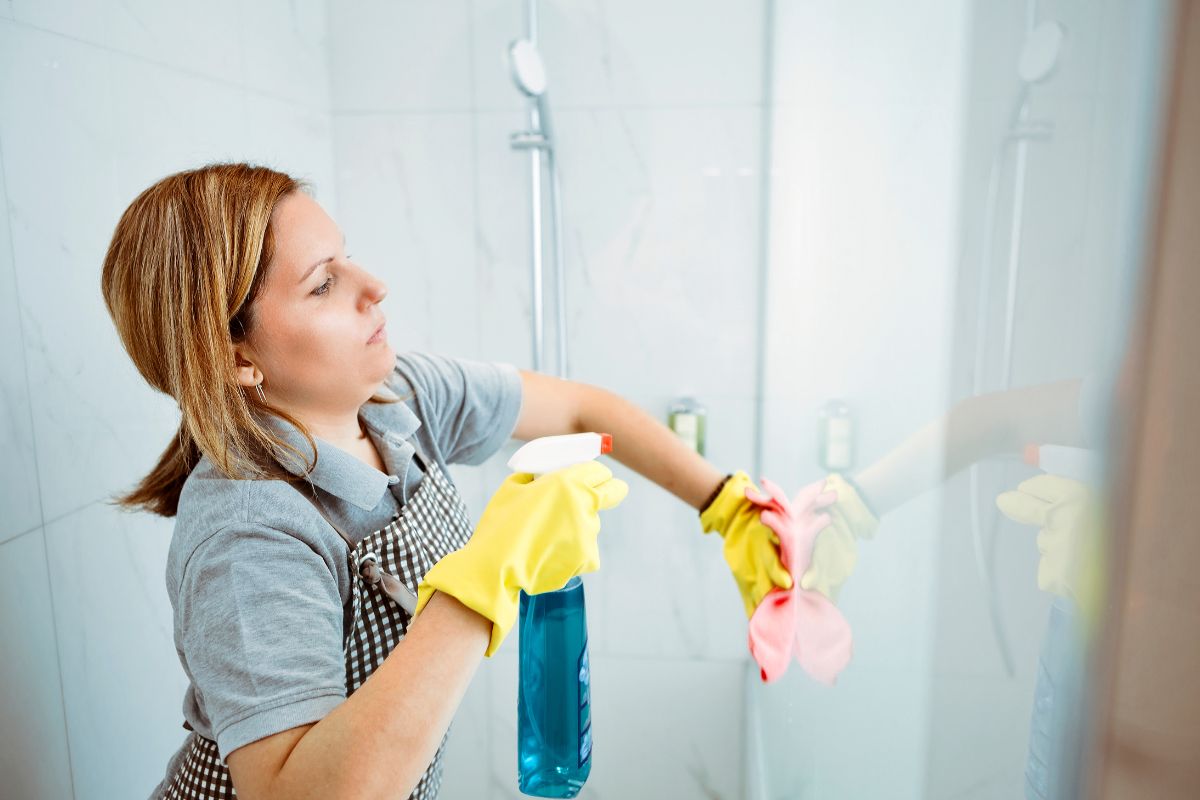
Before You Start: Safety First
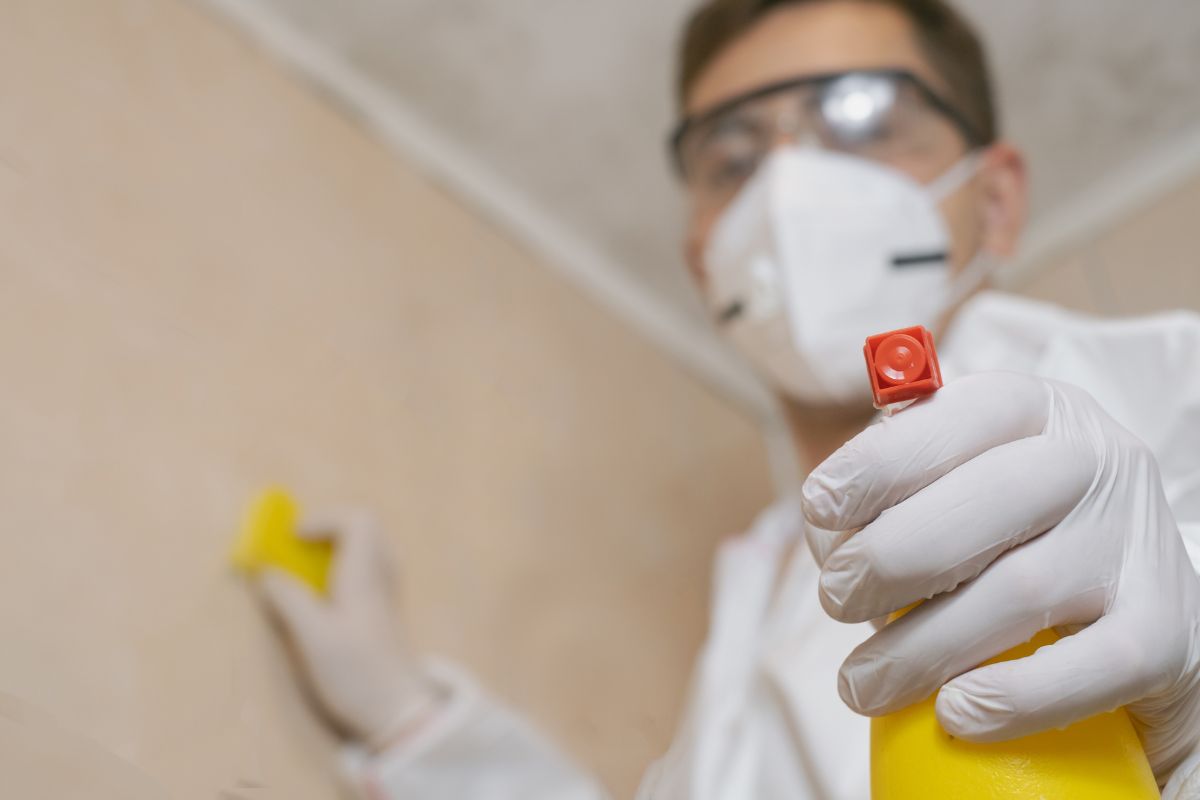
Keep it simple and safe. Work with good ventilation (window open and the fan on), wear gloves, eye protection, and a quality mask (an N-95 is ideal), and protect nearby surfaces you don’t plan to clean.
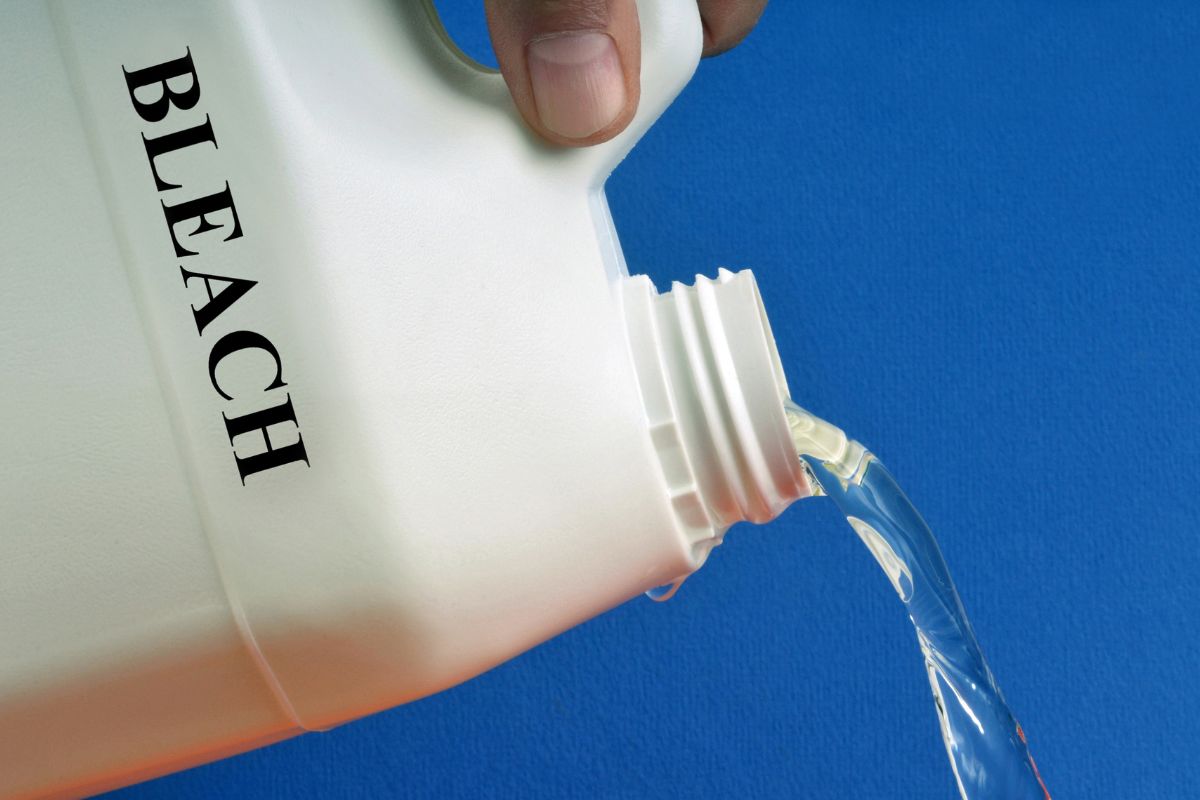
Never mix cleaning products, especially bleach with ammonia or with other cleaners; strong combinations can create irritating or toxic gases.
If you choose a bleach-based product for hard, non-porous surfaces, stick to the label instructions, ventilate well, rinse thoroughly, and dry.
 What Counts as a DIY-Size Problem—and When to Call a Pro
 What Counts as a DIY-Size Problem—and When to Call a Pro
A handy rule of thumb: if the affected area is smaller than about 10 square feet (roughly a 3-by-3-foot patch), you can usually handle it yourself with care.
If you’re seeing a larger area, repeated regrowth despite good habits, or clear signs of water damage behind walls or under tile, it’s time to bring in a professional.
Their tools and containment methods protect your home while they fix moisture at the source.
A Quick Note About Surfaces
Not all bathroom materials are equal.
Non-porous surfaces (glazed tile, metal fixtures, glass doors) respond well to surface cleaning, a short contact time, a scrub, and a thorough rinse and dry.
Porous or semi-porous materials (unsealed grout, drywall, fabric liners) can harbor growth below the surface. In some cases—especially with colonized caulk or damaged drywall—replacement is the most reliable long-term fix. The real win is removing moisture sources so the problem can’t re-establish itself.
The Simple Clean-Rinse-Dry Routine (That Actually Works)
 The Simple Clean-Rinse-Dry Routine (That Actually Works)
For hard, non-porous areas like tile, glass, and many fixtures, a basic routine goes a long way:
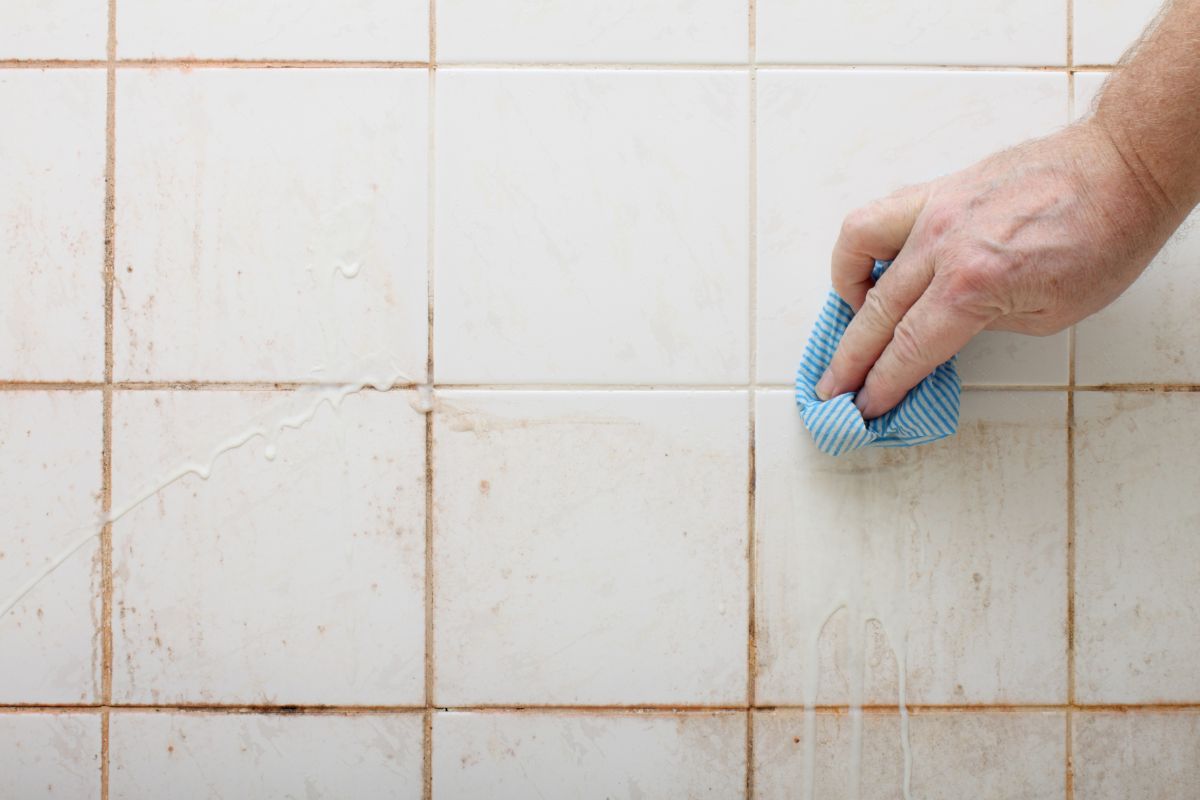
Apply your cleaner to the affected area. You can use a bathroom cleaner that lists mold/mildew on the label, or (if appropriate for the surface) a diluted bleach solution prepared according to the product’s directions. When label instructions are missing, a general public-health reference for hard surfaces is up to 1 cup of bleach per 1 gallon (3.8 L) of water. Keep the room ventilated. CDC
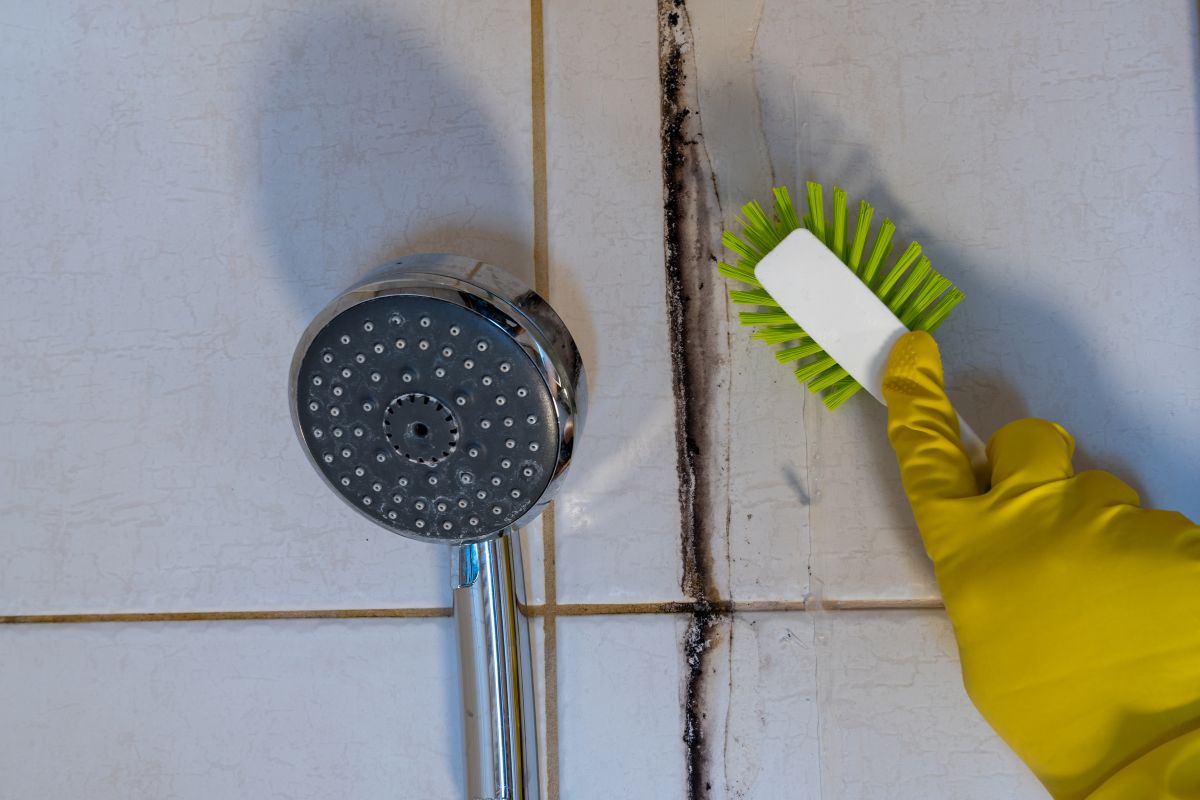
Allow brief contact time, then scrub with a stiff brush on textured areas (like grout lines) to lift residue.
Rinse thoroughly with clean water to remove any cleaner—this matters for both safety and surface appearance.
Dry completely. Moisture left behind is an invitation for the problem to return, so finish with a towel or microfiber cloth.
Remember: never mix products, and if you switch from one cleaner to another, rinse between them. Avoid combining hydrogen peroxide with vinegar; together they form peracetic acid, which is irritating and corrosive.
Grout, Caulk, Curtains, and Ceilings: What to Expect
 Grout, Caulk, Curtains, and Ceilings: What to Expect
Grout (the lines between tiles). Grout’s tiny pores hang onto moisture and soap scum, so it often looks the worst. After the routine above, give grout a focused scrub and rinse.
If stains persist because growth has penetrated, consider regrouting targeted sections for a fresh start. Once fully dry, applying a grout sealer (as per product directions) helps repel moisture.
Caulk (the flexible seal, often around tubs and corners). If caulk is heavily stained or crumbly, cleaning will be temporary.
Carefully remove the old bead, let the area dry fully, and recaulk with a fresh, mold-resistant formula. It’s an afternoon job with big payoff because you’re removing colonized material and resealing the moisture pathway.
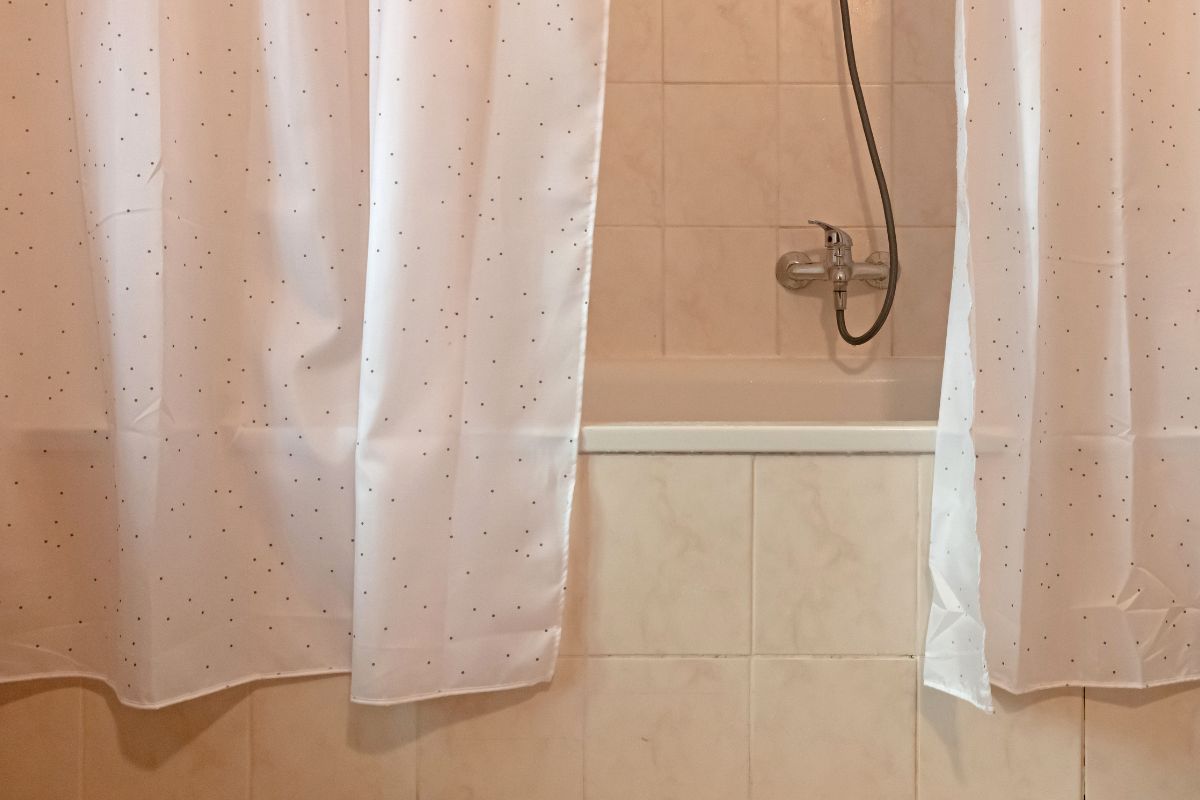
Shower curtains and liners. Fabric curtains can go in the washing machine (check the tag), and many plastic liners respond well to a warm-water wipe with your bath cleaner.
If a liner is cloudy, stiff, or strongly discolored, replacement is inexpensive and fast.
Painted ceilings and drywall. If the paint is intact and you’re seeing mild spotting, the clean-rinse-dry routine may help.
But peeling paint, soft spots, or sagging point to moisture inside the drywall—a sign to repair or replace, then repaint once the source of moisture is resolved.
The Prevention Habits That Make the Difference
 The Prevention Habits That Make the Difference
Cleaning is the short game; moisture control is the long game. Aim to keep bathroom humidity at or below 50% most of the day. That sounds technical, but it’s easy with a few small habits:
Vent to the outdoors. Run your bathroom exhaust fan during showers and for 20–30 minutes after. If you can open a window safely, crack it during and after, too.
Squeegee or towel-dry walls, doors, and ledges after bathing. Removing that thin film of water cuts the time surfaces stay wet.
Keep the air moving. Leave the shower door or curtain open after use so steam can escape.
Fix plumbing leaks quickly (drips add up), and check for cracked grout or failed caulk lines that let water sneak behind tile.
Use a hygrometer (a small humidity meter) to see your real numbers at a glance; many are inexpensive and accurate enough for home use.
Common Mistakes to Avoid
Chasing “sterile.” The goal isn’t to eliminate every microscopic spore—that’s neither practical nor necessary. The goal is to remove visible growth and eliminate excess moisture so it can’t regrow.
Over-relying on harsh products or stacking products back-to-back. More isn’t better; follow label directions, ventilate, rinse, and dry.
Ignoring porous damage. If the problem is in colonized caulk or compromised drywall, cleaning will be short-lived. Replace and reseal so water has nowhere to hide.
Skipping the post-shower dry-down. A quick squeegee swipe is the single easiest habit to prevent recurrence.
When It Keeps Coming Back
 When It Keeps Coming Back
If you’ve improved ventilation, dialed down humidity, repaired seals, and still see new spots within days, think upstream. Hidden leaks, a fan that doesn’t vent outdoors, or insufficient airflow can keep humidity high.
At that point, calling a qualified contractor or remediation specialist saves time (and frustration) by fixing what you can’t see. For large areas (over ~10 ft²), or if you’re sensitive to indoor air issues, bring in help sooner rather than later.
Quick Confidence Checklist
Ventilate and protect yourself (gloves, eye protection, mask). Never mix chemicals.
Use an appropriate cleaner for the surface, allow brief contact time, scrub, rinse, and dry. If using a bleach solution on hard, non-porous areas, follow the label or use no more than 1 cup per gallon as a general reference.
Replace colonized caulk or damaged drywall rather than chasing stains.
Keep humidity ≤50%, run the fan after showers, squeegee surfaces, and fix small leaks fast.
Call a pro for larger areas or recurring problems.
 Is bleach always the best choice?
Not always. On hard, non-porous surfaces, a properly diluted bleach solution can help with sanitizing and light staining.
On porous materials (like unsealed grout or drywall), bleach won’t reach deeper growth—drying, removal, and replacement are often more effective. Whatever you choose, ventilate, rinse, and dry thoroughly, and follow label directions.
How long should I run the bathroom fan?
Run it during the shower and for 20–30 minutes afterward. If your humidity stays high, check whether the fan actually vents outside (not into the attic) and consider a stronger unit. Aim to keep bathroom humidity at or below 50%.
Why does it keep coming back in the same spot?
Moisture is finding a way in—commonly through failed caulk, cracked grout, a slow leak, or condensation that lingers. Repair the entry point, improve ventilation, and dry the area after use; that combo stops most repeat appearances.
When should I skip DIY entirely?
If you see widespread growth (over ~10 ft²), significant water damage, or you have health concerns, hire a professional who can remediate safely and address the hidden moisture source.
Keep Black Mold in the Shower from Coming Back
 Keep Black Mold in the Shower from Coming Back
You’ve got this. Small patches are safe to handle with good ventilation, smart safety gear, and the clean–rinse–dry routine.
When stains live in porous materials, replace what’s colonized (like tired caulk or damaged drywall) instead of fighting it week after week.
From here on, focus on the long game: keep humidity at or below 50%, run the fan during and 20–30 minutes after showers, and squeegee or towel-dry surfaces so moisture can’t linger.
Fix little leaks quickly and reseal grout lines when needed. With these simple habits—and the confidence to call a pro for larger or recurring areas—your bathroom stays fresh, clear, and free of black mold without harsh routines or stress.
We hope you enjoy watching this video

Source: Christy Lyn
Did you find this post useful or inspiring? Save THIS PIN to your HOME Board on Pinterest! 😊

More Home Tips 👇🏼👇🏼