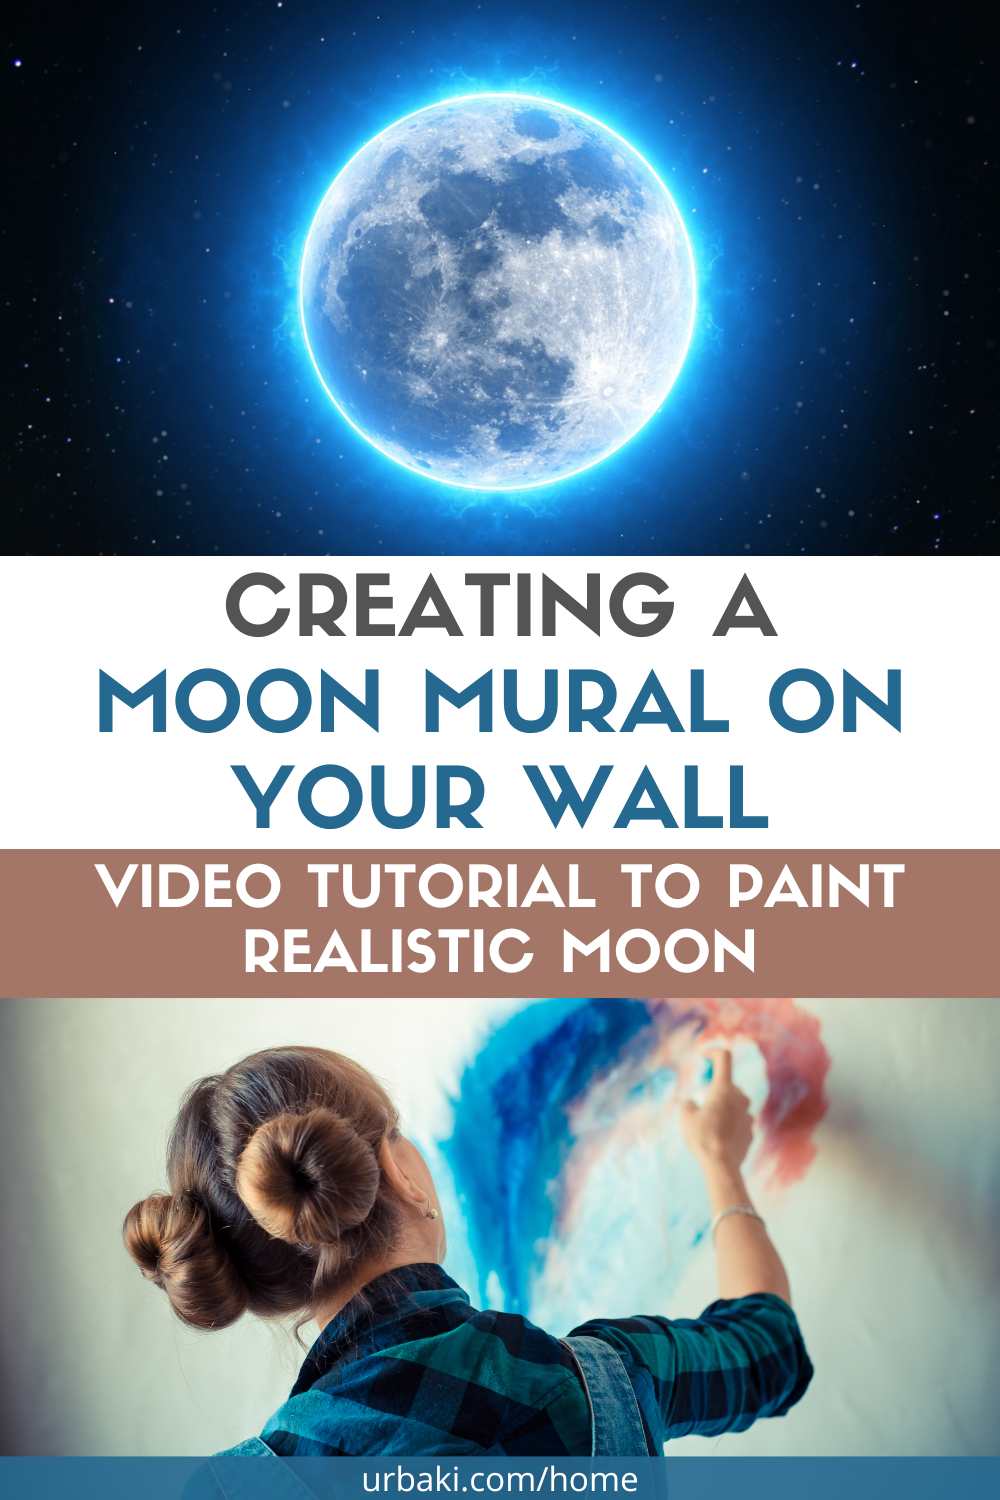
Creating a Moon Mural on Your Wall
Greetings! How are you doing today? We would like to extend a warm welcome to our blog dedicated to everything related to homes.
We sincerely hope that you are in good spirits and eagerly anticipating our latest post, project, or tutorial that will help you enhance your living space.
On this occasion, we have something truly unique and exciting to share with you:
Find Perfect Pieces to Complete Your Interior Style!

- SPACE-SAVING CORNER DESIGN: This corner shelf features a...
- 5 TIER MULTIPURPOSE SHELVES: This corner bookshelf is...
- WEIGHT CAPACITY: Each shelf of this 5-tier display shelf...

- What You Get: You will get more quantity and more multiple...
- Why Choose Us?: Mckanti is committed to making better...
- No More Fear of Spills: Mckanti drink coasters are...

- BUILDABLE PLANT DECOR – Enjoy a mindful, nature-inspired...
- AUTHENTIC DETAILS – The artificial plant has realistic...
- LUCKY PLANT – Representing the season of summer in...
Painting a Realistic Moon on Your Wall
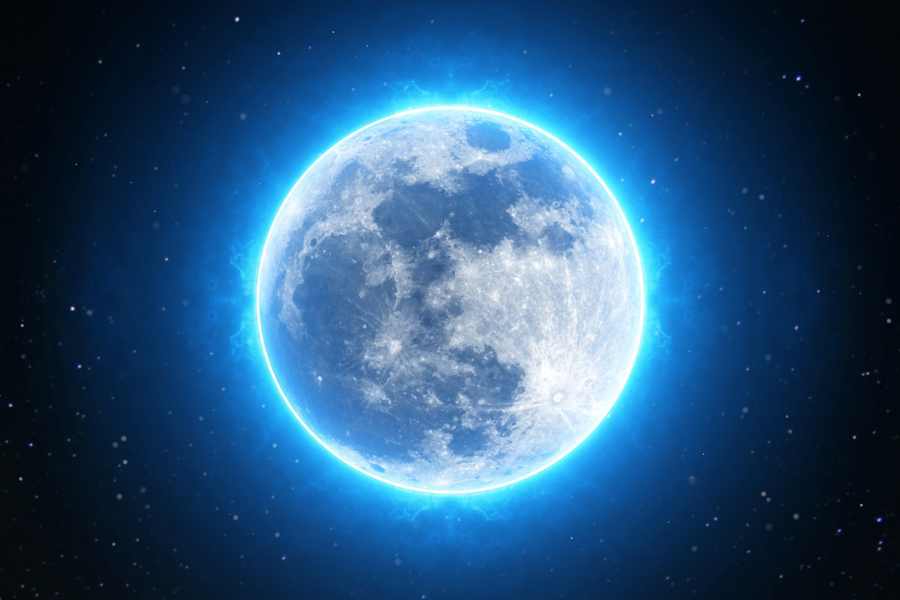
If you're looking to add a touch of celestial magic to your living space, painting a realistic moon on your wall can be a beautiful and unique way to do so.
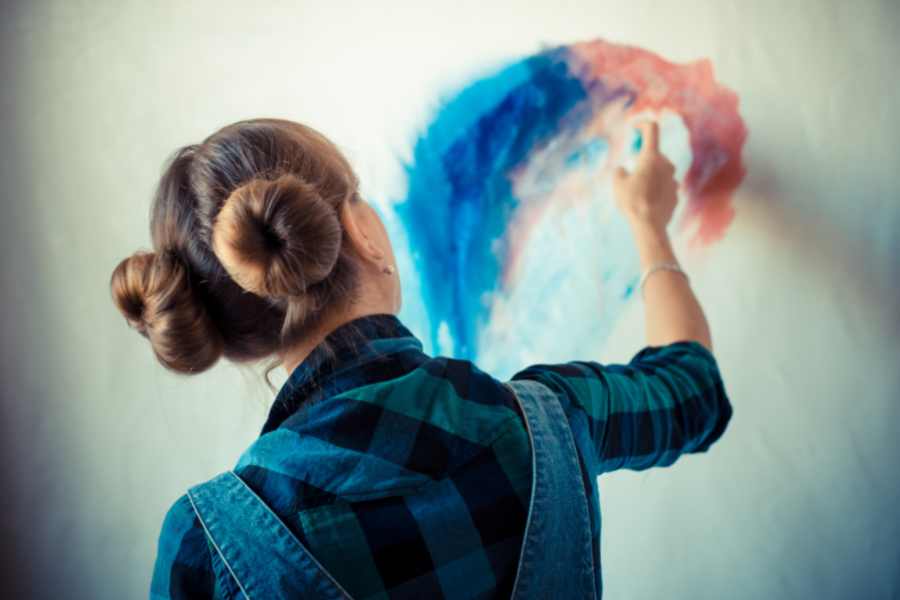
Whether you're an experienced artist or a beginner, creating a moon mural on your wall is a fun and rewarding project that can transform your room into a cozy and dreamy space.
With the right materials, techniques, and a little bit of patience, you can bring the mystical beauty of the moon to your home and create a stunning focal point that will capture the imagination of anyone who enters your space.
In this guide, we'll explore some tips and tricks for painting a realistic moon on your wall, so you can get started on your own moon-inspired masterpiece.
Tools and Materials Needed for the Project
To paint a realistic moon mural on your wall, you'll need a few essential tools and materials. Here's a rundown of what you'll need:
- Paint brushes: You'll need a range of paint brushes, including small, medium, and large brushes, as well as a fine-tipped brush for detail work.
- Paint: Choose high-quality acrylic paints in shades of white, gray, and black to create a realistic moon. You may also want to choose a metallic silver or gold paint to add a shimmering effect.
- Drop cloths: Protect your floors and furniture by covering them with drop cloths or old sheets.
- Water and mixing cups: You'll need water to thin out the paint and mixing cups to mix different shades of paint.
- Pencil and eraser: Sketch out the moon's shape and details with a pencil and eraser before painting.
- Ladder or step stool: Depending on the height of your wall, you may need a ladder or step stool to reach the top of the wall.
- Painter's tape: Use painter's tape to mark off the edges of the moon and create crisp, clean lines.
- Reference images: Look up reference images of the moon to help guide your painting and ensure a realistic result.
With these tools and materials, you'll be well on your way to painting a stunning and realistic moon mural on your wall.
Preparing Your Wall for the Painting Process
Before you begin painting a moon mural on your wall, it's important to prepare the surface to ensure the best possible outcome. Here are some steps to follow when preparing your wall:
- Clean the wall: Start by cleaning the wall where you plan to paint the moon. Use a damp cloth or sponge to remove any dirt, dust, or debris from the surface. Let the wall dry completely before moving on to the next step.
- Sand the wall: Use sandpaper to smooth out any rough or uneven spots on the wall. This will help the paint adhere better and create a more even surface.
- Prime the wall: Apply a coat of primer to the wall to create a smooth and even surface for painting. This will also help the paint adhere better and prevent it from flaking or peeling.
- Mark the outline of the moon: Use a pencil to lightly sketch the outline of the moon on the wall. This will help guide your painting and ensure a symmetrical and realistic shape.
- Mask off the edges of the moon: Use painter's tape to mask off the edges of the moon, creating a clean and defined border between the moon and the surrounding wall.
- Apply a base coat: Apply a base coat of paint in a light shade of gray or white to the entire wall. This will create a consistent background for the moon and help it stand out.
- Let the paint dry: Allow the base coat to dry completely before starting to paint the moon.

Adding Details and Finishing Touches to Your Moon Mural
Once you've painted the basic shape of your moon and have allowed it to dry, it's time to add details and finishing touches to create a truly realistic and stunning moon mural. Here are some tips to help you add those final touches:
- Add shadows and highlights: To create depth and dimension, add shadows and highlights to your moon using shades of gray and white. Start by painting a light shade of gray around the edges of the moon, then gradually add darker shades to create the illusion of craters and mountains. Use a fine-tipped brush to add highlights and bright spots to the moon's surface.
- Create texture: To give your moon mural a more realistic texture, use a sponge or a dry brush to create a mottled effect on the surface of the moon. This will mimic the pockmarked texture of the moon's surface.
- Add stars: Use a small brush and white or metallic paint to add stars around the moon. You can create a scattered or clustered effect, depending on your preference.
- Blend colors: Use a dry brush or a sponge to blend the colors on the moon, creating a more natural and realistic effect. This will help to create a soft and blended look to the surface.
- Check for symmetry: Stand back and check to ensure that your moon is symmetrical and in proportion. Make any necessary adjustments to ensure that your moon looks realistic.
- Remove the painter's tape: Once the paint has dried, carefully remove the painter's tape from around the edges of the moon. This will reveal clean and crisp edges and help your moon to stand out even more.
By adding these details and finishing touches, you can create a truly impressive and realistic moon mural that will be the highlight of any room.
Remember to take your time and enjoy the process – the result will be well worth the effort!
We hope you enjoy watching this video about How to Paint Moon Realistically

source: Art with Eleanor
Did you find this post useful or inspiring? Save THIS PIN to your HOME Board on Pinterest!
Once again, thank you for visiting our website!
We hope you've enjoyed exploring the content we've created for you.
Give yourself the chance to learn, get inspired, and have even more fun, keep browsing...
More Home Tips 👇🏼👇🏼