How to Patch a Leaky Roof Vent: A DIY Guide

A leaky roof vent can be a nuisance, causing water damage and potentially leading to costly repairs if not addressed promptly.
Fortunately, fixing a leaky roof vent is a task we can handle ourselves with a bit of guidance and the right tools. In this guide, we’ll walk through the steps on how to patch a leaky roof vent, helping to protect our home and maintain its integrity.
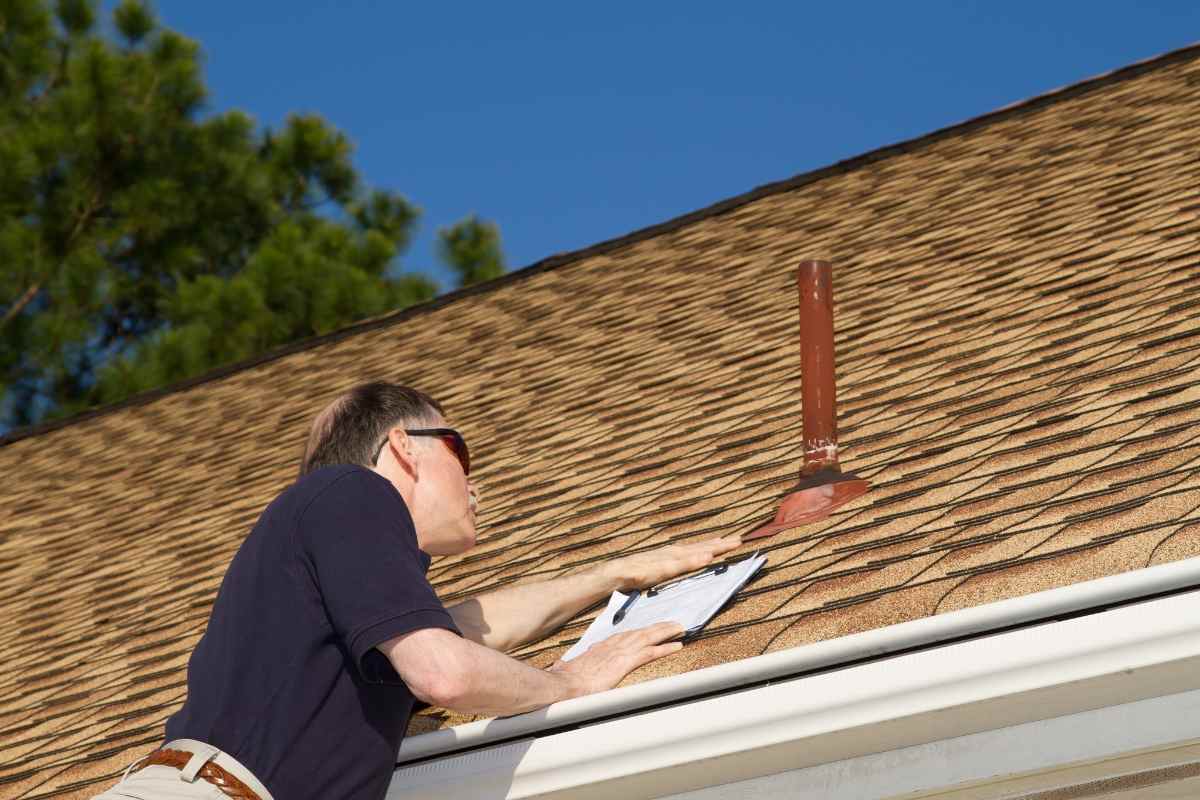
Identifying the Leak
The first step in addressing a leaky roof vent is to identify the source of the leak. Often, leaks occur due to worn-out vent flashing, cracked vent pipes, or loose shingles around the vent area.
We should start by inspecting the attic during or after a rainstorm, looking for signs of water stains or moisture around the vent pipe.
If accessing the attic isn't possible, inspecting the roof from the outside can also reveal damaged or missing components.
Gathering Necessary Materials
Before we begin the repair, it’s important to gather all the necessary materials. Here's what we’ll need:
- Roofing cement or sealant
- Caulk gun
- Replacement vent flashing (if needed)
- Roofing nails or screws
- A pry bar or hammer
- Utility knife
- Ladder and safety equipment
Safety First
Safety should always be our top priority when working on a roof. We should ensure we have a sturdy ladder and wear appropriate safety gear, such as non-slip shoes and a harness if necessary.
It’s also best to have someone assist us, either by holding the ladder or being nearby in case of an emergency.
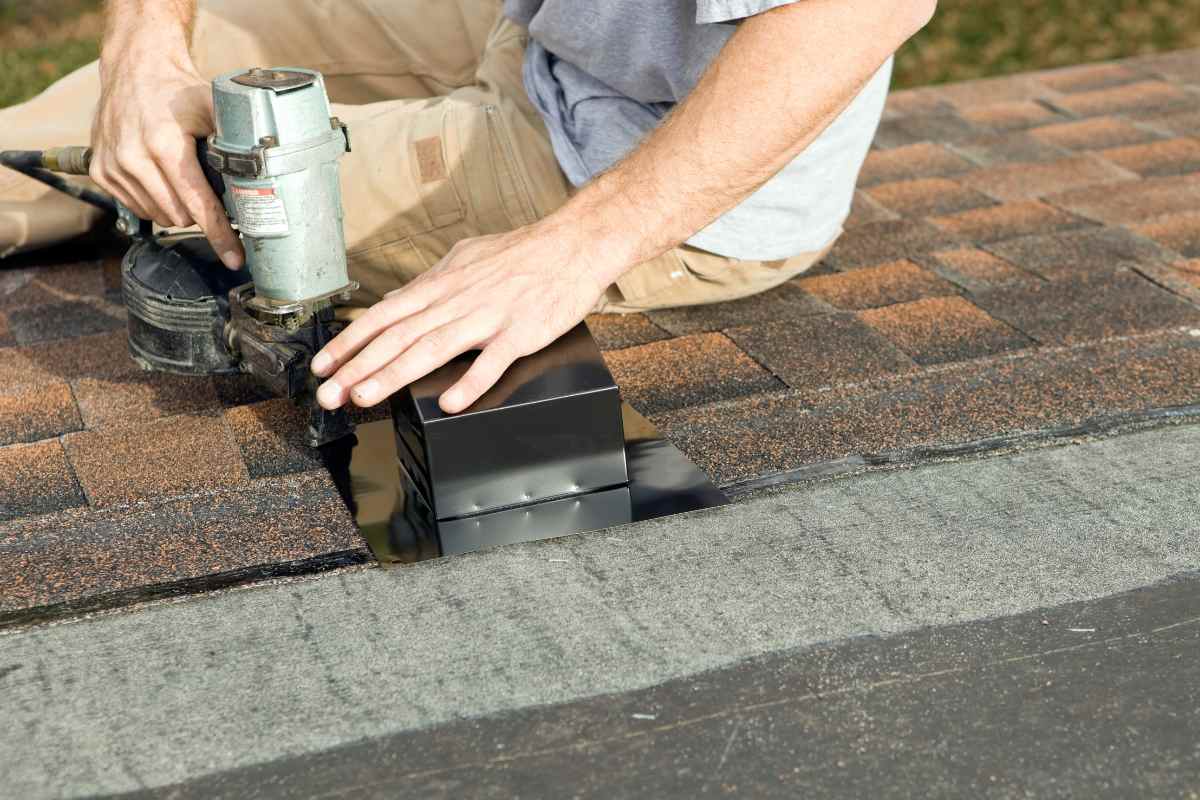
Removing Old Vent Flashing
To properly patch a leaky roof vent, we need to remove the old vent flashing. This involves carefully lifting the shingles around the vent using a pry bar or hammer and removing any nails or screws holding the flashing in place.
We should take care not to damage the surrounding shingles, as this can create additional leaks.
Installing New Vent Flashing
Once the old flashing is removed, we can install the new vent flashing. The flashing should be placed over the vent pipe, with the lower part tucked under the shingles below and the upper part sitting above the shingles above.
This setup ensures water flows over the flashing and not under it. We secure the flashing with roofing nails or screws, making sure it is firmly in place.
Sealing the Edges
To ensure a watertight seal, we apply roofing cement or sealant around the edges of the flashing and over any nails or screws.
This step is crucial in preventing water from seeping through any gaps. Sealing the edges properly will significantly reduce the risk of future leaks.
Replacing Shingles
If we had to remove shingles to access the vent, we need to replace them carefully. The shingles should be positioned so that they overlap properly, following the roof's existing pattern. This overlap is key to guiding water off the roof efficiently.
Final Inspection
After completing the repair, it’s essential to inspect the work. We should check that the flashing is securely in place, the sealant has been applied correctly, and the shingles are positioned properly.
Testing with a hose to simulate rain can help ensure the leak is fully patched.
By following these steps on how to patch a leaky roof vent, we can save ourselves from potential water damage and the associated costs.
A little effort and attention to detail can go a long way in maintaining the health of our home. Remember, regular roof inspections and maintenance can prevent issues from becoming bigger problems in the future.
We hope you enjoy watching this video about Stop and Prevent Leaky Shingles and Vents

Source: Your New House
Did you find this post useful or inspiring? Save THIS PIN to your HOME Board on Pinterest!

More Home Tips 👇🏼👇🏼