
How to Replace a Subfloor Under a Wall

Have you ever noticed that your floor creaks or sinks near a wall? This could be a sign that the subfloor underneath needs to be replaced.
While it may seem like a daunting task, with the right tools and a little patience, you can do it yourself. Let’s walk through the process together!
What Is a Subfloor and Why Is It Important?
The subfloor is the base layer that sits beneath the floor covering (such as tiles, carpet, or wood).
Though it doesn’t bear the weight of the structure itself, the subfloor plays a crucial role in ensuring the stability and durability of your floors.
If it gets damaged—whether by moisture or wear—it’s essential to replace it to maintain a safe, level surface.
 When Should You Replace Your Subfloor?
Some common signs that your subfloor may need replacing include:
Squeaky or unstable floors
Visible moisture stains or mold
Persistent damp smells
Floors that dip or move when you walk on them
If you notice these signs, it's time to replace your subfloor and restore the stability of your flooring.
Tools and Materials You'll Need
Tools:
Pry bar
Circular saw
Utility knife
Oscillating tool with a metal blade
Handsaw
Power drill
 Materials:
Safety gloves
Eye and ear protection
Heavy-duty trash bags
Construction adhesive
Wood screws
How to Replace a Subfloor Under a Wall: Step-by-Step
Turn off electricity and water
Before starting any work, ensure that the electricity is turned off in the area you’ll be working on, and close nearby water valves to avoid accidents.
Remove baseboards and trim
Using the pry bar, carefully remove any baseboards and trim around the area where you’ll be working. This will give you better access to the wall and subfloor.
Cut and remove drywall
If the drywall extends over the area of the damaged subfloor, use a handsaw or utility knife to cut out a section of drywall (around 12 inches high) to give yourself enough room to work.
Remove the floor covering
Take up any flooring material covering the subfloor, whether it's carpet, tile, or vinyl. If you're planning to reuse the flooring, be cautious not to damage it during removal.
 Cut nails from the subfloor
Use your oscillating tool with a metal blade to carefully cut any nails holding the subfloor in place. This will allow you to free the subfloor without damaging the structure below.
Cut and remove the damaged subfloor
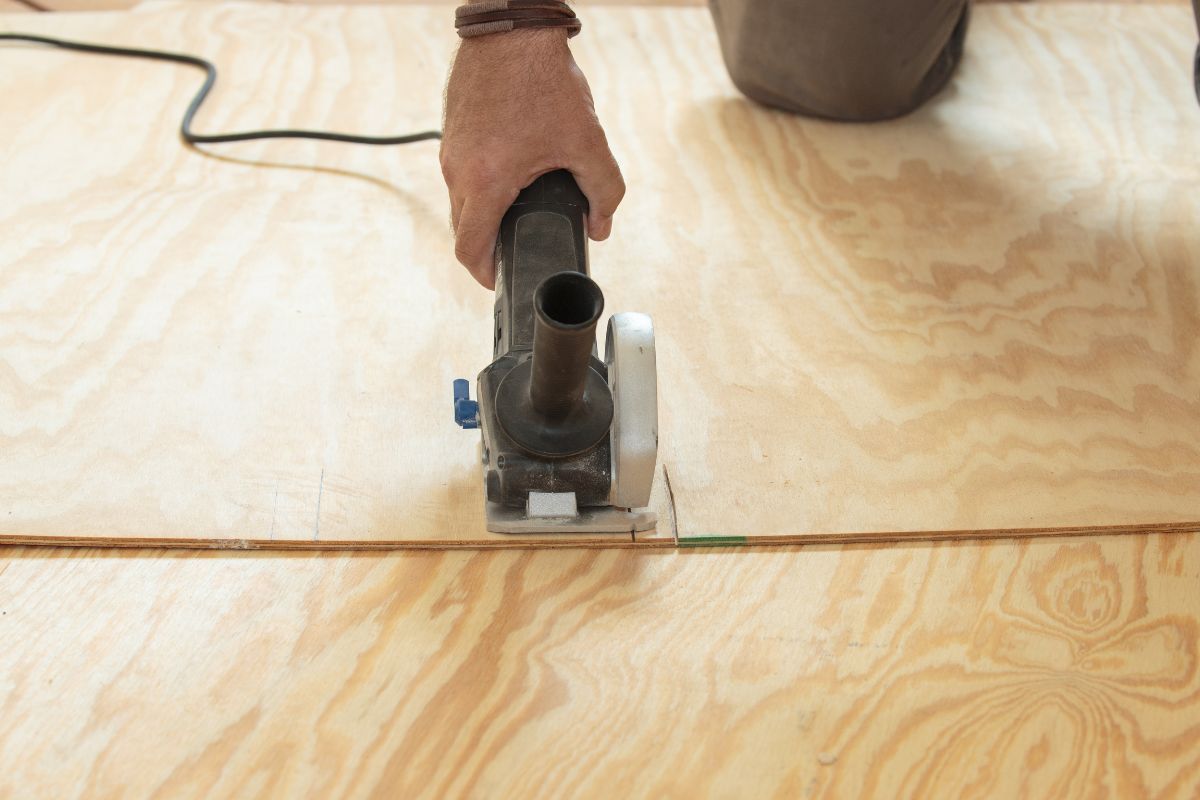
Set the depth of your circular saw to match the thickness of the subfloor and carefully cut through the damaged sections. Make sure you don't cut too deep and hit the beams or other underlying structures.
Once the cuts are made, remove the damaged subfloor in manageable sections.
Inspect the joists
After the subfloor is removed, check the joists for damage. If the joists are rotten or broken, they will need to be replaced or reinforced before you install the new subfloor.
Install the new subfloor
Cut the new subfloor to fit the space and apply a layer of construction adhesive. Place the subfloor in position and screw it into the joists to ensure a secure fit. Make sure there is a small gap between the subfloor pieces to allow for expansion and contraction of the material.
Replace the floor covering
Once the subfloor is securely in place and dry, you can reinstall the original floor covering, or opt for a new one if you prefer a fresh look.
 Tips for a Successful Subfloor Replacement
Safety first: Always wear gloves, goggles, and ear protection to keep yourself safe while working.
Check for mold or moisture damage: If you find mold or signs of moisture on the joists, apply a sealant before installing the new subfloor to prevent future problems.
Take your time: Rushing through the job can lead to mistakes. It’s important to work carefully, especially when cutting or removing sections of the subfloor.
Consider professional help for major damage: If the damage extends beyond just the subfloor—such as structural issues with the beams—it's best to consult a professional to ensure the integrity of your home.

Your Floor, Your Control—Replace the Subfloor with Confidence!
Replacing a subfloor under a wall may seem overwhelming at first, but with the right tools and approach, it’s a manageable task.
By following these steps, you’ll restore the strength and stability of your floors, ensuring a safer and more comfortable home environment.
Remember, with careful planning and execution, you can tackle this project with confidence!
We hope you enjoy watching this video about how to repair subflooring damage under a wall

Source: gregvancom
Did you find this post useful or inspiring? Save THIS PIN to your HOME Board on Pinterest! 😊

Once again, thank you for visiting our website!
We hope you've enjoyed exploring the content we've created for you.
Give yourself the chance to learn, get inspired, and have even more fun, keep browsing...
More Home Tips 👇🏼👇🏼