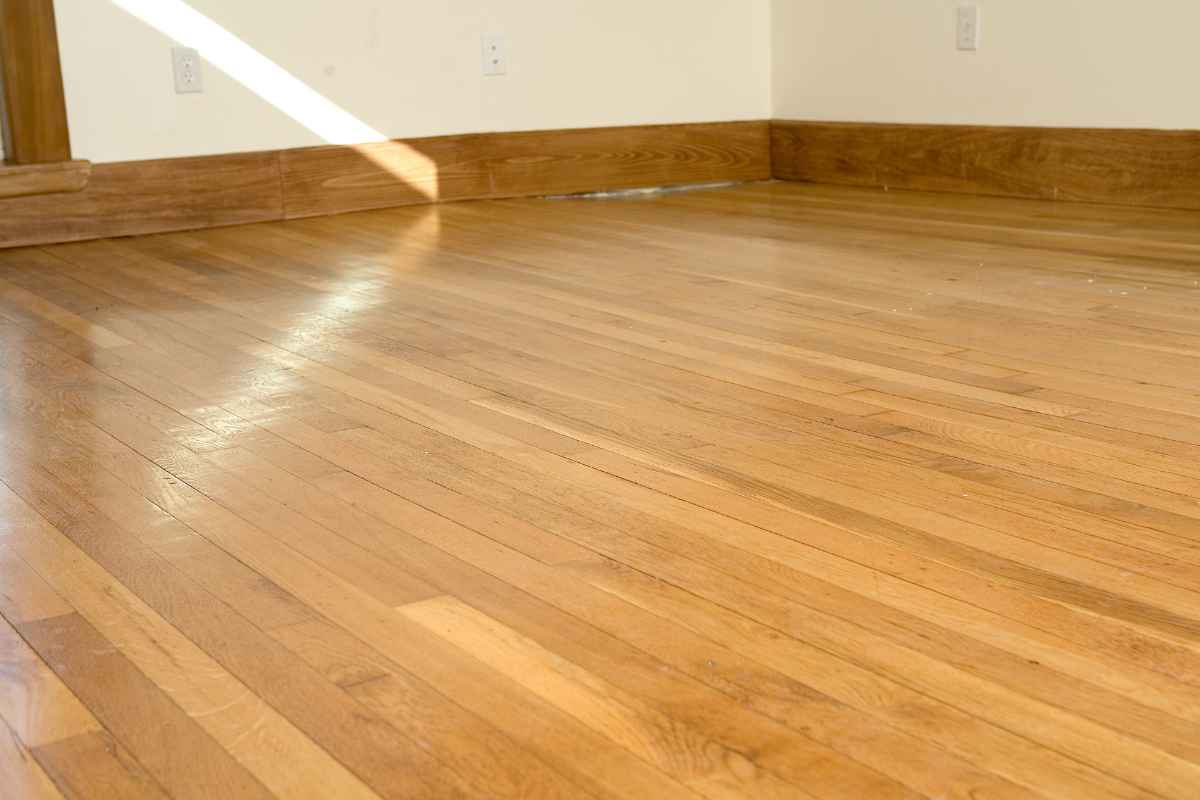
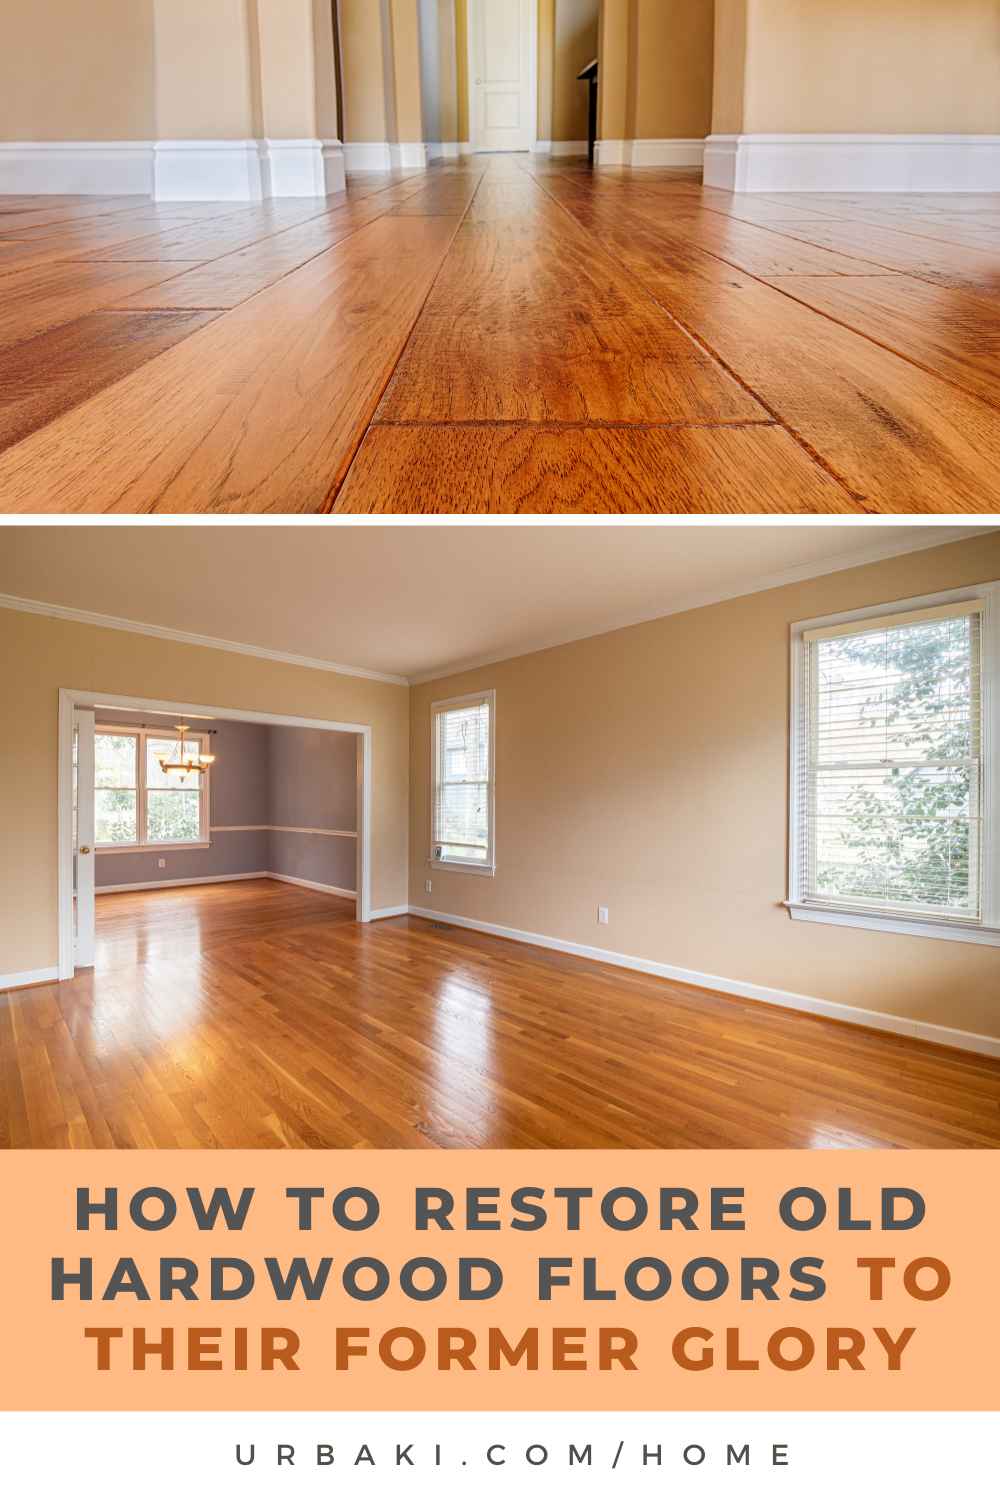
How to Restore Old Hardwood Floors to Their Former Glory
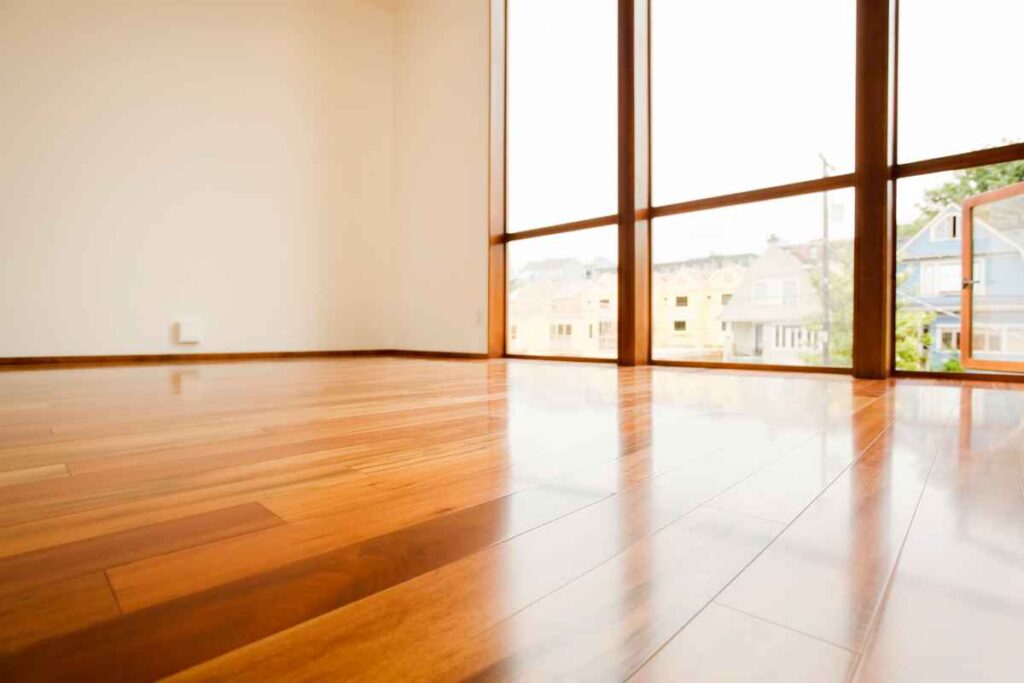
Bringing back the richness of old hardwood floors is one of the most satisfying home upgrades you can do yourself.
With the right plan, you can erase years of wear, revive color, and protect the wood so it shines for decades.
Below you’ll find a clear, step-by-step roadmap—from diagnosis to finish—so you can choose the right method, avoid costly mistakes, and enjoy results that look professionally done.
Discover the Best Decor Pieces to Elevate Your Space!

- Safety and Environmental Friendliness: Our electric Candl...
- Fully Dimmable and 12-Hour Timing Function: Enjoy complete...
- Sleek Design, Versatile Usage: Combining classical elegance...

- 💡💡【Triple Display Shelves Lamp】: RUNTOP 63inch...
- 💡💡【3 Color Temperature Floor Lamp】: You can...
- 💡💡【Smart Floor Lamps Design】: This floor lamp with...

- FLAME-FREE & ECO-SAFE: The electric candle warmer gently...
- CONVENIENT AND ADJUSTABLE - Enjoy the convenience of...
- VERSATILE TIMER, DIMMING, AND 24-HOUR CYCLE - Personalize...
Evaluate What Your Floor Really Needs
Do a quick finish test
Sprinkle a few drops of water in a low-risk corner. If beads form, the finish still has life; if water darkens the wood, the protective coat is gone.
Scuffs that don’t penetrate the finish suggest a screen and recoat may be enough. Deep scratches, gray/black water stains, or sun-bleached patches point to a full refinish.
When you can skip heavy sanding
If the wood is structurally sound and the finish is simply dull or lightly scratched, a screen (mesh abrasive) can abrade the surface to accept new topcoats.
This screen and recoat method is faster, less dusty, and preserves more of your floor’s thickness.
When a full refinish is the right call
Choose a complete sand-down if you see deep gouges, raised grain from past water damage, or multiple layers of wax/oil contamination.
If boards are cupped or the floor has an uneven sheen, you can’t correct it with cleaning; sanding to bare wood is the clean slate you need.
Tools, Materials, and Safety
Core gear checklist
Drum or orbital sander, edge sander, and detail sander for corners
Grits: 36/40, 60, 80, 100/120
Vacuum with HEPA filter and tack cloths or microfiber pads
Wood filler or trowelable filler, putty knife
Finish applicators: lambswool block, T-bar, microfiber pad, or natural-bristle brush
Your chosen finish: water-based polyurethane, oil-based polyurethane, or hardwax oil
Prep and protect
Remove furniture, vents, and baseboard shoe molding if possible. Tape off doorways and switch off HVAC to manage dust.
Wear eye protection, hearing protection, and a P100 or N95 respirator when sanding. Good ventilation is essential during finishing.
Deep Clean and De-Wax First
Remove residues that sabotage adhesion
Old floors often have wax or polish buildup. Use a commercial wax remover or mineral spirits (test first) with non-abrasive pads, then rinse thoroughly. A clean surface prevents fish-eye, peeling, and adhesion failures later.
Tighten, fill, and silence
Re-seat loose boards with trim screws set below the surface, shim subfloor low spots to reduce bounce, and countersink any fasteners.
Fill nail holes and hairline gaps with a stainable wood filler (or plan to trowel-fill after the first sanding pass for a seamless look).
Sanding Without the Drama
Follow a smart grit sequence
Start with 36/40 to flatten and cut through finish, then 60 → 80 → 100/120 to refine.
Skipping grits leaves swirl marks that telegraph through stain and topcoats. Move steadily with the grain; overlap passes and keep the machine in motion.
Don’t forget edges and corners
Use an edge sander along walls and a detail sander (or hand-scraper) in tight spots. Match each edge grit to the last grit used in the field so the sheen and stain absorption look uniform.
Control dust for a better finish
Vacuum between grits, then do a final HEPA vacuum and dry tack.
Consider dustless sanding attachments if available. Minimal dust = smoother coats and fewer nibs to knock down later.
Color Decisions: Natural, Stain, or Tone
Sample before you commit
Different species react differently to the stain. Create sample boards (or test patches in a closet) after your 100/120 grit finish sand.
If you want deeper color, “water-pop” the grain by lightly misting the wood and letting it dry before staining; this evens absorption and intensifies tone.
Blend old patches and new boards
If you’ve replaced boards, pre-treat the new wood with a conditioner or a custom stain mix to match the surrounding areas. Take photos in daylight and evening light—color shifts under different bulbs can surprise you.
Choose Your Finish
Water-based polyurethane
Pros: fast drying, low odor, stays clear (won’t amber), and allows multiple coats in a day. Great for light woods like maple, ash, and oak when you want a modern, natural look. Cons: slightly less depth and warmth than oil.
Oil-based polyurethane
Pros: rich amber glow and long open time that self-levels beautifully. Durable and forgiving to apply. Cons: stronger odor, longer dry time, and more ambering over time.
Hardwax oil
Pros: velvety, hand-rubbed feel with spot-repair capability and a very natural aesthetic. Excellent for historic homes and matte design styles. Cons: requires more frequent maintenance and proper cure time to resist stains.
Pick your sheen
Matte and satin hide dust and scratches best; semi-gloss adds sparkle but reveals imperfections. Keep sheen consistent across rooms for a cohesive look.
Application: From First Coat to Final Buff
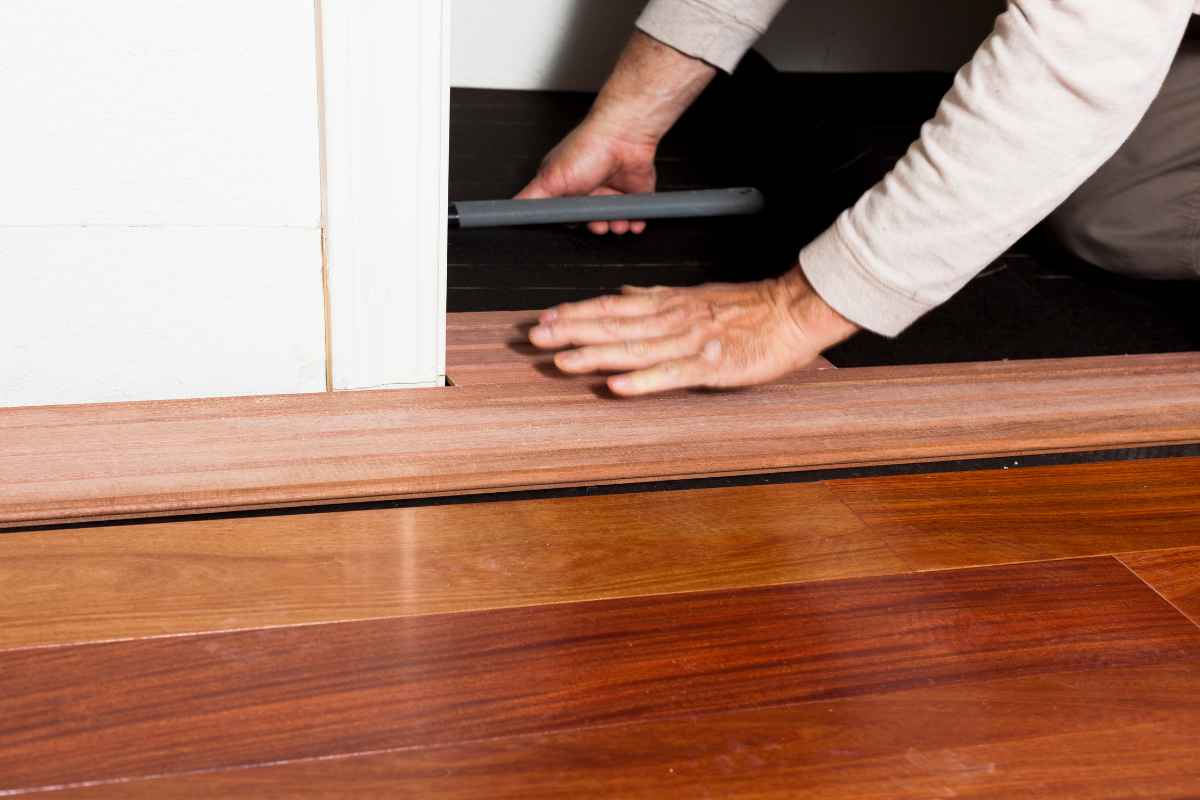
Seal, then build
If you stained, allow full dry time before topcoating.
For bare wood, start with a compatible sealer or a thinned first coat per the manufacturer’s directions.
Apply with a T-bar or pad in smooth, overlapping passes. Maintain a wet edge to avoid lap lines.
Light sand between coats
After each coat dries, screen with 220–320 grit or a maroon pad to knock down nibs, vacuum, and tack. Two to three topcoats are typical for poly; hardwax oils may use multiple thin applications with buff-in steps.
Respect dry and cure times
“Dry to touch” is not “ready for furniture.” As a rule of thumb: light sock traffic in 24 hours, furniture (no rugs) after 3–7 days, and rugs after 10–14 days—always verify with your finish’s data sheet. Allow airflow but avoid strong cross-breezes that can skin the surface too quickly.
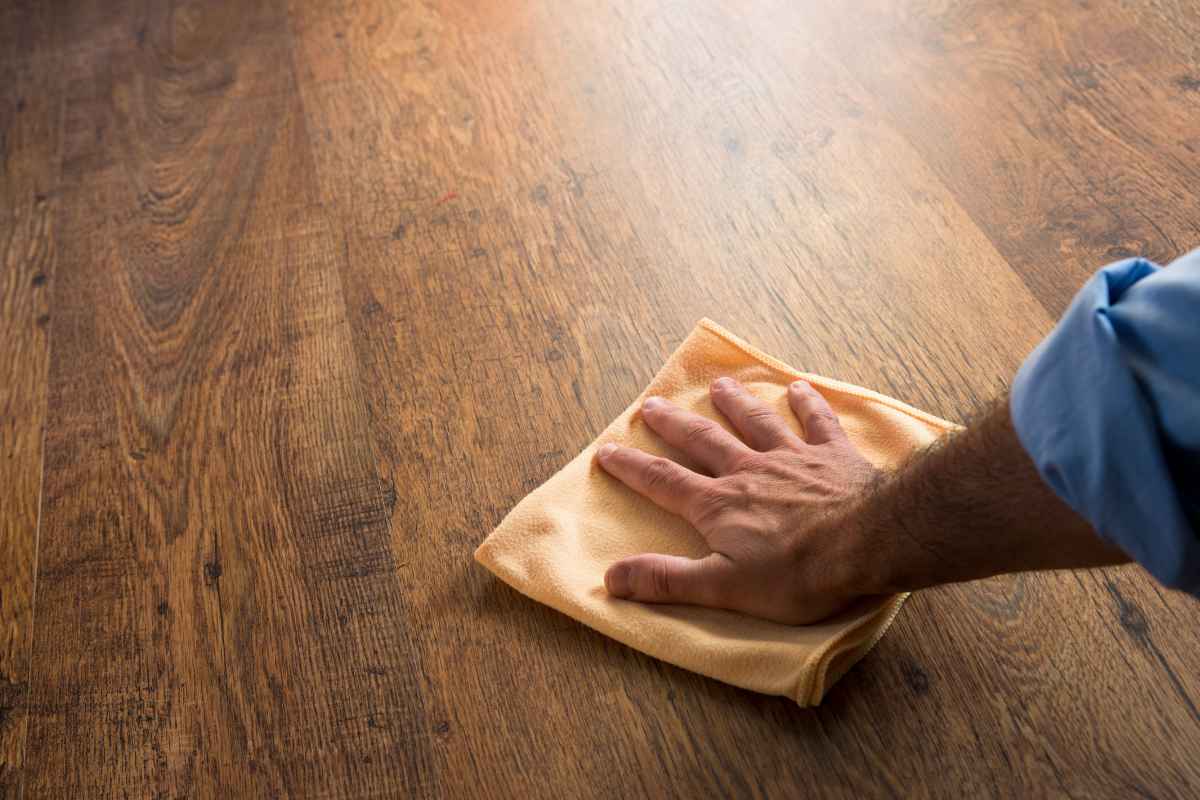
Maintenance That Keeps the Glow
Adopt a gentle cleaning routine
Use a pH-neutral hardwood cleaner and a microfiber mop. Skip steam mops and vinegar mixes that can dull finish. Vacuum weekly with a soft brush head to keep grit from acting like sandpaper.
Preventive care pays off
Felt pads under furniture, entry mats at doors, and pet nail trims dramatically reduce scratches.
Rotate rugs periodically to minimize UV striping. If the sheen dulls over time, a maintenance recoat before wear hits bare wood can save you from resanding.
Troubleshooting Common Issues
Lap marks or uneven sheen
Usually caused by stopping mid-panel or working in hot, dry rooms. Work smaller sections, maintain a wet edge, and consider a retarder additive if your product allows it.
Bubbles and nibs
Stir, don’t shake, and strain your finish. De-lint applicators and control airflow. A quick screen between coats usually erases minor defects.
Tannin bleed and pet stains
On oak, water-based products can sometimes pull tannins; use a tannin-blocking sealer if you see yellowing. Dark pet stains that penetrated fibers may need oxalic-acid treatment—or in severe cases, board replacement.
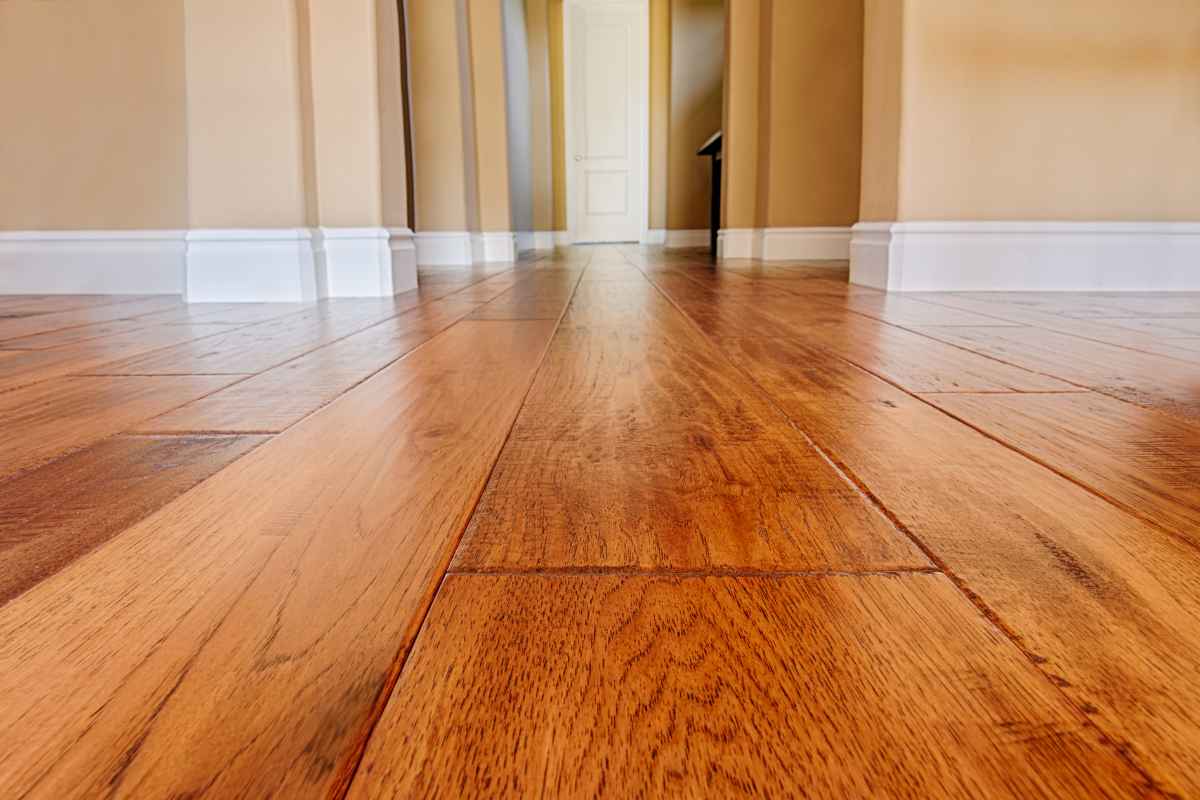
Bring Back the Warmth and Character
Restoring wood isn’t about perfection; it’s about honoring the material and protecting it for the next chapter.
By assessing your floor honestly, choosing the right path—screen and recoat or full refinish—and applying a compatible finish with care, you’ll reclaim the warmth, depth, and character that made these floors special in the first place.
Keep your maintenance simple and consistent, plan a proactive recoat every few years, and your revived hardwood will keep greeting you with that subtle, timeless glow—exactly the kind of everyday beauty that makes a house feel like home.
Did you find this post Useful or Inspiring? Save THIS PIN to your HOME Board on Pinterest!
More Home Tips 👇🏼👇🏼