
How to Texture a Wall With a Roller


Want to give your walls a fresh new look without the mess of full drywall work? Texturing a wall with a roller is a simple, budget-friendly way to add character and hide imperfections — even if you're not a pro.
In this guide, we’ll walk you through everything you need to know to create a beautiful textured finish using just a roller. Let’s get started.
Why Add Texture to a Wall
Textured walls aren’t just trendy — they’re practical too. Here’s why this technique is worth trying:
Hides wall imperfections: Uneven drywall or dents can be disguised with a textured finish.
Faster than skim coating: No sanding or multiple layers of compound. Just roll it on and let it dry.
Adds depth and style: From subtle to bold textures, you can completely change the feel of a room.
 What You’ll Need
Before you begin, gather the following supplies:
Paint roller with thick nap (three-quarter inch or more)
Roller frame and tray
Drywall compound or texture mix
Water to thin the compound if needed
Mixing bucket
Painter’s tape and drop cloths
Paint for finishing, if desired
Step-by-Step: How to Texture a Wall with a Roller
1. Prepare the Wall
Make sure the wall is clean and dry. Remove dust or grease, and patch any large holes or cracks. The smoother your starting surface, the better the end result.
Tip: If the wall has glossy paint, lightly sand it to help the texture adhere properly.
 2. Mix the Texture Compound
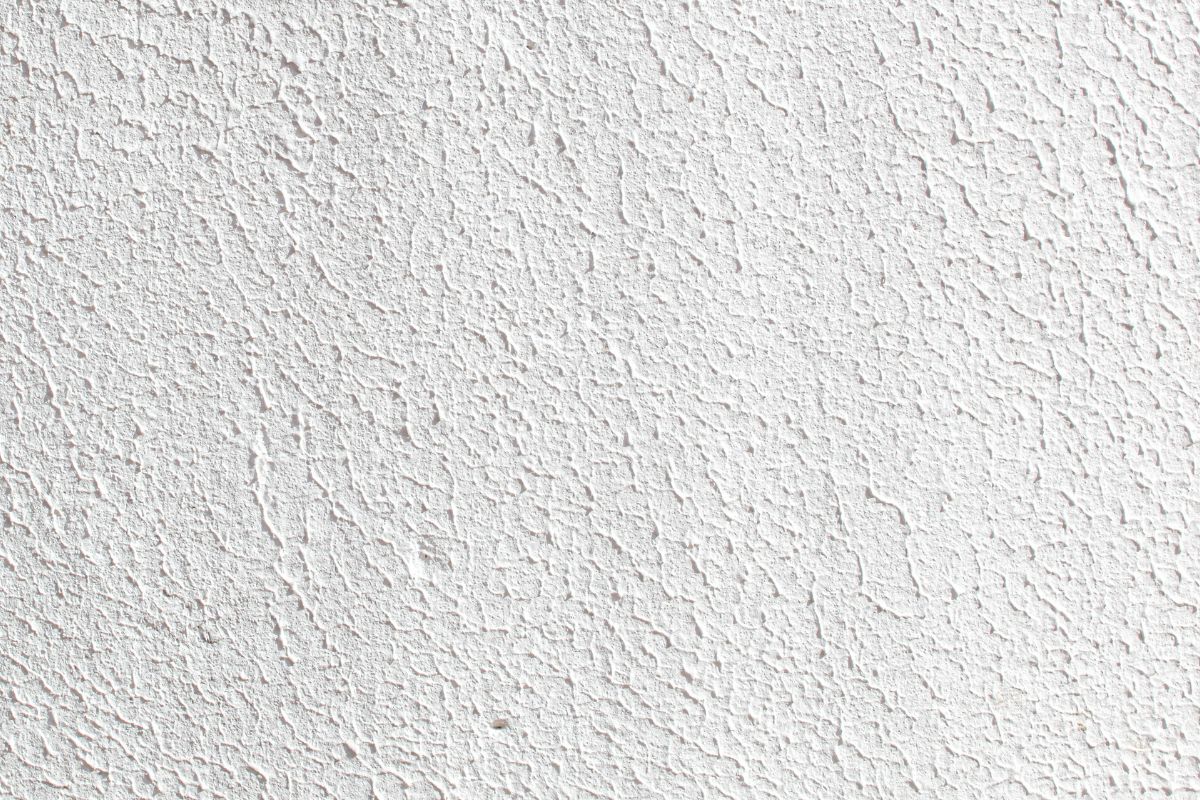
You can either use a pre-mixed wall texture or mix drywall compound with water until it has the consistency of thick pancake batter.
It should be thick enough to hold shape on the roller, but not too stiff.
3. Choose the Right Roller
A thick-nap roller, between three-quarter inch and one inch, works best for applying texture. It holds more material and creates a consistent pattern.
Avoid foam rollers, as they don’t absorb enough compound and won’t give you a textured finish.
4. Apply the Texture
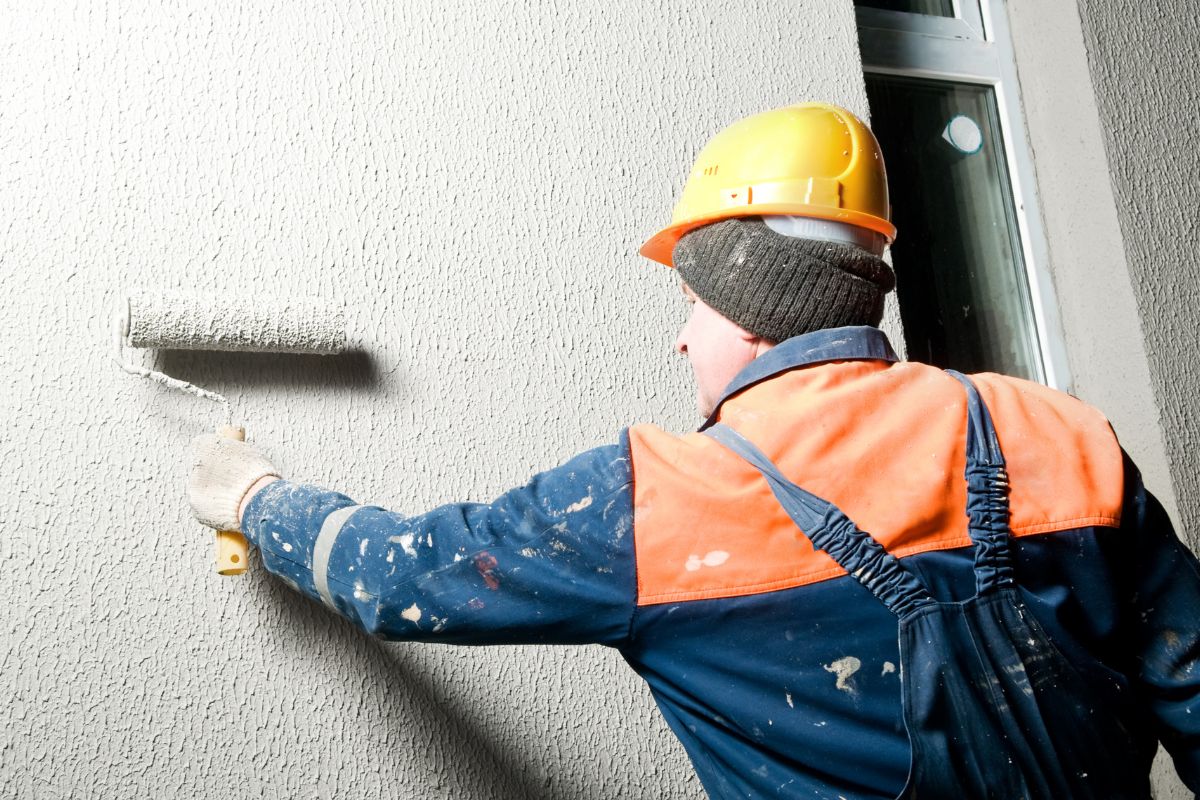
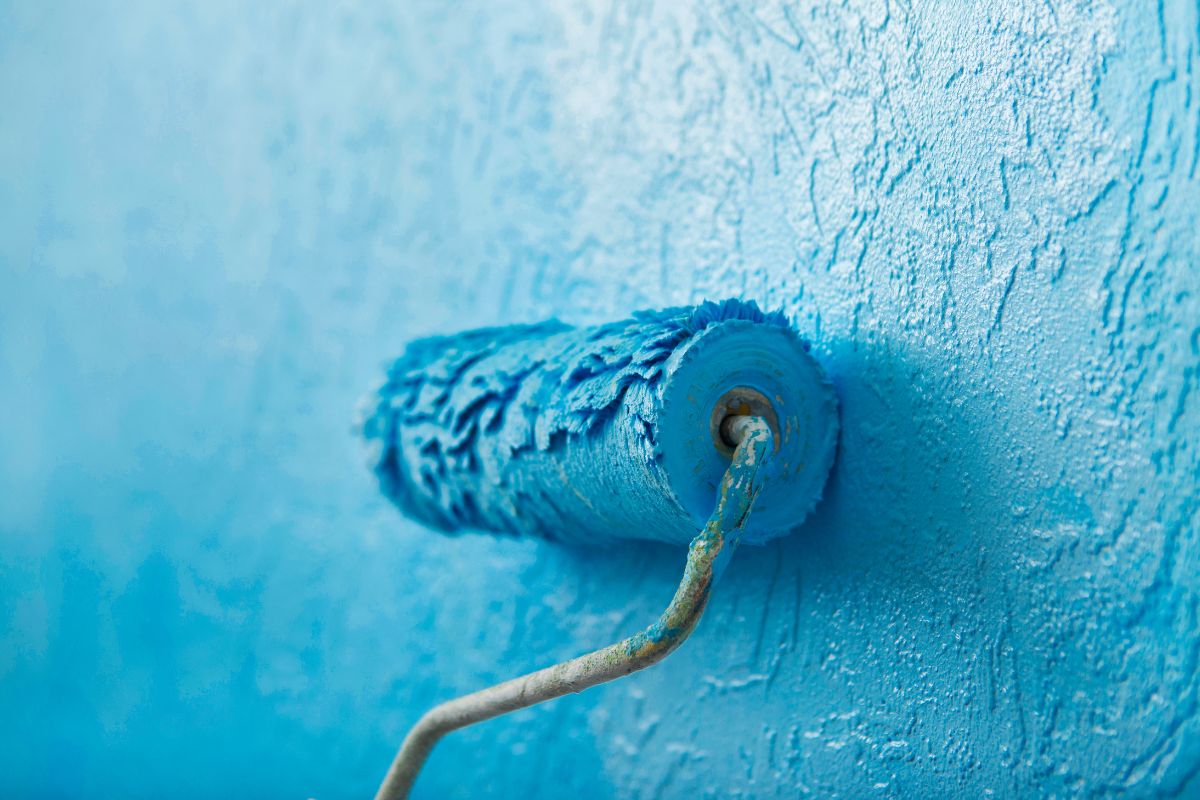
Dip your roller into the texture mix and remove any excess. Roll the texture onto the wall in overlapping strokes.
Work in small sections, about three by three feet
Use light to medium pressure
Roll in multiple directions if you want a more varied texture
You can also try special pattern rollers or use a brush or sponge after rolling for unique effects.
 5. Let It Dry Completely
Let the wall dry fully, ideally overnight. Once dry, you can leave it as is or lightly sand any rough spots for a softer finish.
6. Paint the Wall
After the texture has dried, paint the wall using a thick-nap roller so the paint reaches into all the grooves. One or two coats should be enough, depending on your color choice.
Extra Tips for a Great Result
Test your technique on a scrap board before starting on the wall
Use painter’s tape and drop cloths to protect surrounding areas
Clean your roller and tools as soon as you’re done
Avoid painting or texturing in very humid or cold conditions, as it may affect drying time
 Final Thoughts
Texturing your walls with a roller is a fast, affordable, and beginner-friendly way to upgrade your space. Whether you’re covering flaws or adding a decorative touch, this method can help transform any room with minimal effort.
We hope you enjoy watching this video
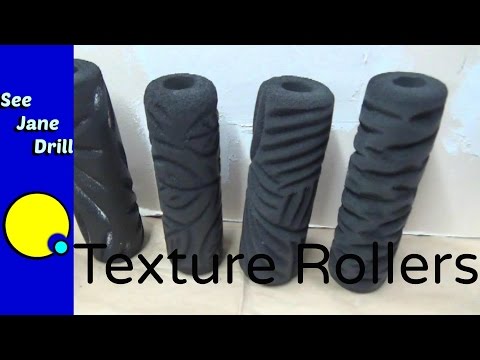
Source: seejanedrill
Did you find this post useful or inspiring? Save THIS PIN to your HOME Board on Pinterest! 😊

Once again, thank you for visiting our website!
We hope you've enjoyed exploring the content we've created for you.
Give yourself the chance to learn, get inspired, and have even more fun, keep browsing...
More Home Tips 👇🏼👇🏼