- Urbaki Home
- Decor
- 7 Photo Wall Ideas You’ll Love for Every Room
7 Photo Wall Ideas You’ll Love for Every Room
20/04/2026 · Updated on: 20/04/2026

A photo wall can instantly make a room feel more personal, finished, and intentional—without needing a full remodel. The trick is choosing a layout that fits the space, then styling it so it looks cohesive (not chaotic).
In this guide, you’ll find seven photo wall ideas you can use in any room, plus practical tips for planning, hanging, and balancing frames like a pro. Whether you’re decorating a new home or refreshing one blank wall, this is for you.
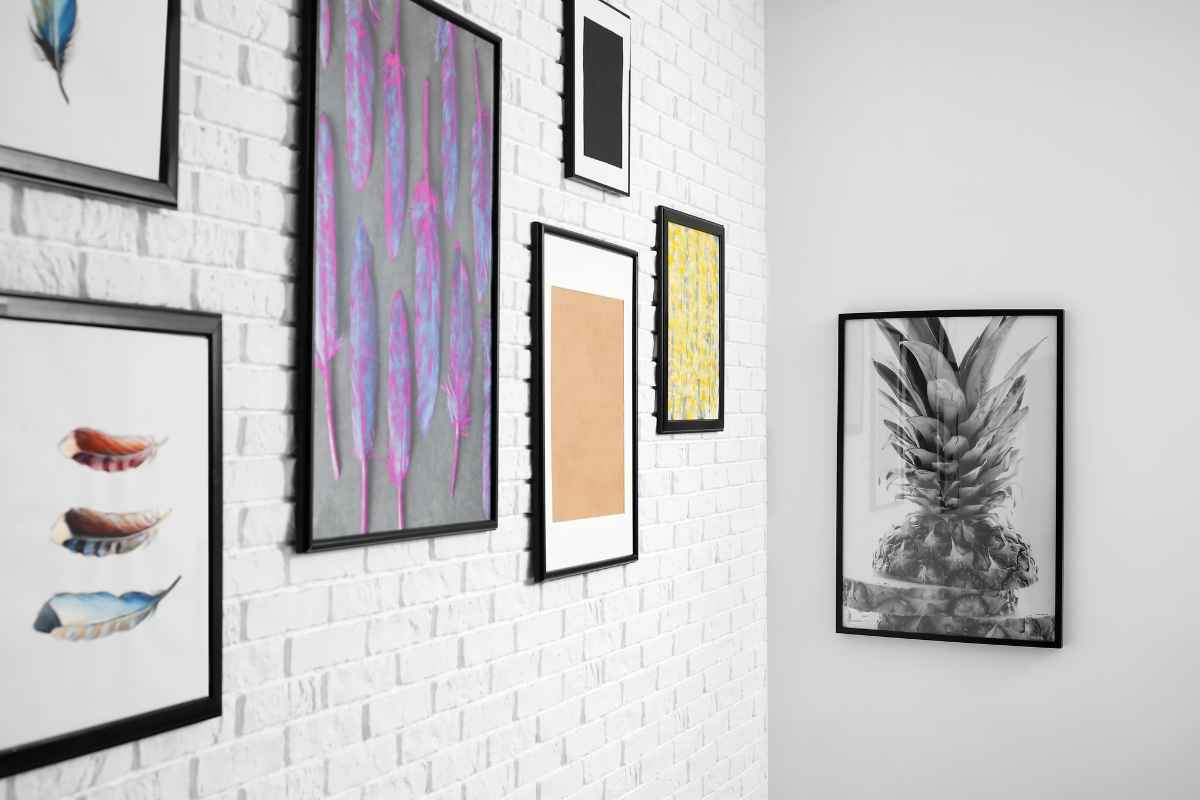
The Classic Grid (Best for Clean, Modern Spaces)
If you love symmetry and a tidy look, a grid is one of the easiest gallery wall layouts to plan—and one of the hardest to mess up.
How to make it work:
- Use frames that match in color and thickness (black, white, or natural wood are safe choices).
- Keep spacing consistent: 2–3 inches (5–8 cm) between frames tends to look polished.
- Stick to one photo style: all color, all black-and-white, or a consistent filter.
Where it shines: living rooms, home offices, dining areas, and bedrooms.
The “Organic Gallery Wall” (Perfect for Cozy, Collected Homes)
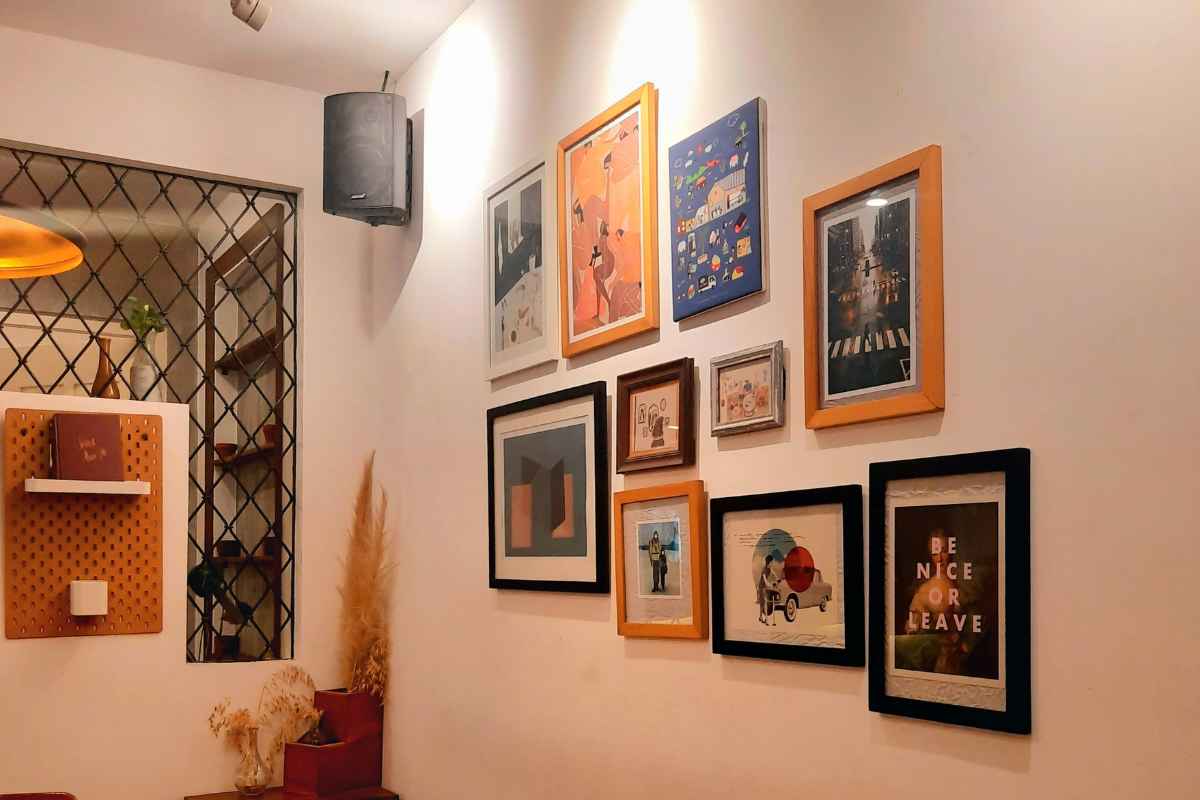
This is the relaxed, Pinterest-style wall that feels layered over time. It’s a mix of sizes, frames, and sometimes even small objects.
What to include for a curated look
- 1–2 larger anchor pieces (like 16x20 in (40x50 cm))
- A mix of mediums (8x10 in, 11x14 in)
- Small fillers (5x7 in) to close awkward gaps
Pro tip: Choose a unifying element—like all warm wood tones, all white mats, or a repeated accent color in the photos.
Where it shines: family rooms, hallways, bedrooms, and above a console table.
The Staircase Photo Wall (A High-Impact Classic)
A staircase is made for photos—it’s a natural “gallery” path through your home.
Two foolproof staircase approaches:
- Rail-following line: Keep the top edge of frames aligned with the angle of the stairs.
- Centerline approach: Align the center of frames along the stair angle for a more balanced, modern look.
Hanging tip: Start with one larger piece near the bottom third of the staircase, then build upward.
Where it shines: stairwells, split-level homes, entry staircases.
The “One Big + Supporting Cast” Layout (Fastest to Style)

If you want a photo wall without committing to 12 frames, this one delivers a big visual payoff with minimal work.
How it works:
- Hang one large statement print (or framed family photo).
- Add 2–6 smaller frames around it, keeping spacing tight and intentional.
Design rule that helps: Put the large piece slightly above center, then balance the smaller frames on both sides (not necessarily symmetrical—just visually even).
Where it shines: above sofas, beds, fireplaces, and sideboards.
5) The Shelf-Ledge Photo Wall (Zero-Nail, Easy-to-Update)
If you like changing photos seasonally (or hate measuring), ledge shelves are your best friend.
What to do:
- Install one long ledge or two stacked ledges.
- Layer frames by height: taller frames in back, smaller in front.
- Add 1–2 small decor pieces (a candle, a tiny plant, a small vase) so it feels styled—not crowded.
Bonus: This is one of the most renter-friendly photo wall ideas if you use light shelves and appropriate wall anchors.
Where it shines: bedrooms, nurseries, kitchens, home offices.
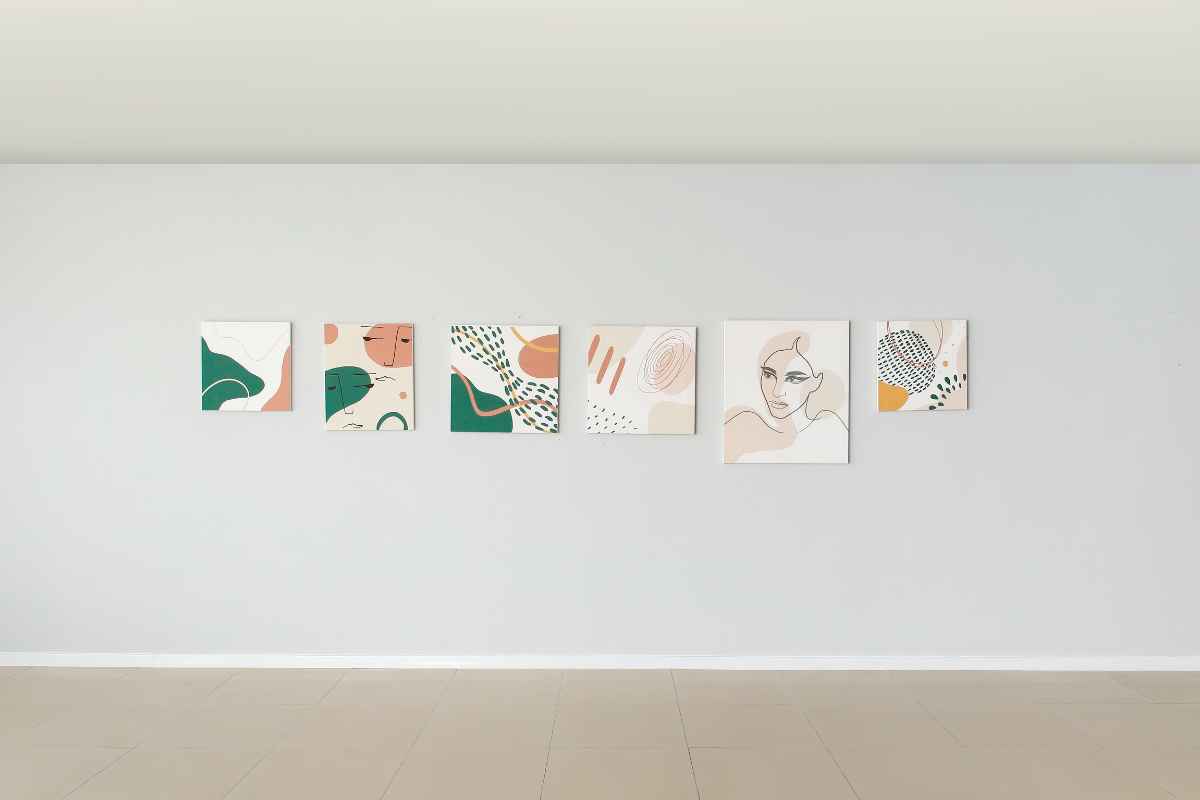
The “Theme Wall” (Travel, Family, Seasons, or Milestones)
A theme wall makes your photo wall feel purposeful—like it tells a story.
Easy theme ideas that don’t feel cheesy
- Travel photos by location (one wall = one trip)
- Family milestones (year-by-year)
- A single color palette (all warm tones, all coastal blues, etc.)
- “Nature moments” (gardens, hikes, outdoor family photos)
Styling trick: Keep mats consistent (all white or all cream). It instantly makes mixed photos look cohesive.
Where it shines: hallways, dining rooms, office nooks, mudrooms.
The “Corner Wrap” Photo Wall (Perfect for Awkward Spaces)
Got an empty corner or a weird wall break? Wrap your gallery wall around the corner for a custom, architectural look.
How to plan it:
- Choose a “transition” frame to place near the corner edge.
- Keep frame spacing consistent across both walls.
- Use similar frame colors to avoid visual clutter.
Where it shines: small apartments, open-concept spaces, hallways that turn.
Tools + Materials You’ll Actually Use
You don’t need fancy equipment—just a little prep.
Basics:
- Painter’s tape
- Measuring tape
- Level (or a phone level app)
- Pencil
- Picture hanging strips or hooks appropriate for your frame weight
Optional but helpful:
- Kraft paper (or newspaper) to trace frames for a life-size layout
- A ruler for consistent spacing
Tips You Can Apply Today (Make It Look “Designer,” Not Random)
- Pick one “through-line”: frame color, mat color, or photo style.
- Keep spacing consistent: 2–3 inches (5–8 cm) is a sweet spot.
- Hang at the right height: the visual center of the arrangement should sit around 57–60 inches (145–152 cm) from the floor (adjust higher over sofas/bed headboards).
- Don’t overmix frame finishes: two finishes (like black + wood) usually looks intentional; three can start to feel messy.
Common Mistakes (And How to Fix Them)
Mistake 1: Hanging too high
Fix: Lower the entire wall so it connects visually to furniture.
Mistake 2: No anchor piece
Fix: Add one larger frame, then build around it.
Mistake 3: Inconsistent spacing
Fix: Use a spacer (even a folded piece of cardboard) to keep gaps even.
Mistake 4: Too many competing frame styles
Fix: Keep frame shapes consistent (mostly rectangles) and unify with matching mats.
Mistake 5: Overcrowding the wall
Fix: Give the arrangement breathing room—especially near corners, doors, and windows.
Closing
The best photo wall ideas aren’t about following strict rules—they’re about choosing a layout that fits your room and tells your story beautifully. Start with one wall, keep your styling consistent, and build from there as you collect more memories.
If you try one of these layouts, snap a photo before and after—you’ll be surprised how much a well-planned gallery wall changes the whole room.
— Emily
I’m Olivia, a firm believer that a happy home is built on the perfect balance of style and function. From DIY weekend projects and deep-cleaning hacks to finding the best decor trends on a budget, I love sharing practical ways to make your living space truly yours. My goal is to help you turn your house into a sanctuary, one organized corner at a time.
More Home Tips 👇🏼👇🏼