
The Best Tips to Paint a Pool


Is your pool looking a little worn out? It might be time to give it a fresh coat of paint! Not only does painting your pool enhance its appearance, but it also adds a protective layer that extends its life.
Here’s a simple, step-by-step guide to help you get your pool looking brand new again.
Step 1: Choose the Right Pool Paint
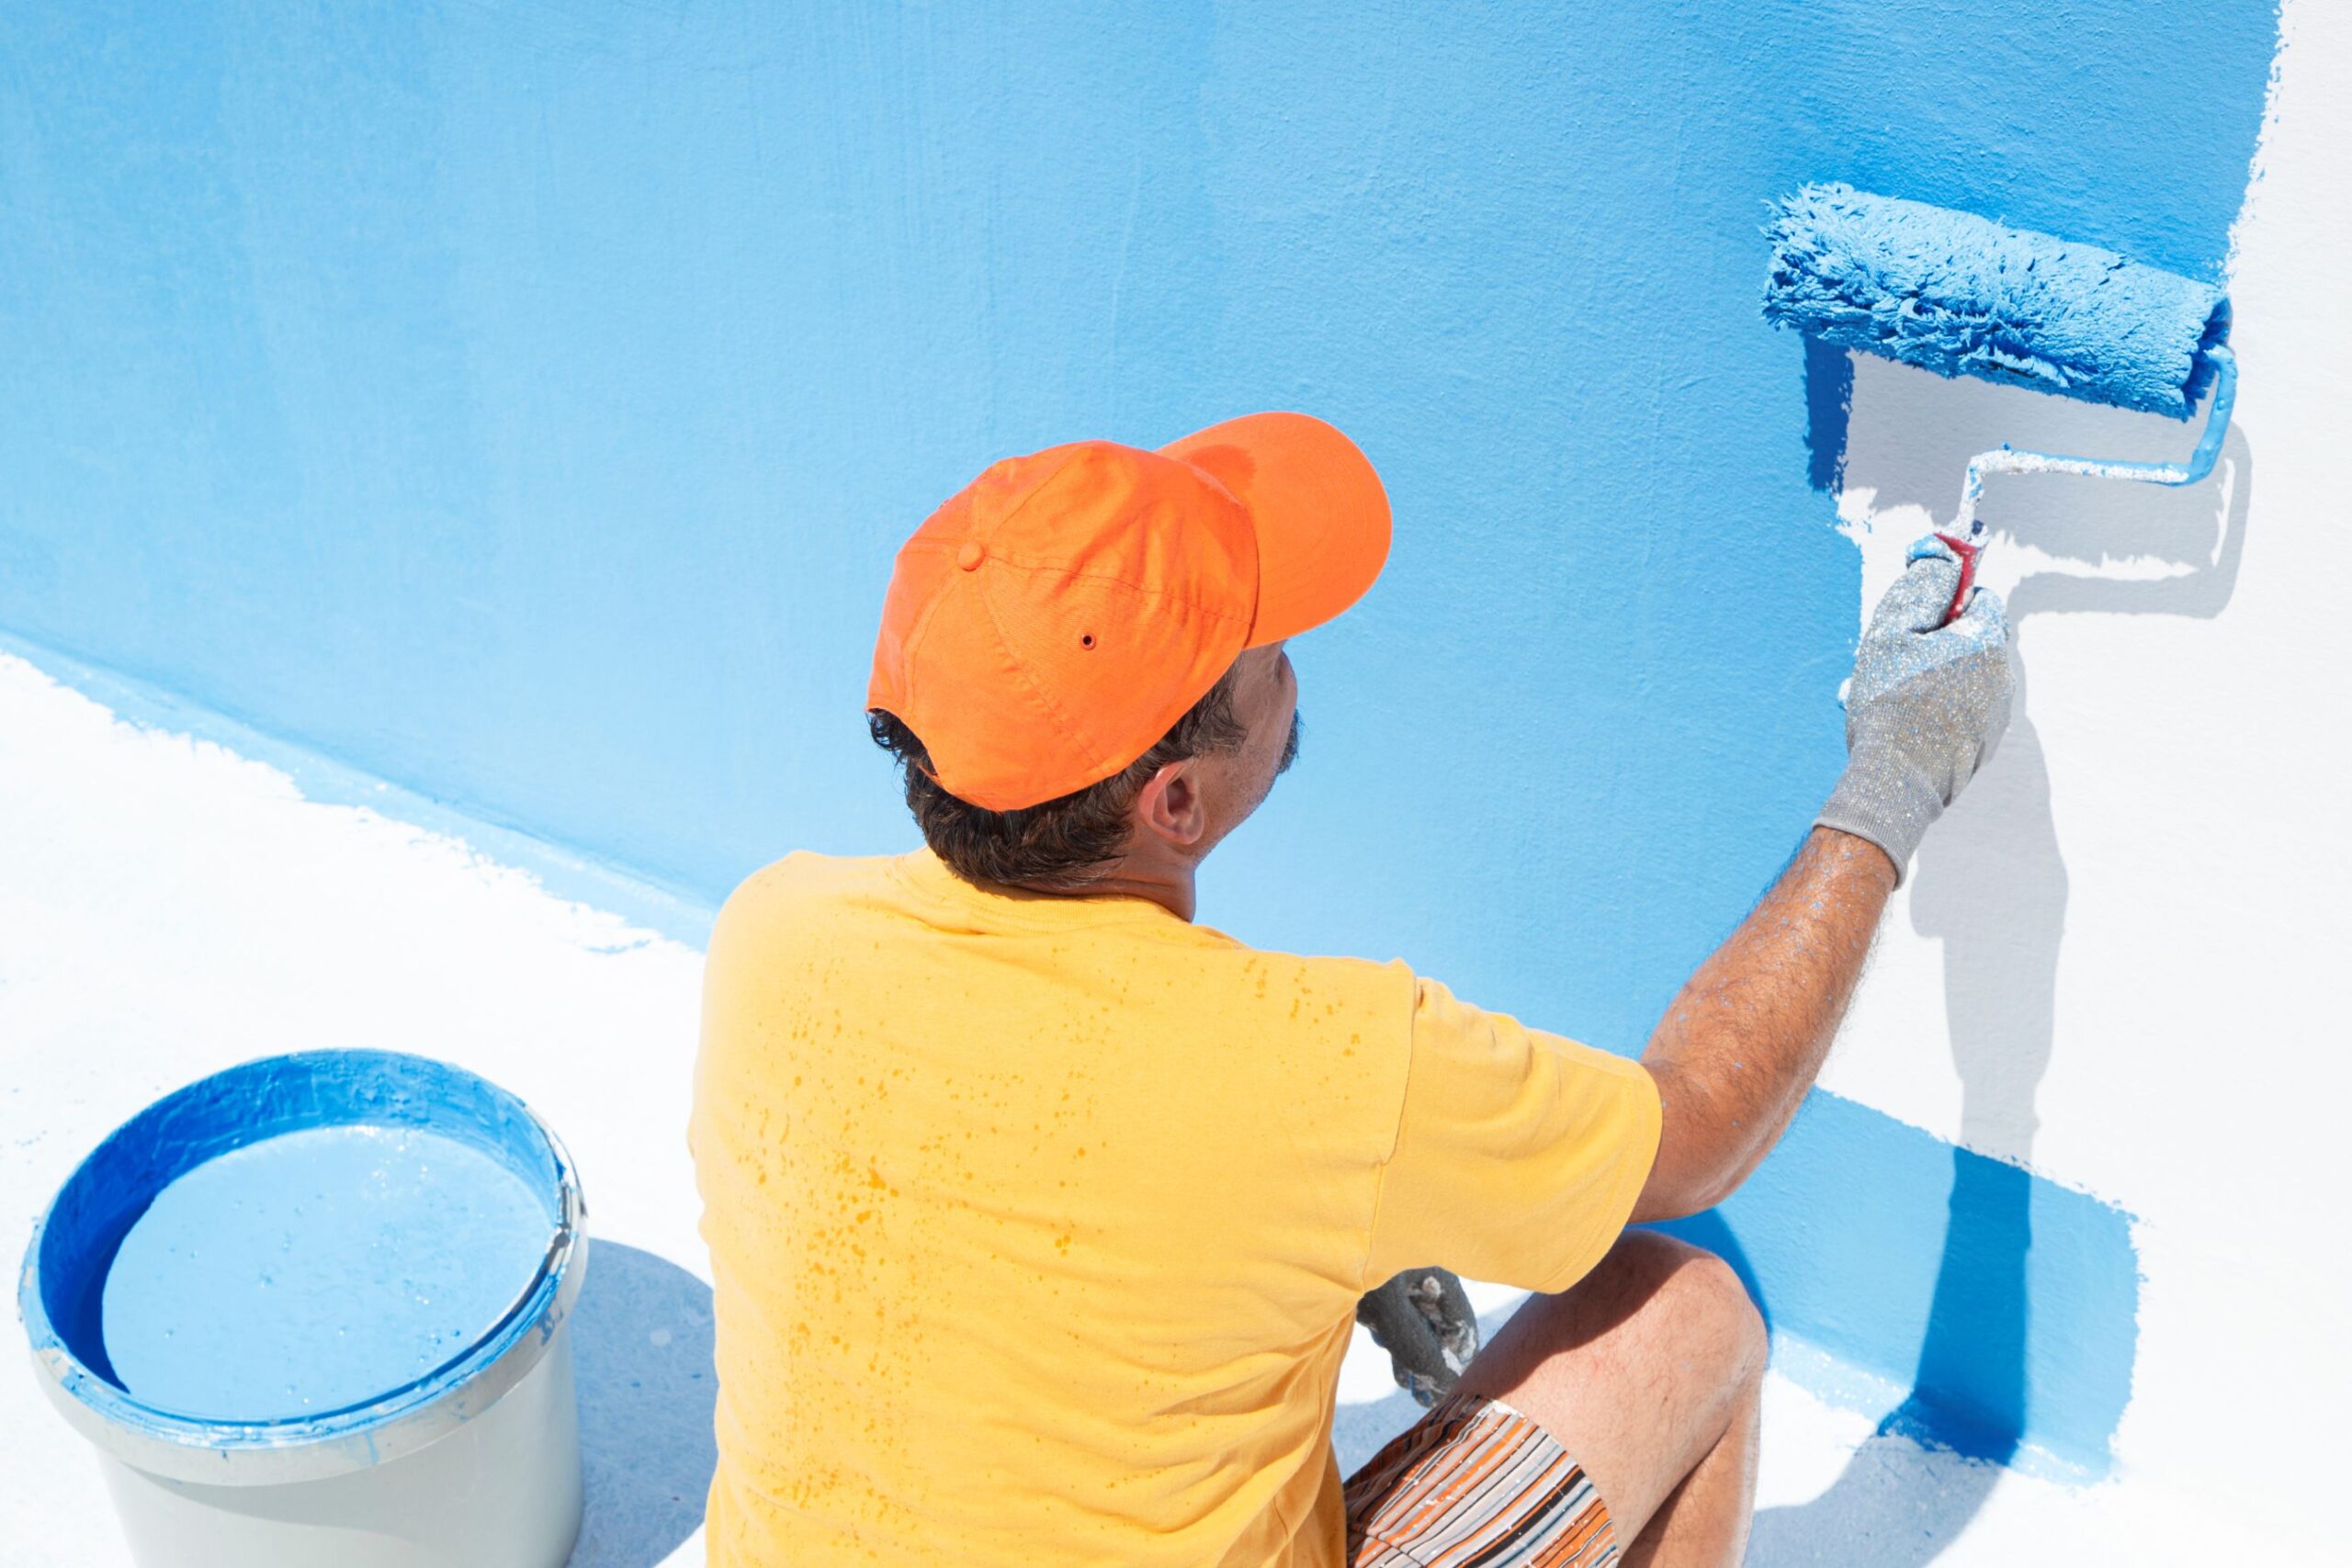 The first step is to select the right type of paint for your pool. There are three main types of pool paint, each suited to different surfaces and needs:
Epoxy Paint: Durable and long-lasting, perfect for concrete and gunite pools. It’s resistant to harsh chemicals and weather conditions.
Acrylic Paint: Easy to apply, fast-drying, and ideal for pools that have never been painted before or have a smooth surface.
Chlorinated Rubber Paint: Flexible and great for pools that have a layer of chlorinated rubber paint already, but not recommended for other types.
Tip: Always choose a paint that matches your pool's material. Don’t use epoxy over chlorinated rubber or vice versa. If in doubt, opt for epoxy as it’s the most versatile.
Step 2: Prepare the Surface
 Proper surface preparation is essential for achieving a smooth, long-lasting finish. Follow these steps to ensure your pool is ready for painting:
Clean Thoroughly: Use trisodium phosphate (TSP) to remove oils, dirt, and grime from the surface. This is a crucial step for the paint to adhere properly.
Etch the Surface: If you’re painting a concrete pool, etching the surface with diluted muriatic acid opens up the pores, helping the paint bond better.
Neutralize the Acid: After etching, neutralize the acid with more TSP and rinse the pool thoroughly with water.
Sand the Surface: Lightly sand the pool with a 40-grit sandpaper to create a rough texture, which improves paint adhesion.
Important: Make sure the surface is completely dry before you begin painting. Any moisture can prevent the paint from bonding correctly.
Step 3: Apply the Paint
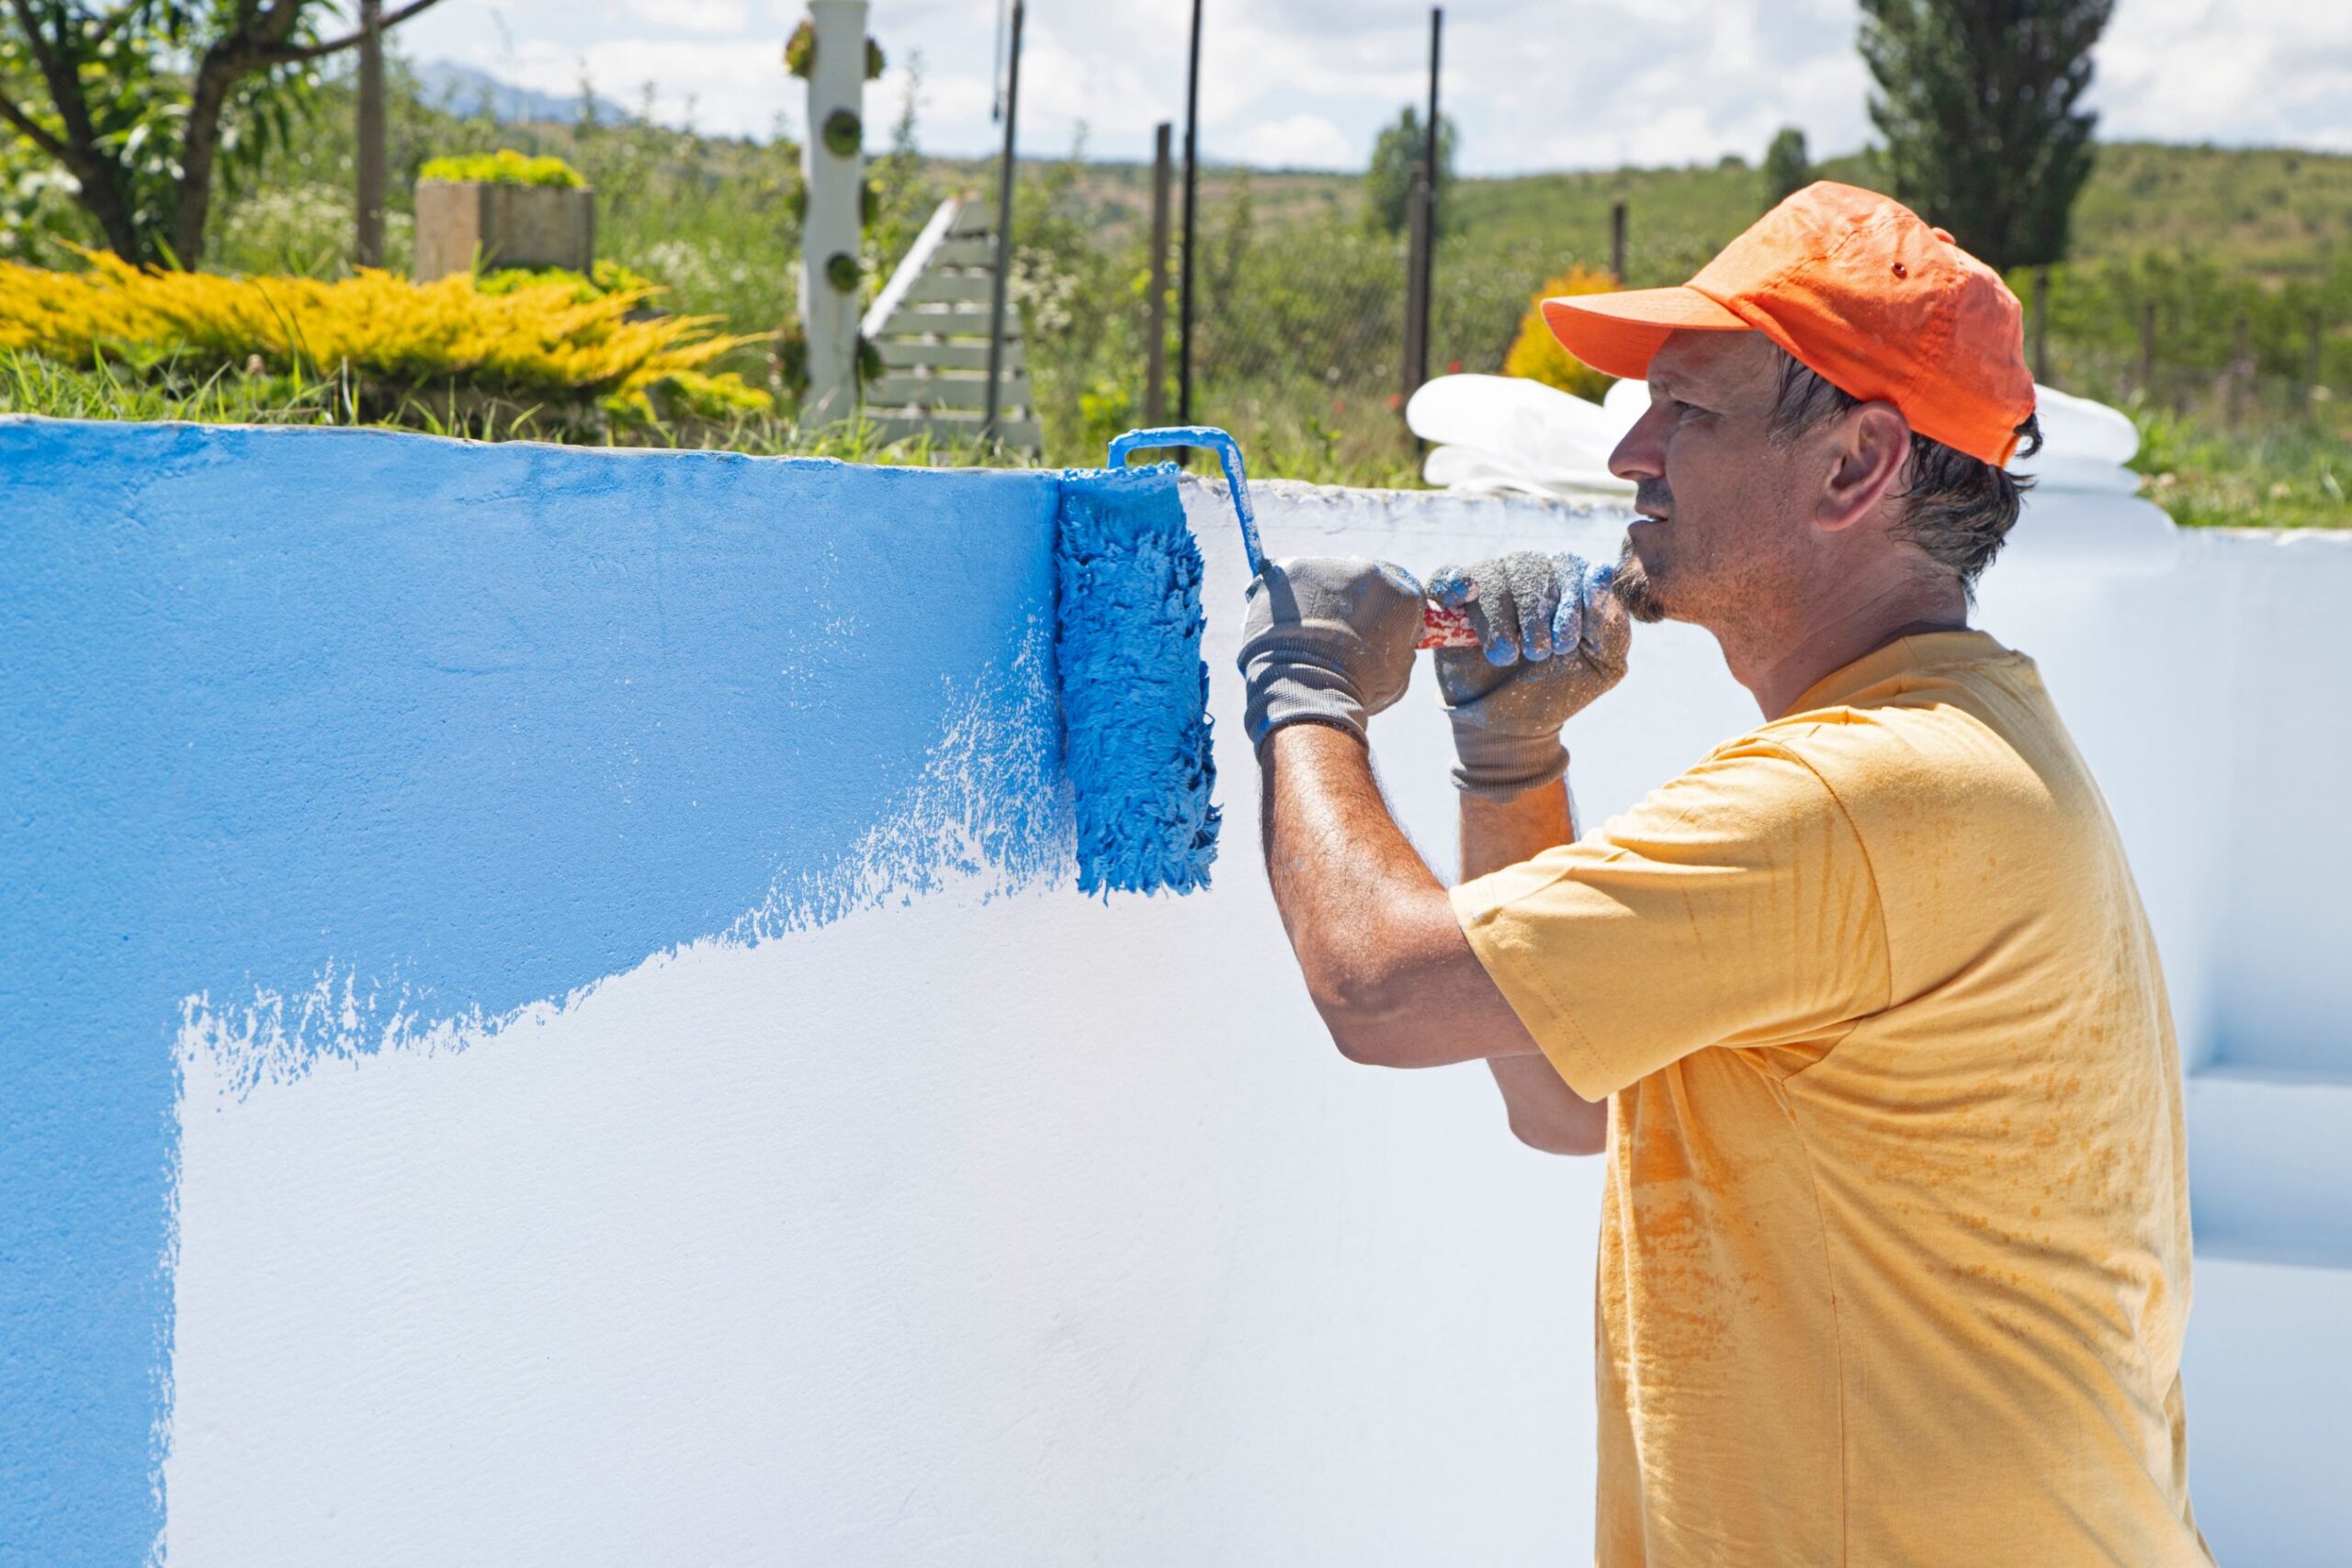 Now that the surface is prepared, it’s time to apply the paint:
Mix Well: If you're using epoxy, mix the two parts according to the manufacturer's instructions.
Apply in Layers: Start by applying a thin, even coat with a roller, and use a brush for the edges and corners.
Dry Between Coats: Let the first coat dry fully according to the manufacturer’s instructions before applying a second coat. This ensures a smooth, even finish.
Tip: It’s best to paint in the morning or late afternoon when the sun isn’t too strong. Direct sunlight can cause the paint to dry too quickly, which may lead to an uneven finish.
Step 4: Let It Dry and Cure
 Patience is key during this stage:
Drying Time: Allow at least 24 hours for the first coat to dry before applying a second one. Make sure you let the second coat dry for the same amount of time.
Curing Time: After the final coat, wait for 7 to 14 days before filling the pool with water. This gives the paint enough time to cure completely and harden properly.
Tip: Don’t rush the curing process. Skipping this step can lead to bubbling or peeling once you fill the pool with water.
Step 5: Enjoy Your Pool
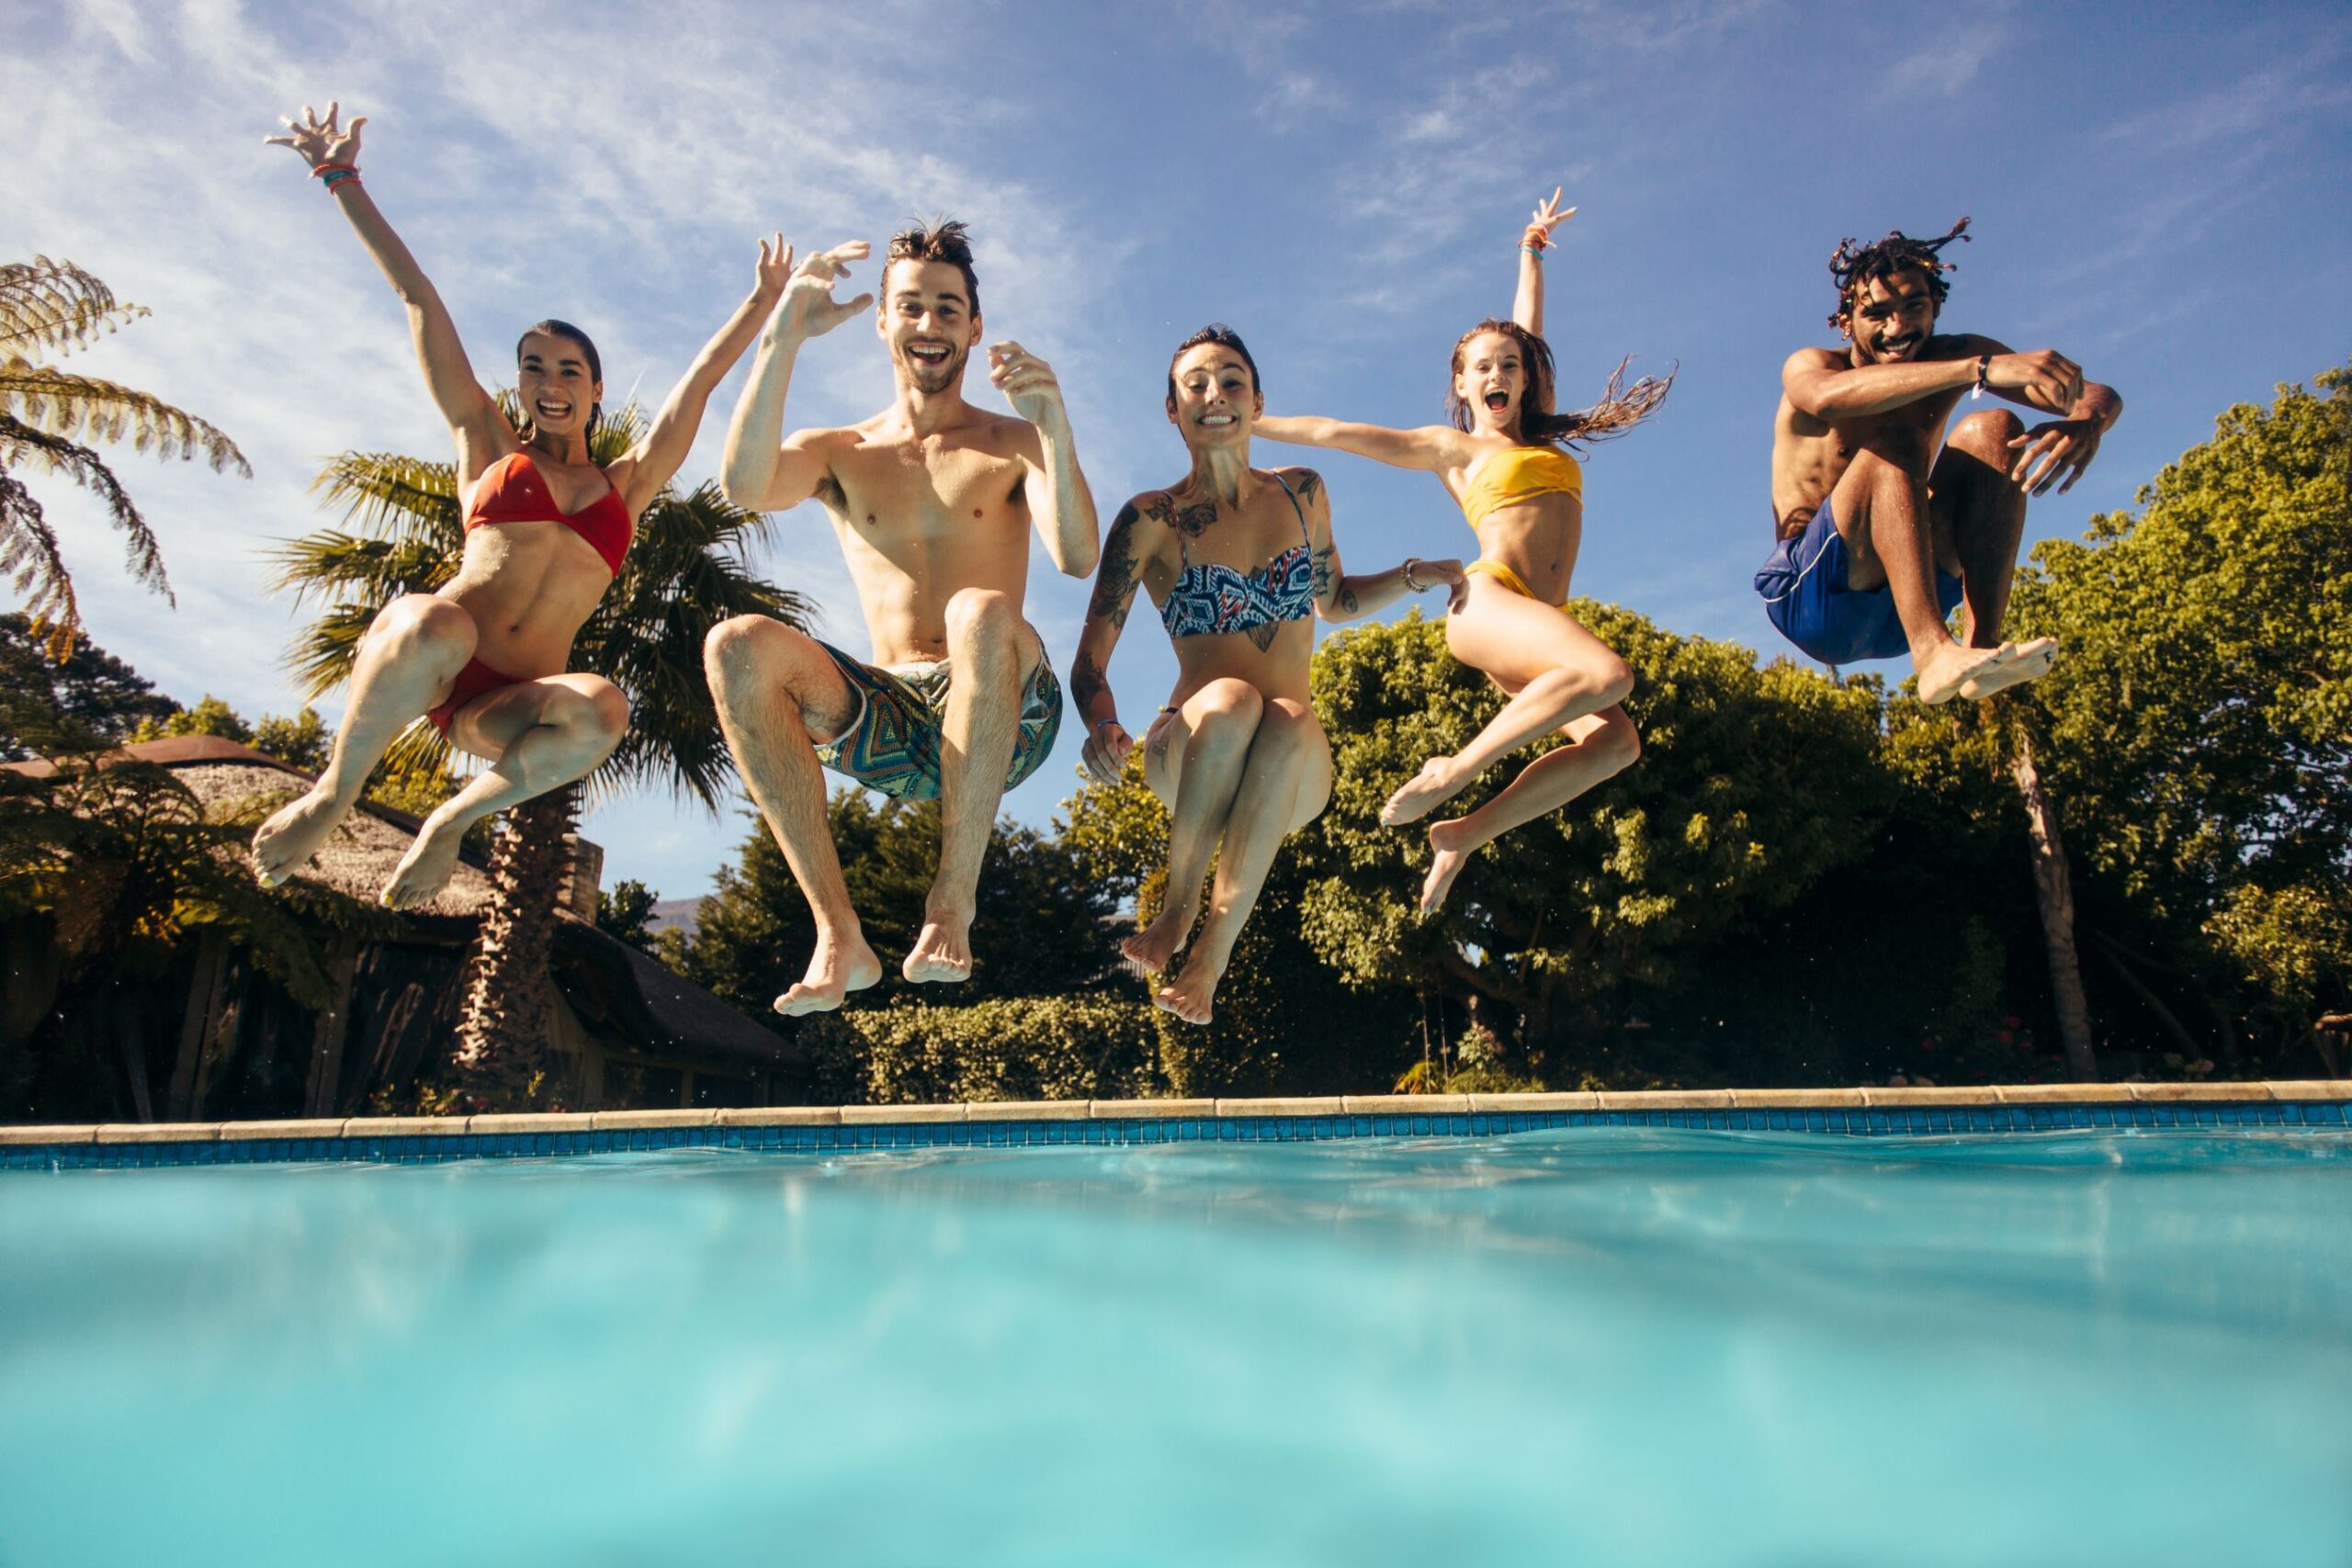 Once your pool is fully dry and cured, it’s time to enjoy it! Fill it with water, balance the chemicals, and get ready to dive in.
Bonus Tip: Keep the water balanced to help preserve the paint. Regular maintenance will keep your pool looking fresh for years.
A Beautiful, Long-Lasting Pool Awaits
Painting your pool may seem like a big task, but with the right preparation and a little patience, you’ll have a refreshed, beautiful pool that’s ready for swimming.
Follow these steps carefully, and enjoy the results for many seasons to come!
We hope you enjoy watching this video about How to Paint a Pool and Tips (DIY)

Source: Paint Life TV
Did you find this post useful or inspiring? Save THIS PIN to your HOME Board on Pinterest! 😊

Once again, thank you for visiting our website!
We hope you've enjoyed exploring the content we've created for you.
Give yourself the chance to learn, get inspired, and have even more fun, keep browsing...
More Home Tips 👇🏼👇🏼