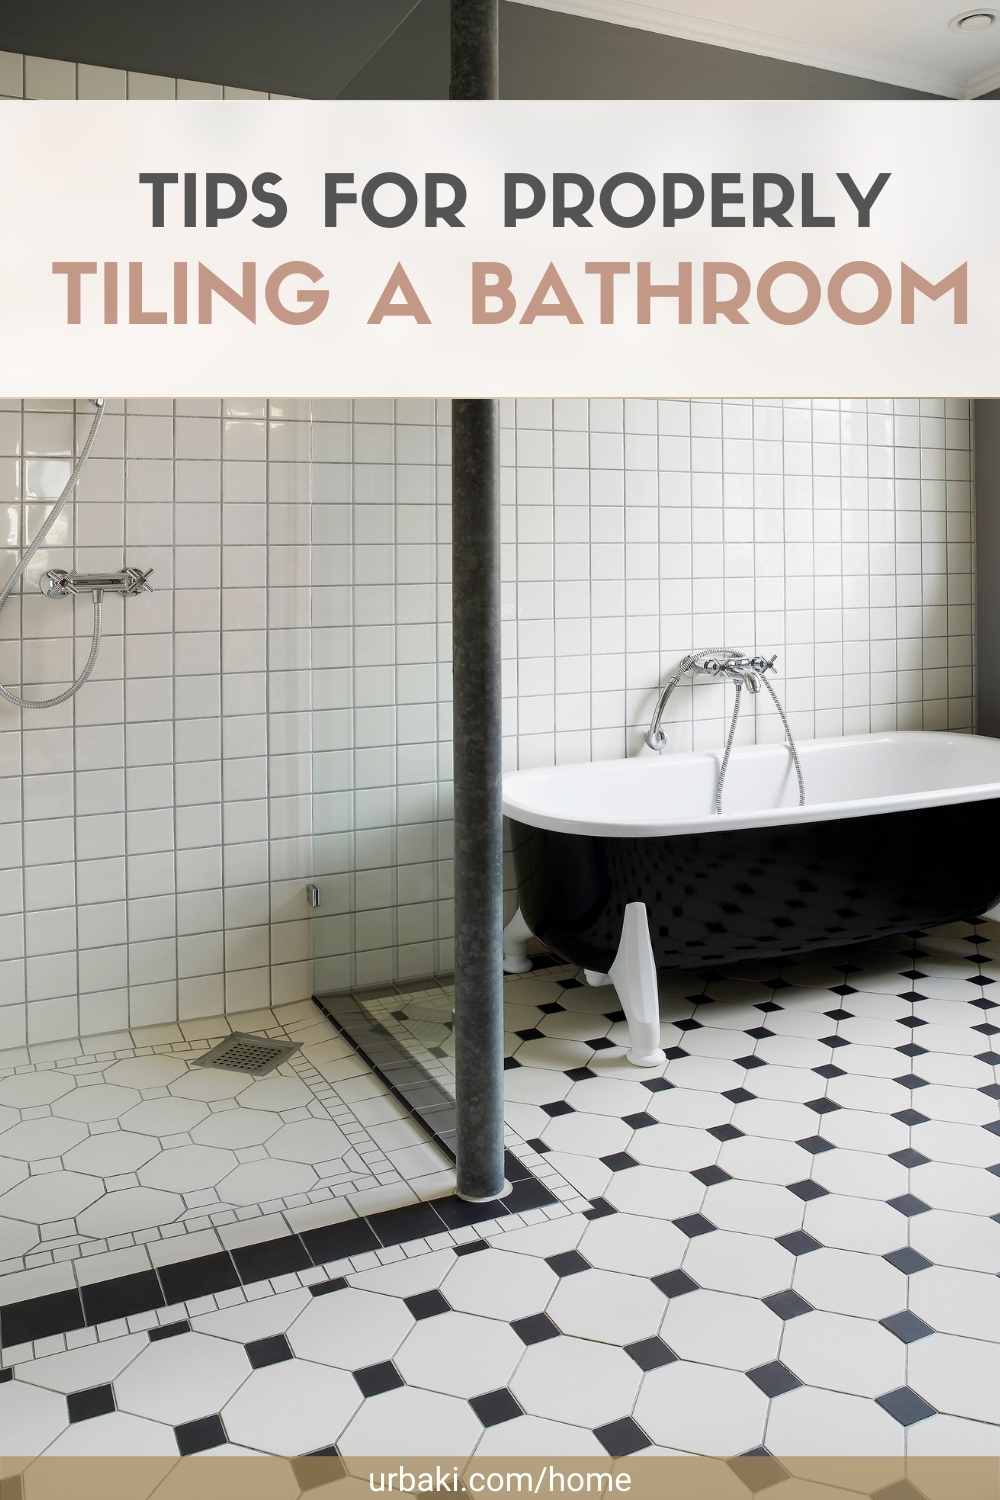
Tips for Properly Tiling a Bathroom

If you are looking for quick mosaic tips, this is the place to go.That's because the tile edges here, the bathroom, and the kitchen, for the most part, are meant to be fast that you can absorb in an instant.
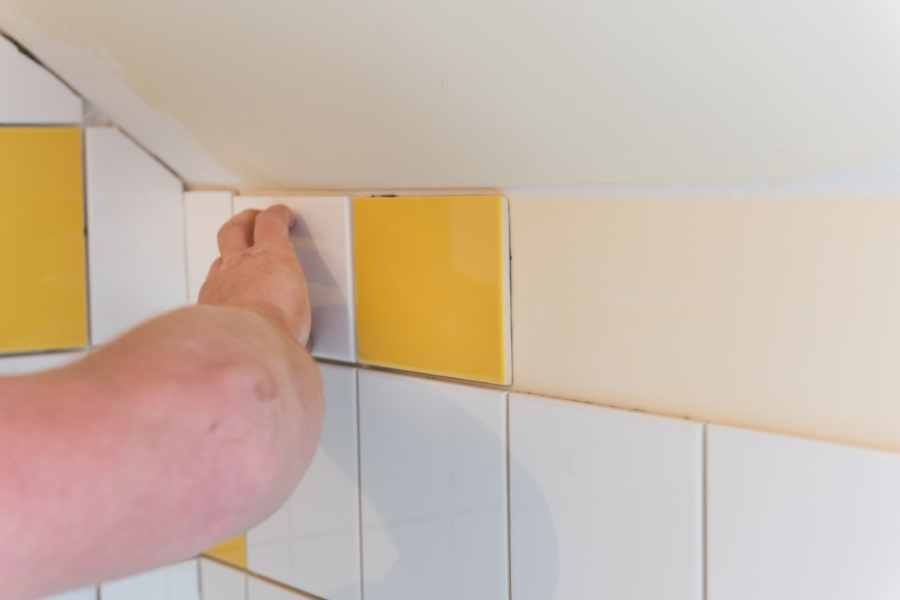
Some are intuitive; others are not so intuitive (and one is a resounding speech). On the ledge shown in this picture, the tiler has made a big boo-boo. Instead of extending the horizontal window sill tile all the way and having it cover the edge of the vertical wall tile, the tiler did the opposite.
That means:
Another very visible seam.
Make the edge of a tile more obvious.
Subject the tile to greater wear.
It looks pretty bad. What is the correct way to cover an edge?
How to skirt a bathroom window to the right
In this example, the tiler placed the edge of the wall tile under the overhang tile.
To see? Much cleaner. And it protects the tile better.
Symmetrical arrangement: mosaic from the center out
This tile tip shows why tiles like to think of "centering."
Starting the tile at one end and working the other direction almost always guarantees an odd-sized tile at the opposite end sticking out like a sore thumb.
When thinking about "centering" you might still end up with little tiles around the edges, but at least they are symmetrical.
Exposed tile edges
This tiler has chosen to expose the edges of the tiles. There are several ways to treat tile edges and this is one way that works well.
If you want to do this, use the Durock tile backing plate for a cleaner edge. Then paint the edge of the tile the same color as the wall.
Backsplash and cupboard. Watch out for the gap!
It's always difficult to gauge how close the tile backsplash will be to the bottom edge of the case.
One way to deal with this is to install the cabinets later and make sure they fit exactly on the top edge of the tile. But that's a lot of work and the location of the cabinet can only allow for some leeway.
Or you can cut thin pieces of tile to fill the space. This is the most professional solution.
Or you can do what some DIY pliers do: ignore the gap entirely. Functionally, it doesn't matter if there is a gap. And it's an area that rarely receives scrutiny.
Mortar between tiled and non-tiled materials
This looks terrible.
Instead of caulking the joint between the tile and the laminate countertop, this DIY tiler used mortar.
Cracks and general ugliness occurred.
Use a suitable sealant between the tile and any material other than the tile.
We hope you enjoy watching this video about Tips for Properly Tiling a Bathroom

Source: Mr. Build It
Did you find this post useful or inspiring? Save THIS PIN to your HOME Board on Pinterest! 😊
Once again, thank you for visiting our website!
We hope you've enjoyed exploring the content we've created for you.
Give yourself the chance to learn, get inspired, and have even more fun, keep browsing...
More Home Tips 👇🏼👇🏼