
What You Should Know About Replacement Windows


Replacement Windows can transform a room in a single afternoon—improving comfort, efficiency, and curb appeal without a full remodel.
In this curated look at Ron Hazelton’s tutorial, we highlight what you’ll learn, where DIYers should slow down, and how to plan a clean, professional result without overcomplicating the project.
What You’ll Learn From the Video
 The walkthrough explains core steps for installing replacement windows—from removing the old sash to seating and securing the new unit.
You’ll see how careful measuring, shimming, and sealing prevent drafts and rattles down the road. It’s ideal for diy home improvement fans who want a practical overview before picking up tools.
While it’s not a full blueprint, the demonstration helps you visualize each stage of replacing windows, including handling trim and ensuring smooth operation.
Expect clear visuals, pacing that’s easy to follow, and pro habits that save time.
Because every house differs, use this as guidance for methods and sequencing rather than a strict “do-this-then-that.” When in doubt, consult manufacturer instructions for your specific frame and wall type.
Planning: Styles, Fit, and Finish
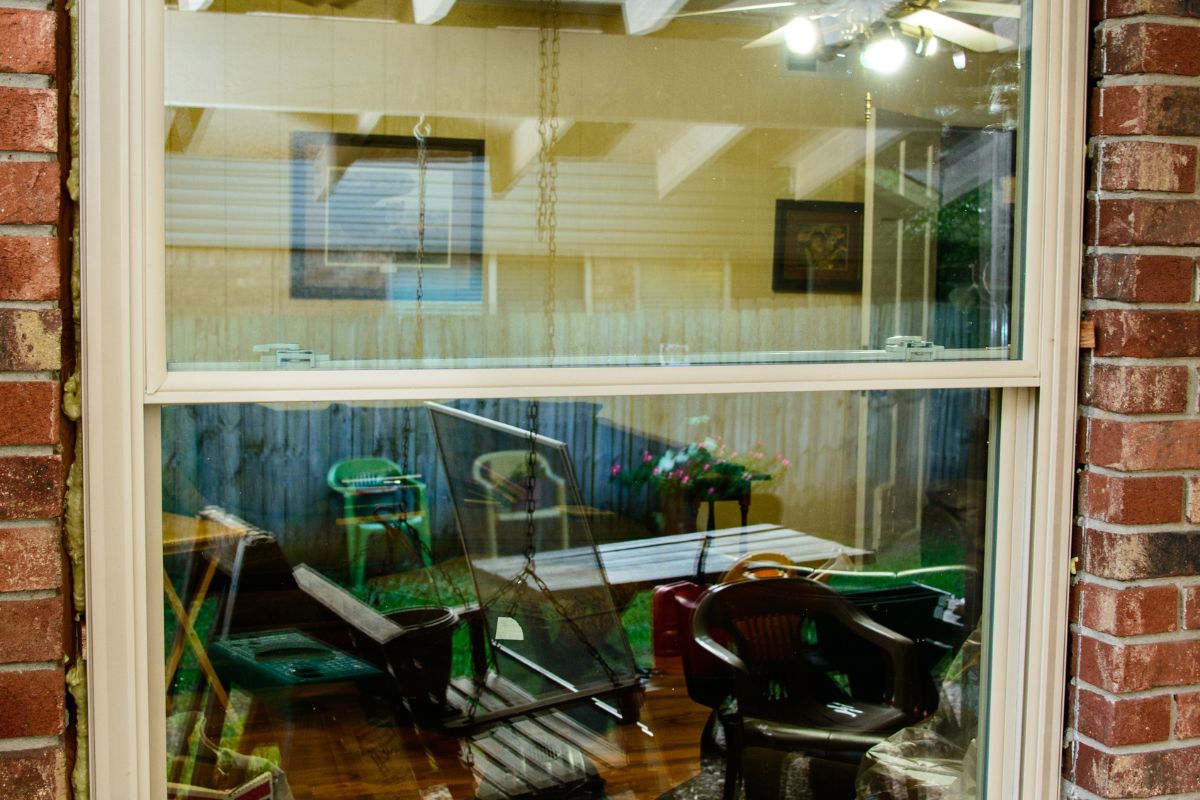 Your first decision is choosing replacement windows that match your opening and climate needs.
The video’s approach pairs nicely with exploring replacement windows styles—double-hung, casement, slider—so you can balance ventilation, cleaning ease, and energy performance.
Think beyond glass: the exterior trim and window casing influence both weather protection and interior style.
If you’re after a dramatic curb lift, coordinating profiles and colors with your new windows exterior finishes makes a big difference.
Before purchasing, verify rough opening sizes and squareness, then compare to manufacturer tolerances. This aligns expectations and prevents surprises when the unit arrives.
Execution: Clean Removal and Solid Installation
 Successful diy window replacement starts with thoughtful prep. Protect floors and nearby surfaces, score paint lines, and free fasteners methodically.
The video shows how patient disassembly helps the new unit seat correctly and reduces repair work after.
When setting the new frame, check level, plumb, and square repeatedly. Gentle shimming and even fastening prevent binding sashes.
Proper sealing is crucial, especially at the sill, to keep out water and air—this is where many first-time diy window projects go wrong.
Finish with careful trim work. A tidy bead of sealant and crisp caulk lines around the interior window casing elevate the result from “good DIY” to “pro-grade.”
Before & After: What to Expect
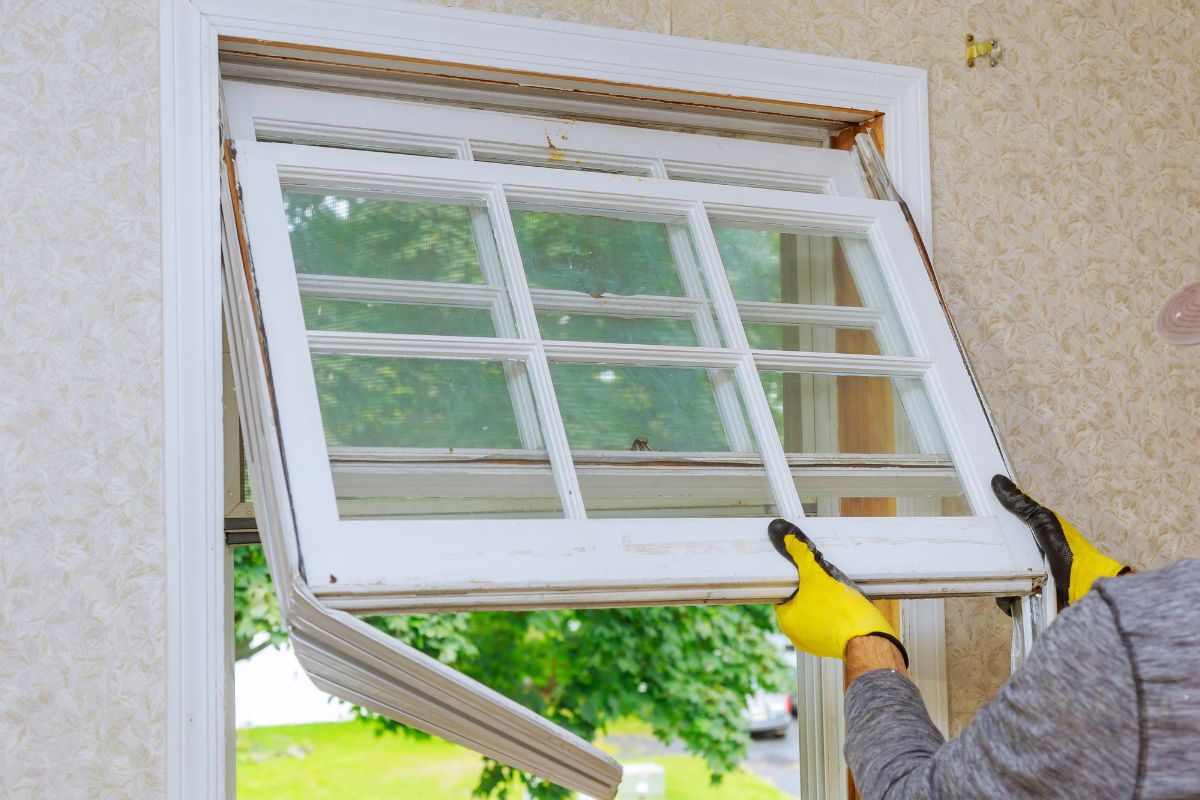 Well-planned window replacement ideas can deliver that satisfying window before and after reveal: brighter spaces, smoother operation, and quieter rooms.
If your home has leaky frames or fogged glass, expect an immediate comfort upgrade.
Capture your own window replacement before and after photos to evaluate alignment, reveal consistency, and paint touch-ups. Visuals help you spot small imperfections—easy to correct while materials are still out.
If you’re choosing among brands, research durability, local service, and energy ratings to narrow down the best replacement windows for your budget and climate.
Who This Video Helps Most
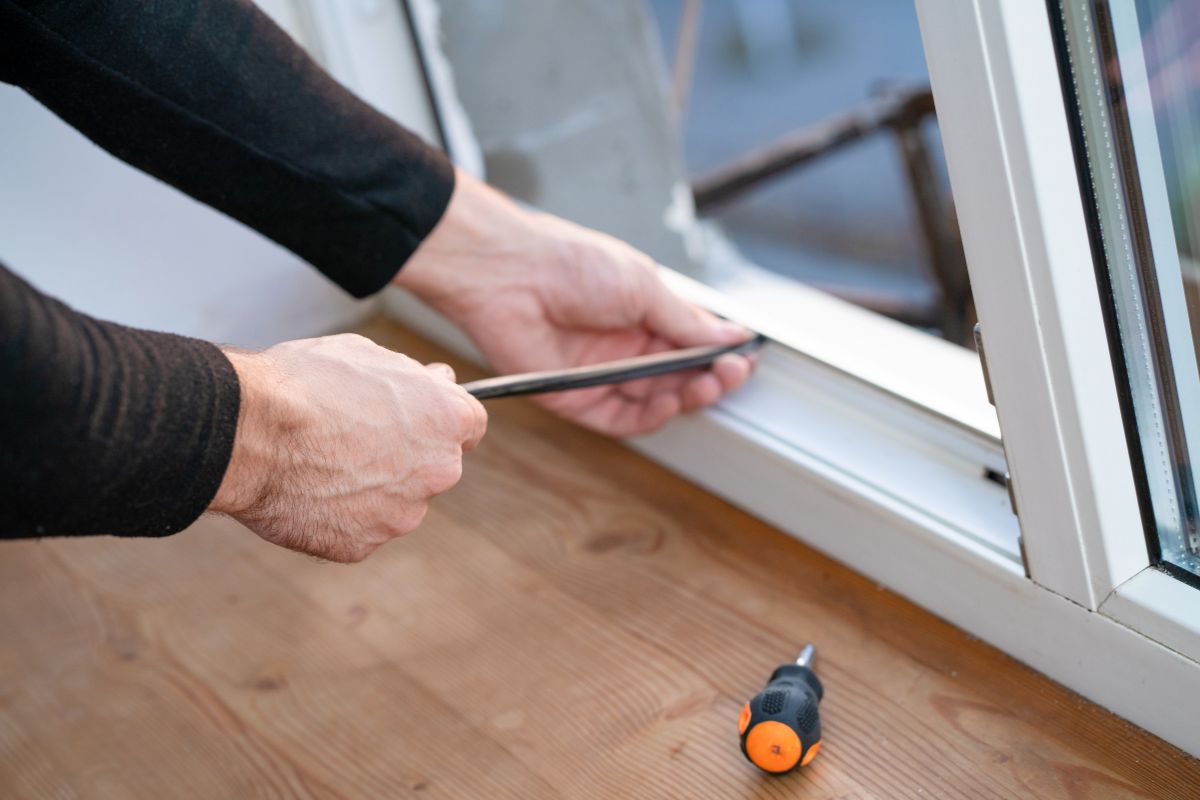 If you’re confident with trim carpentry and basic tools, this overview will accelerate your learning curve for window replacement.
It’s equally useful if you plan to hire a pro but want to understand scope, timing, and what “quality work” looks like.
New to the craft? Consider practicing on a secondary space first. Even a single opening will teach you measuring, shimming, and sealing fundamentals you’ll reuse when replacing windows throughout the house.
Pro Tips to Take Away
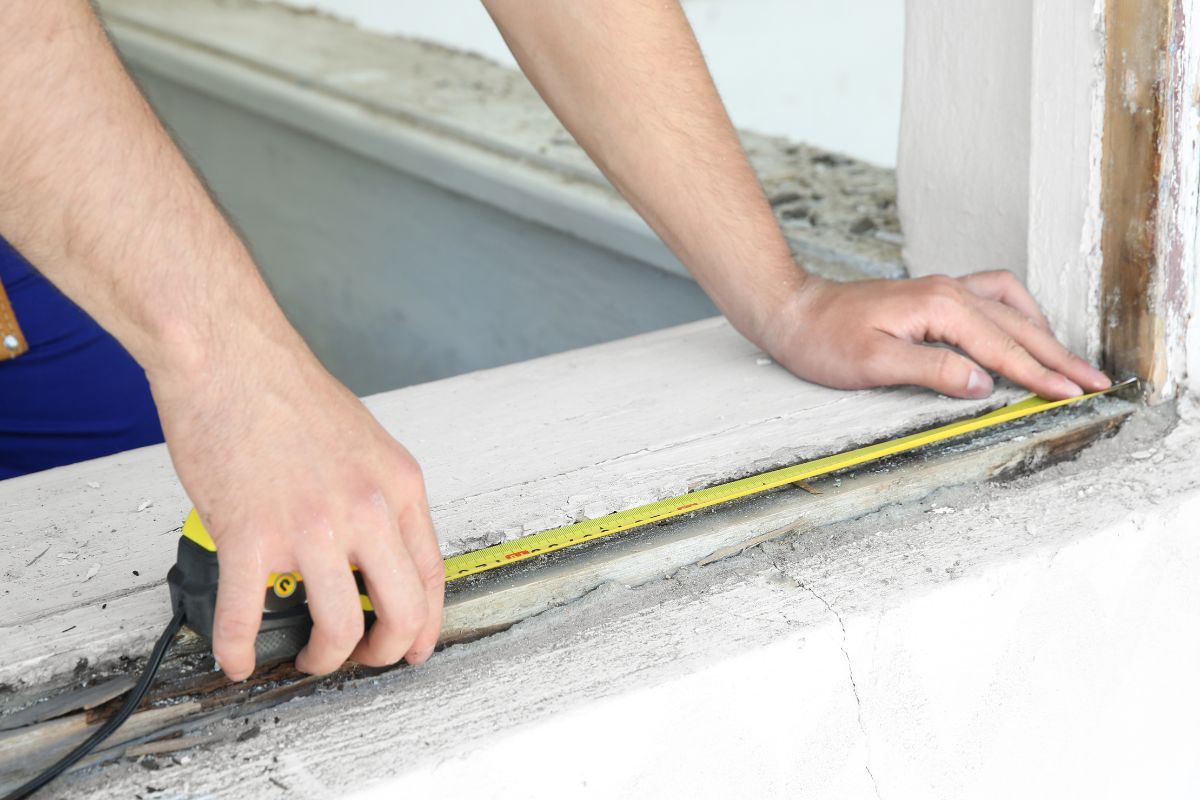 Measure three ways (width and height at multiple points) and record the smallest dimension—this avoids ordering a unit that’s too tight.
Dry-fit before final fastening, and don’t rush the flashing and sealant steps when installing replacement windows.
Finally, plan paint and patch work in advance so your new windows exterior and interior look cohesive the same day. A seamless finish is the difference between “installed” and “integrated.”
Attribution
This curated summary is based on an instructional video by the original creator. All credit for the tutorial content and techniques belongs to the video’s author.
We hope you enjoy watching this video about how to install a replacement window:

Source: Ron Hazelton
Did you find this post useful or inspiring? Save THIS PIN to your HOME Board on Pinterest! 

Once again, thank you for visiting our website!
We hope you've enjoyed exploring the content we've created for you.
Give yourself the chance to learn, get inspired, and have even more fun, keep browsing...
More Home Tips 👇🏼👇🏼